Getting Started
This wiki is written for MailboxGUI 5.1.1. Older plugin versions may not include every command, API option, placeholder, storage behavior, GUI behavior, or admin feature described here.
MailboxGUI 5.1.1 is the current release.
Release title: Vault2.0 Custom Currency and Language Update.
Special thanks to nice for contributing the updated Simplified Chinese
(zh_cn) language file and the new Hong Kong Traditional Chinese
(zh_hk) language file for MailboxGUI 5.1.1.
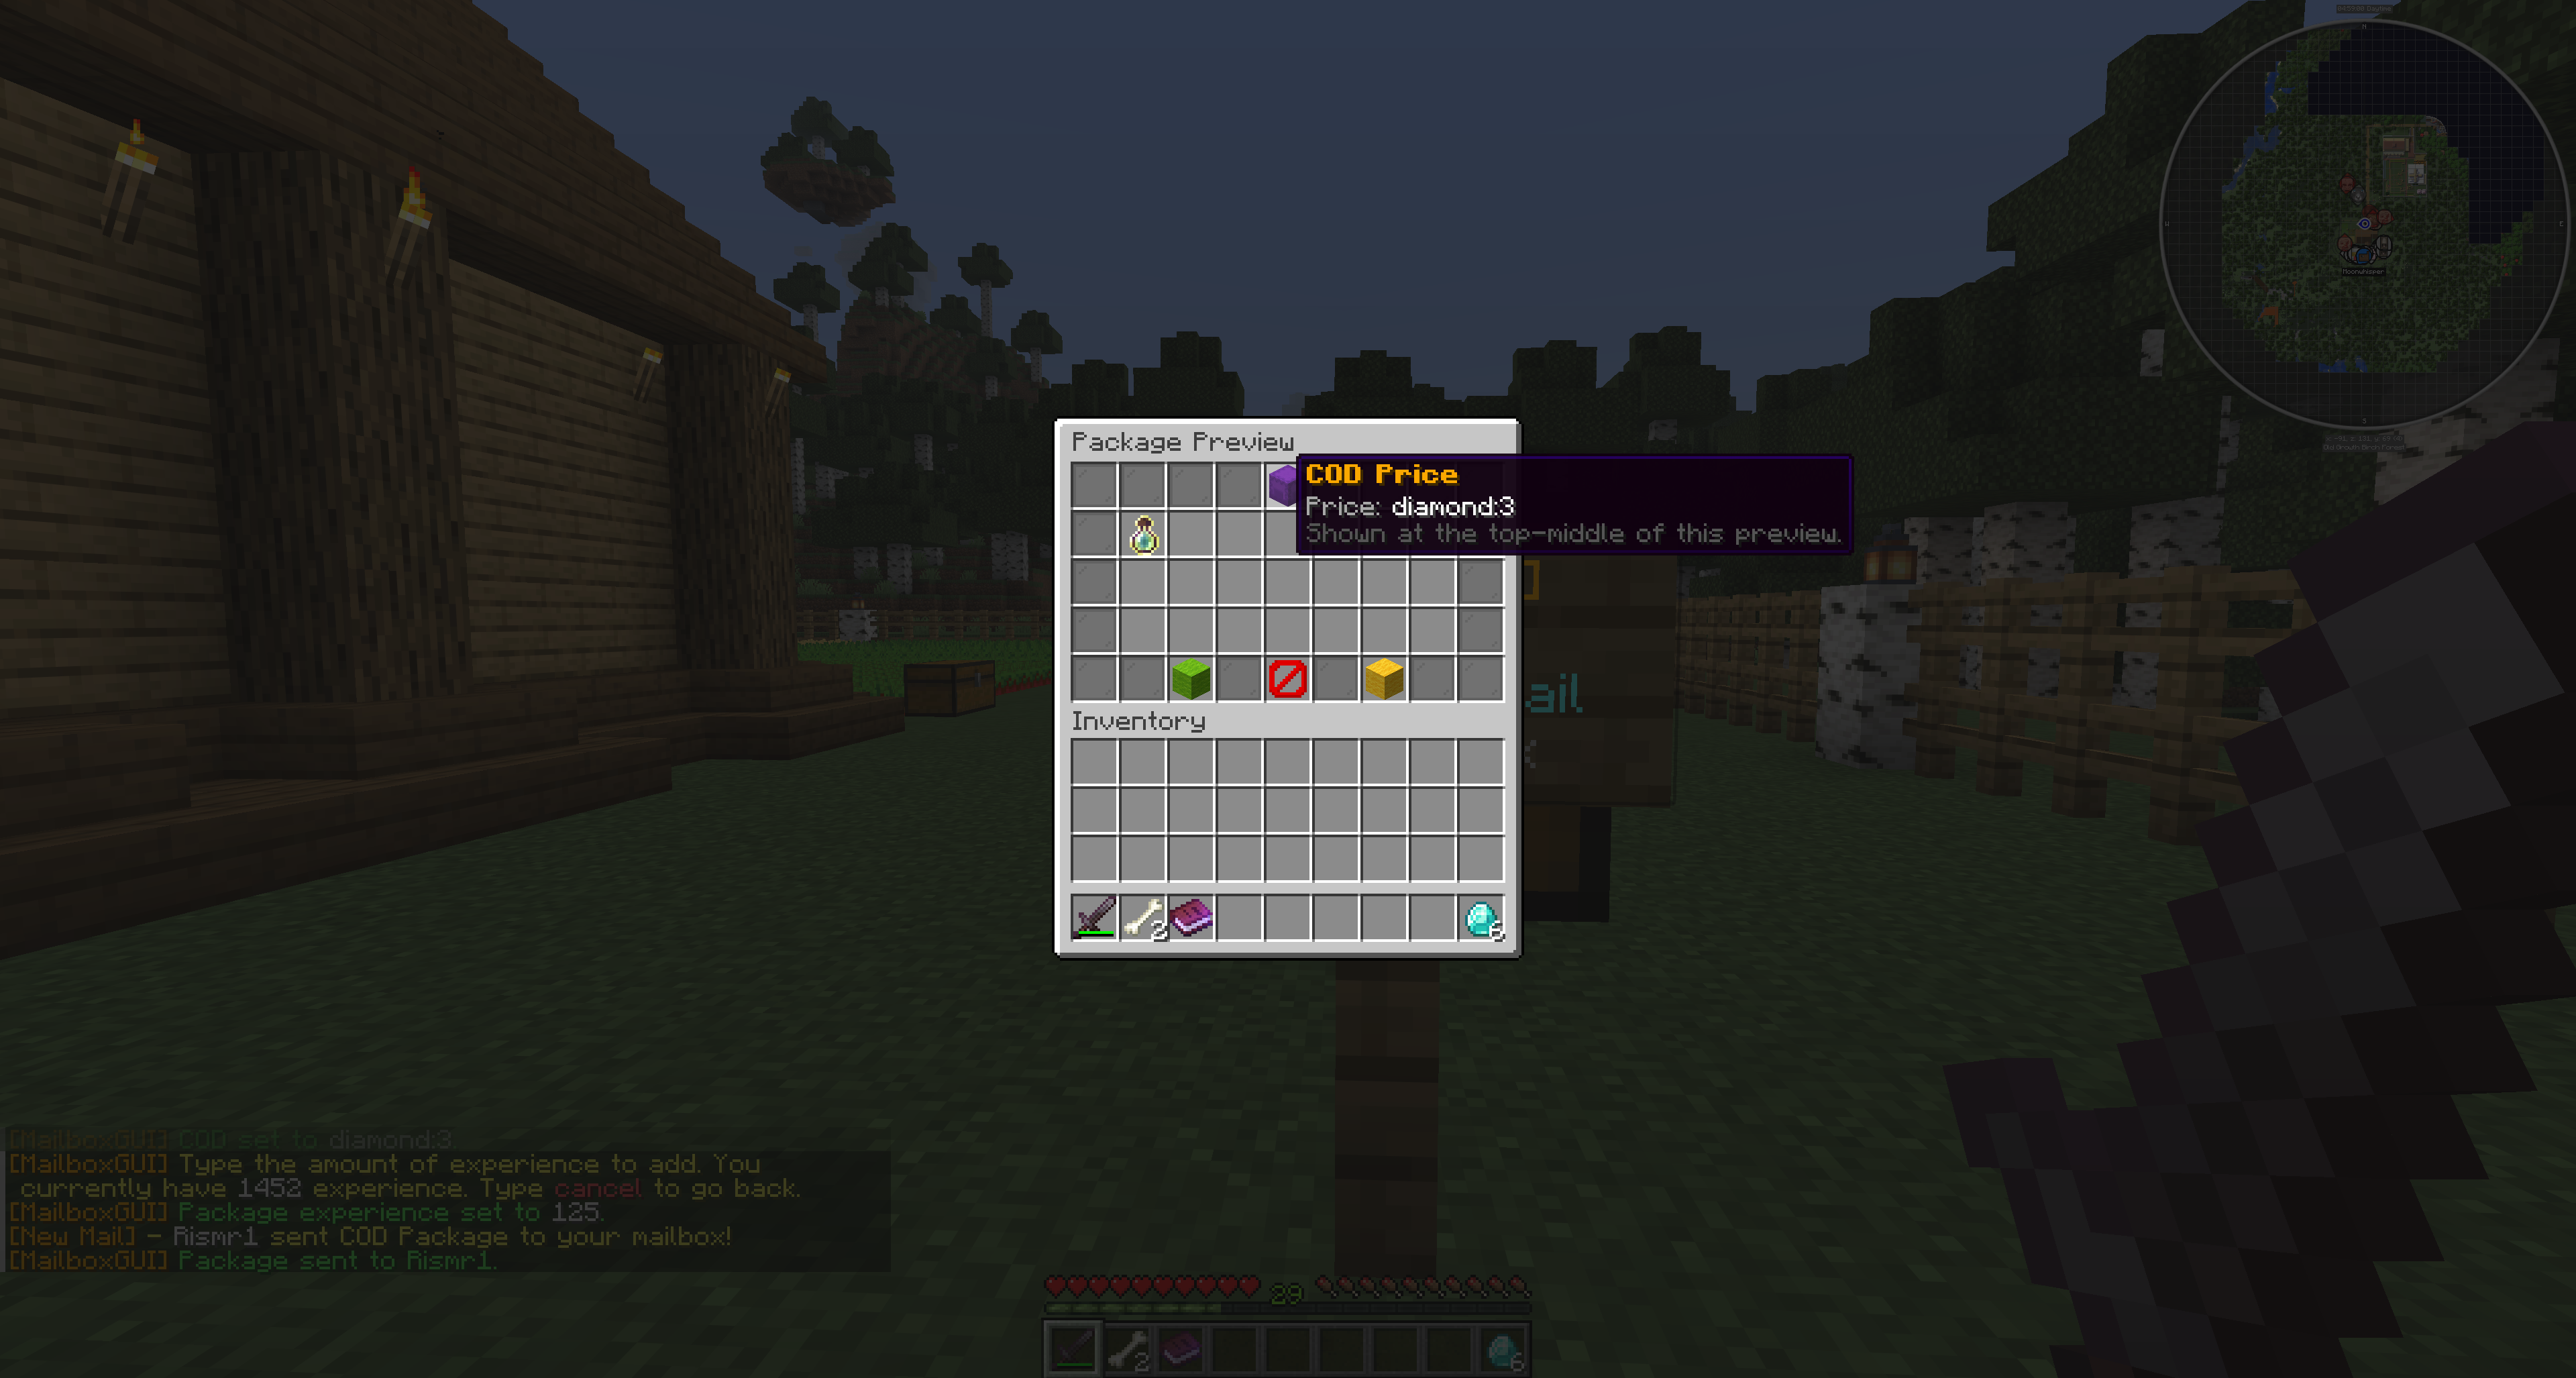
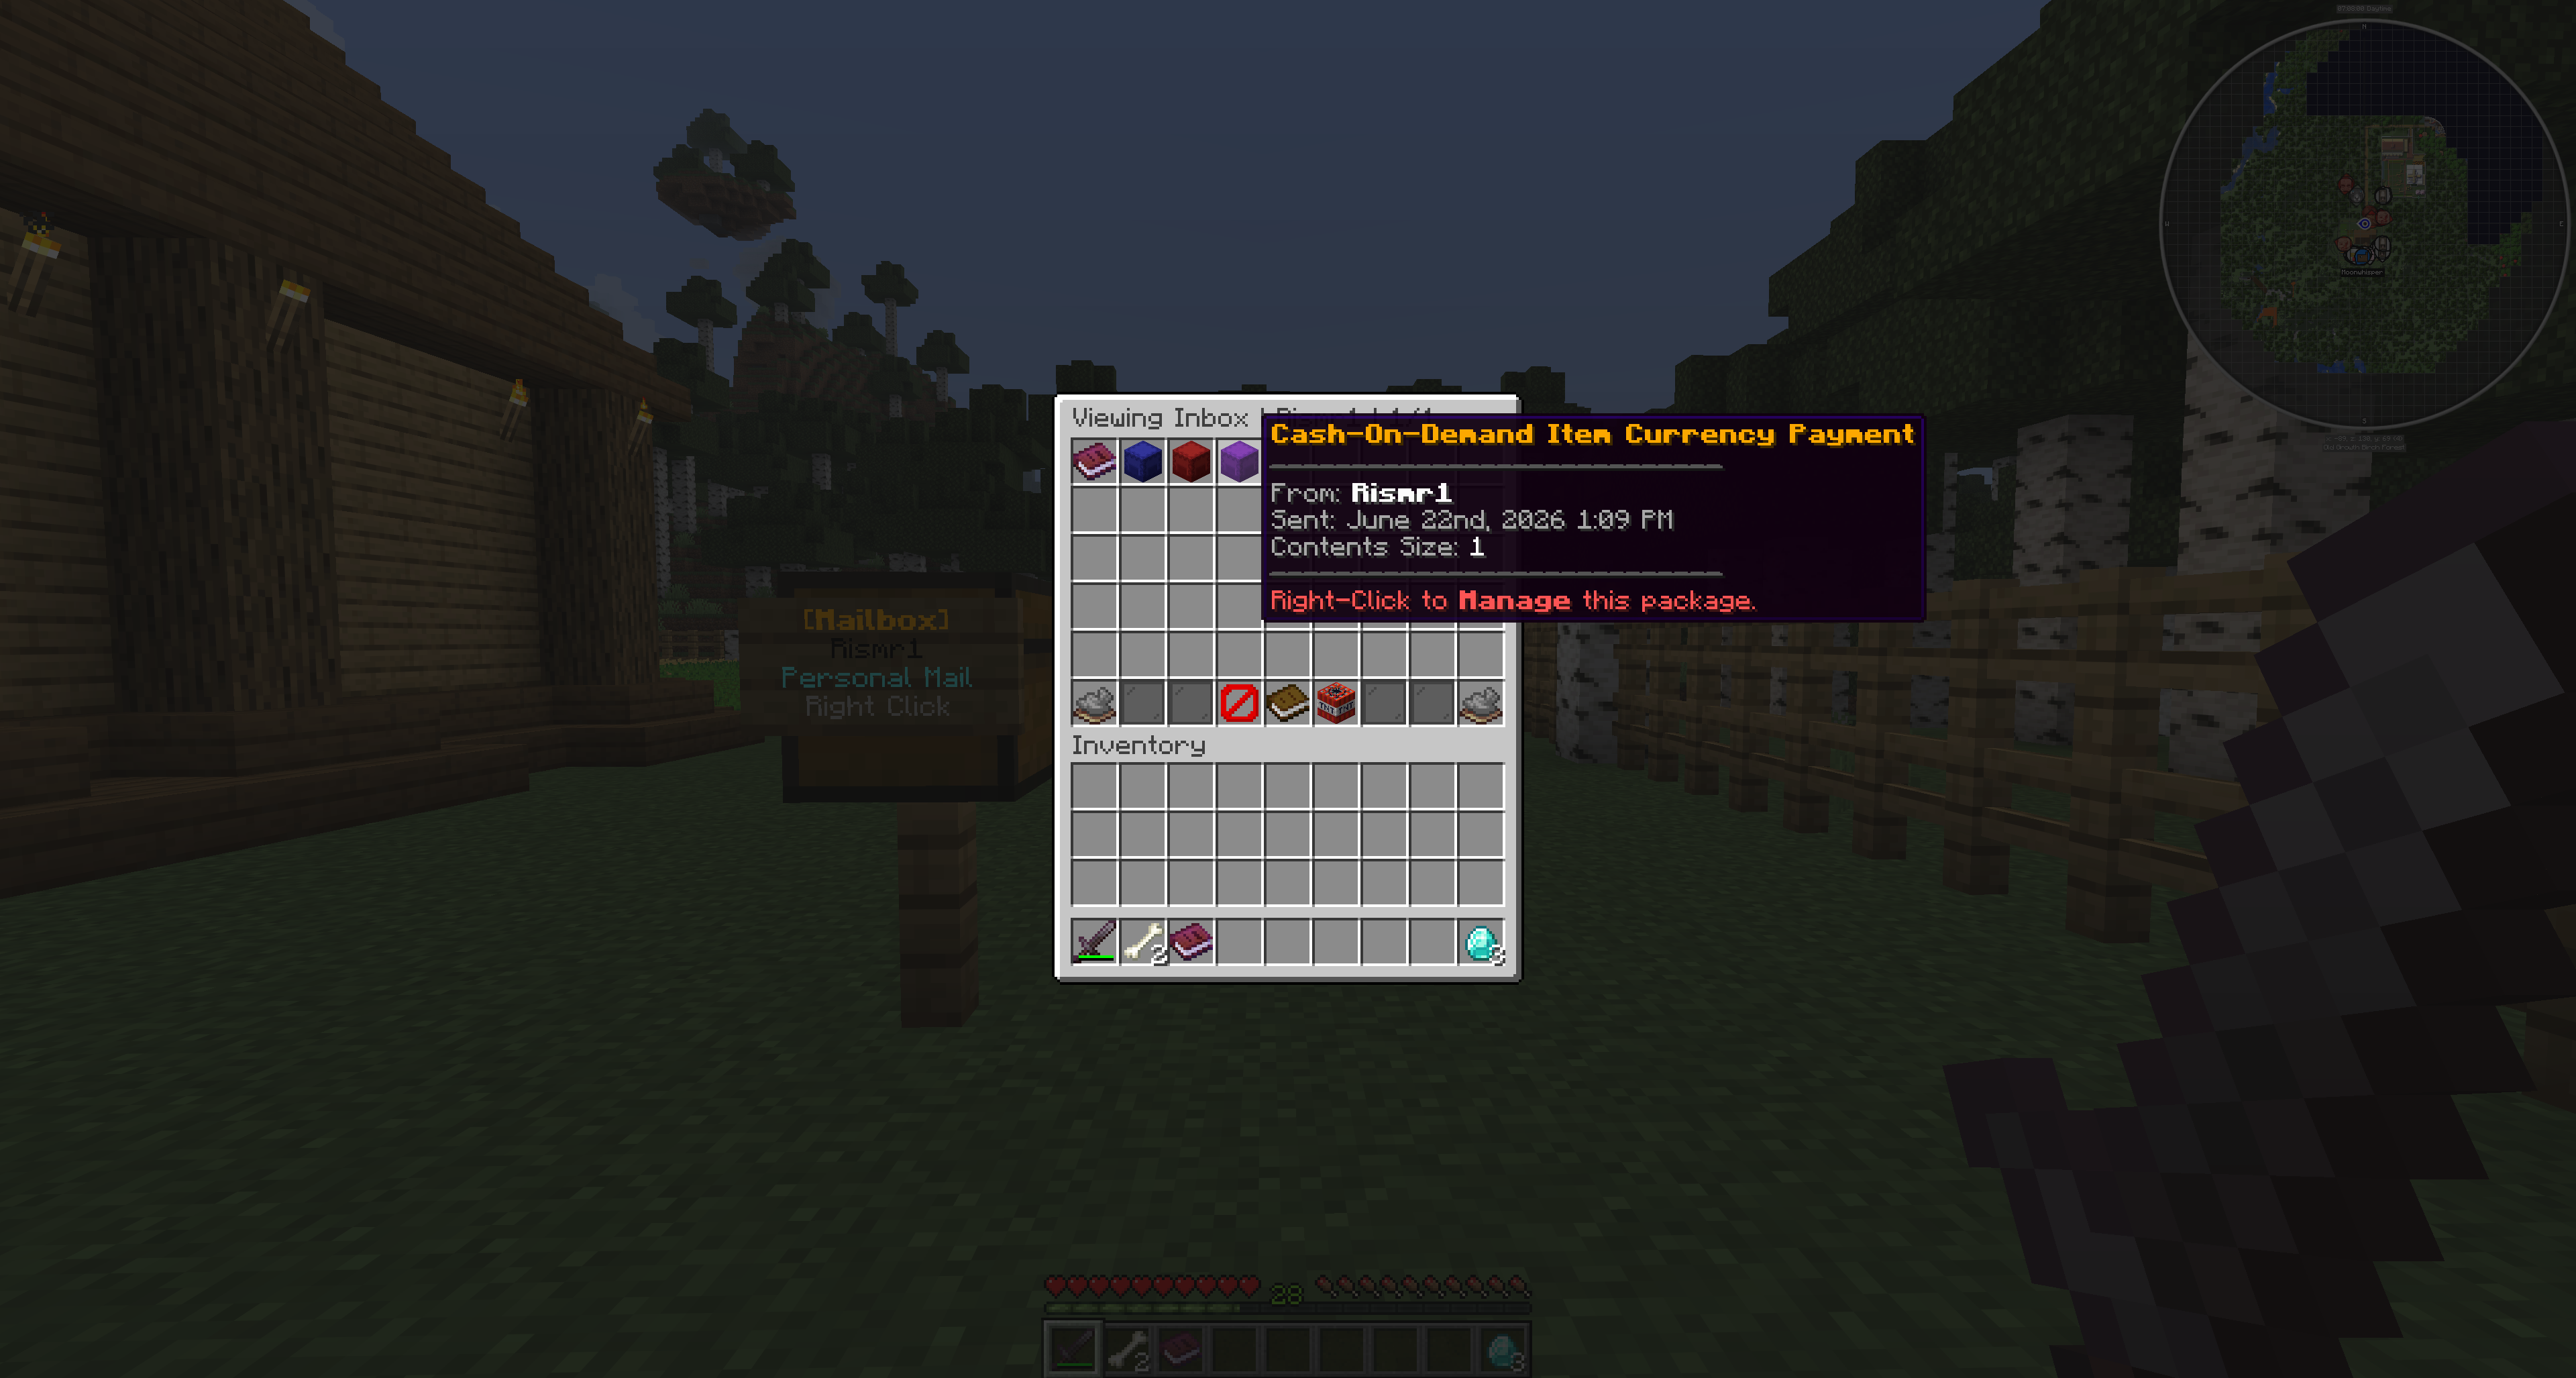
- Added Vault2.0 custom currency support for money mail and Vault-money COD amount input.
- Improved chat-input cleanup for amount prompts and control words such as
cancelandoff. - Amount prompts now better handle custom currency names, currency symbols, comma-formatted numbers, color codes, hidden formatting, and Vault2.0 renamed currencies.
- Updated Simplified Chinese language file:
zh_cn. - Added Hong Kong Traditional Chinese language file:
zh_hk. - Active language files now use
file-version: 14. - The language upgrade system can update old default
zh_cntext to the new contributed translation while preserving server-owner custom edits. /mba cleannow cleans newer MailboxGUI-generated backup folders after the server/admin confirms the upgrade is working.
What MailboxGUI Does
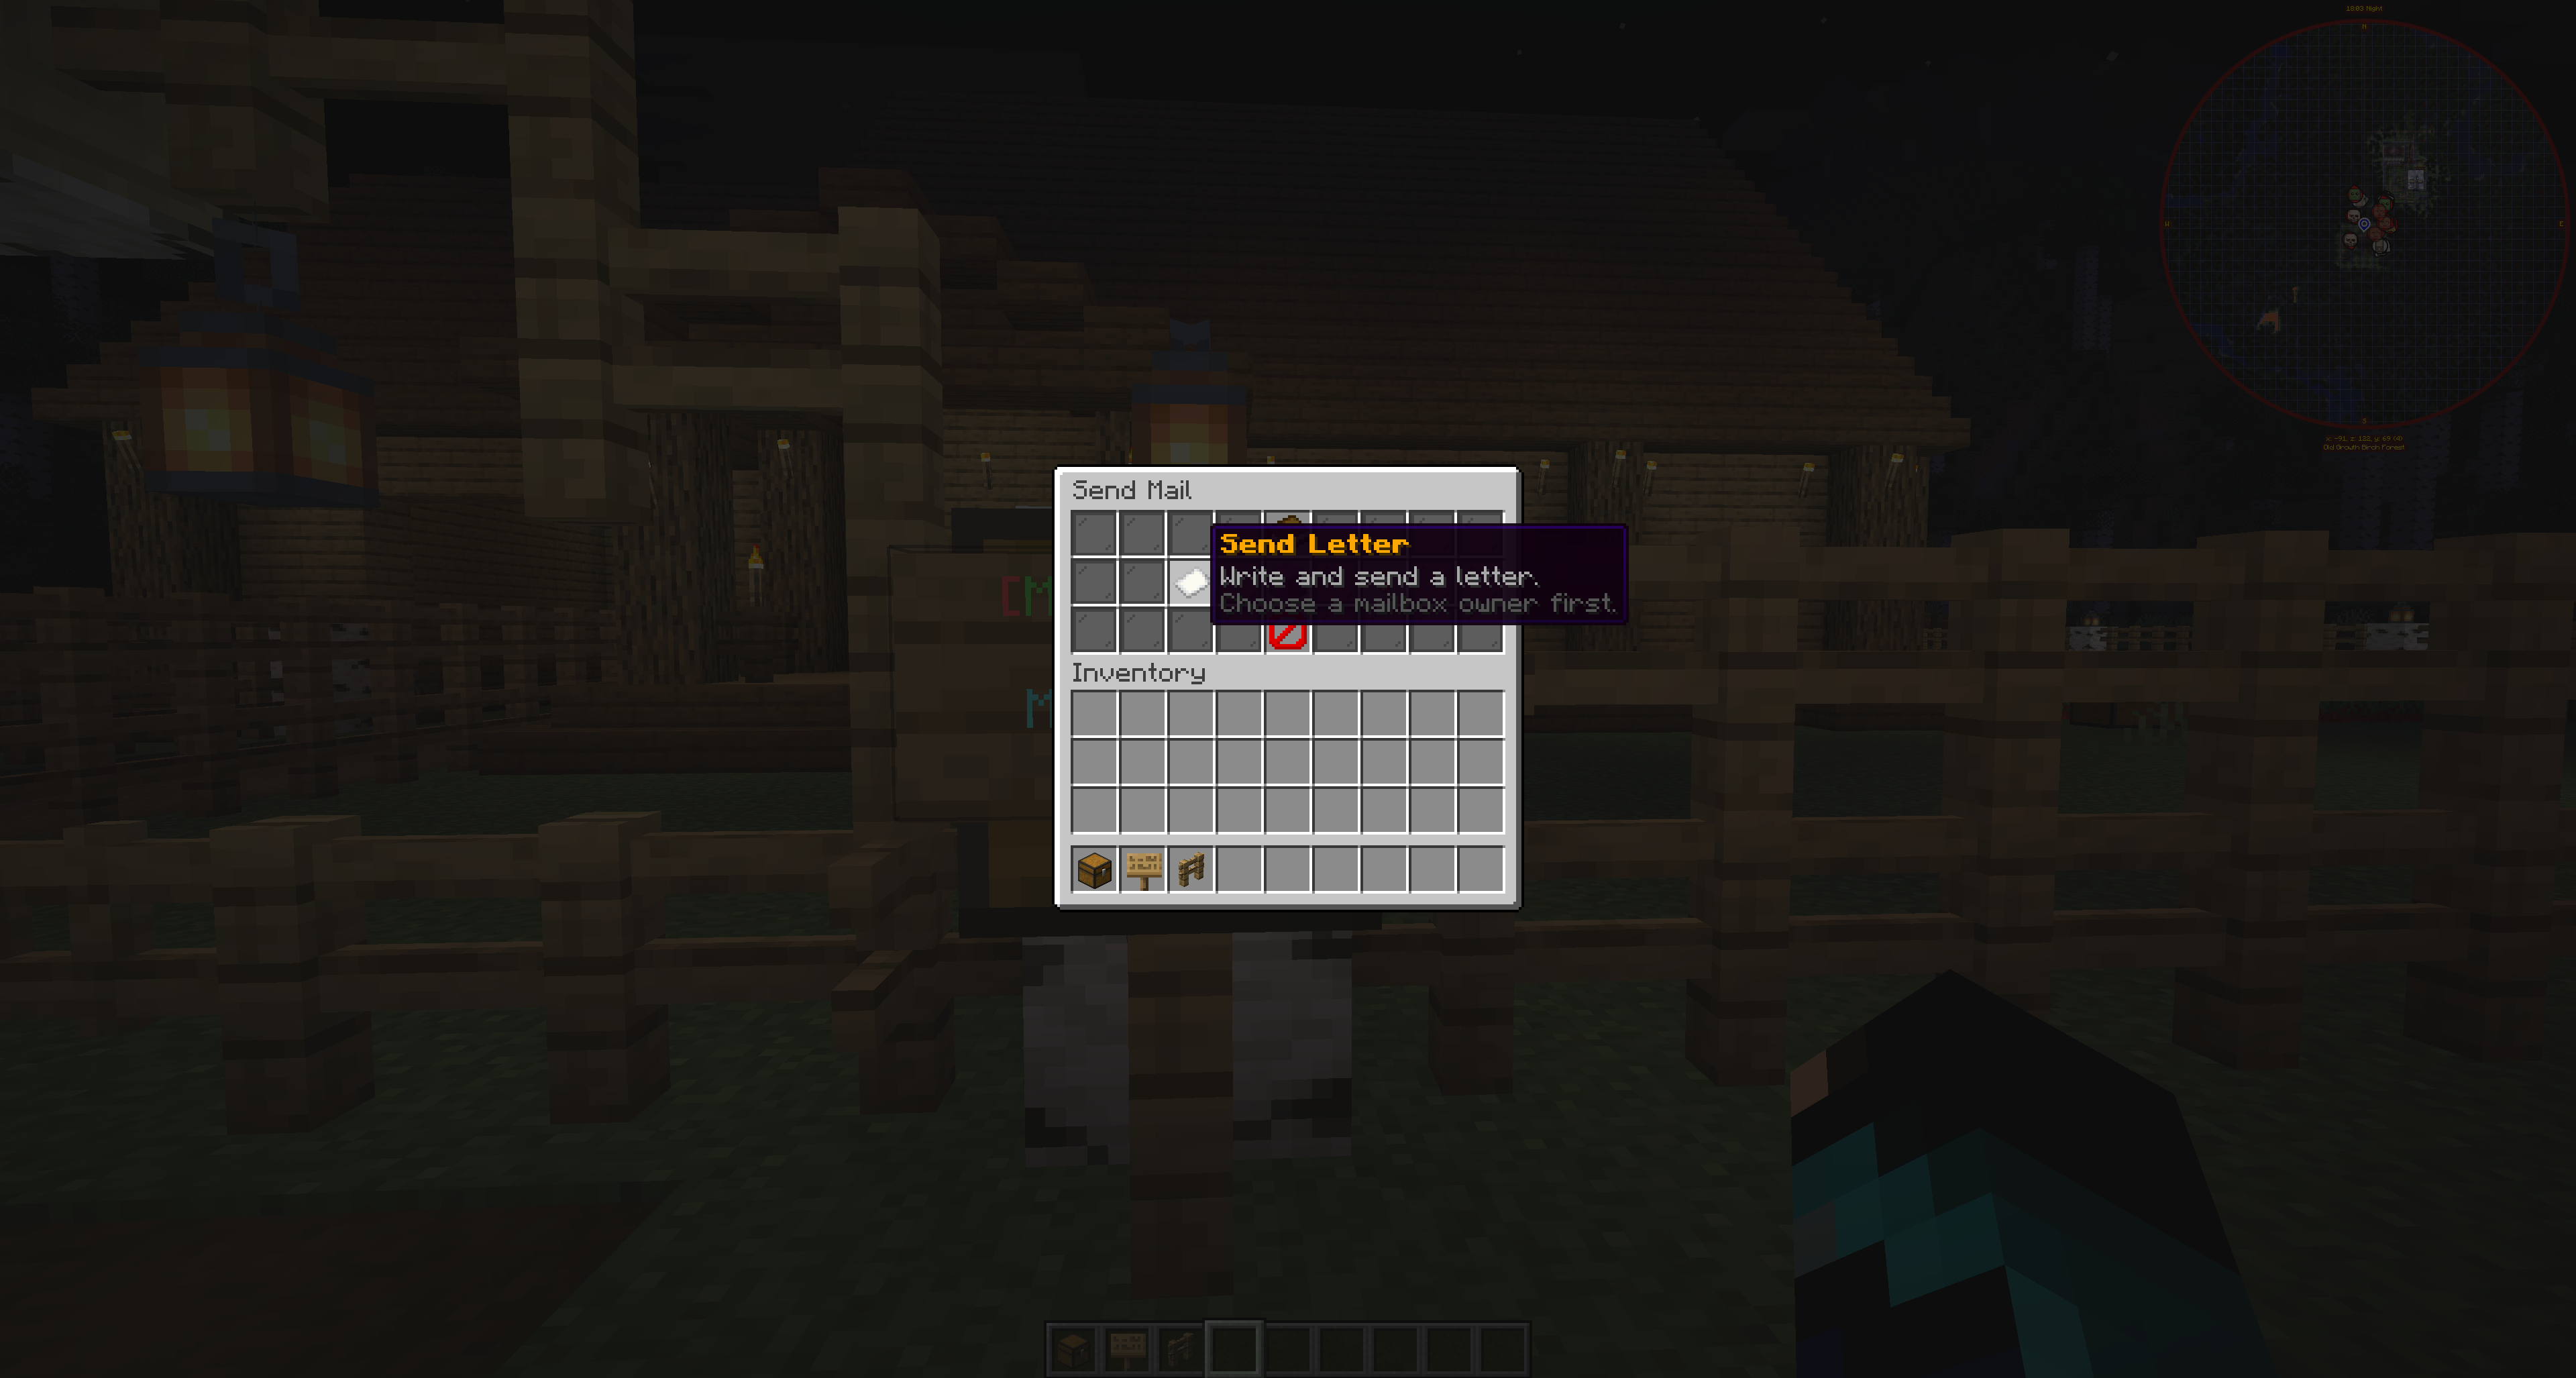
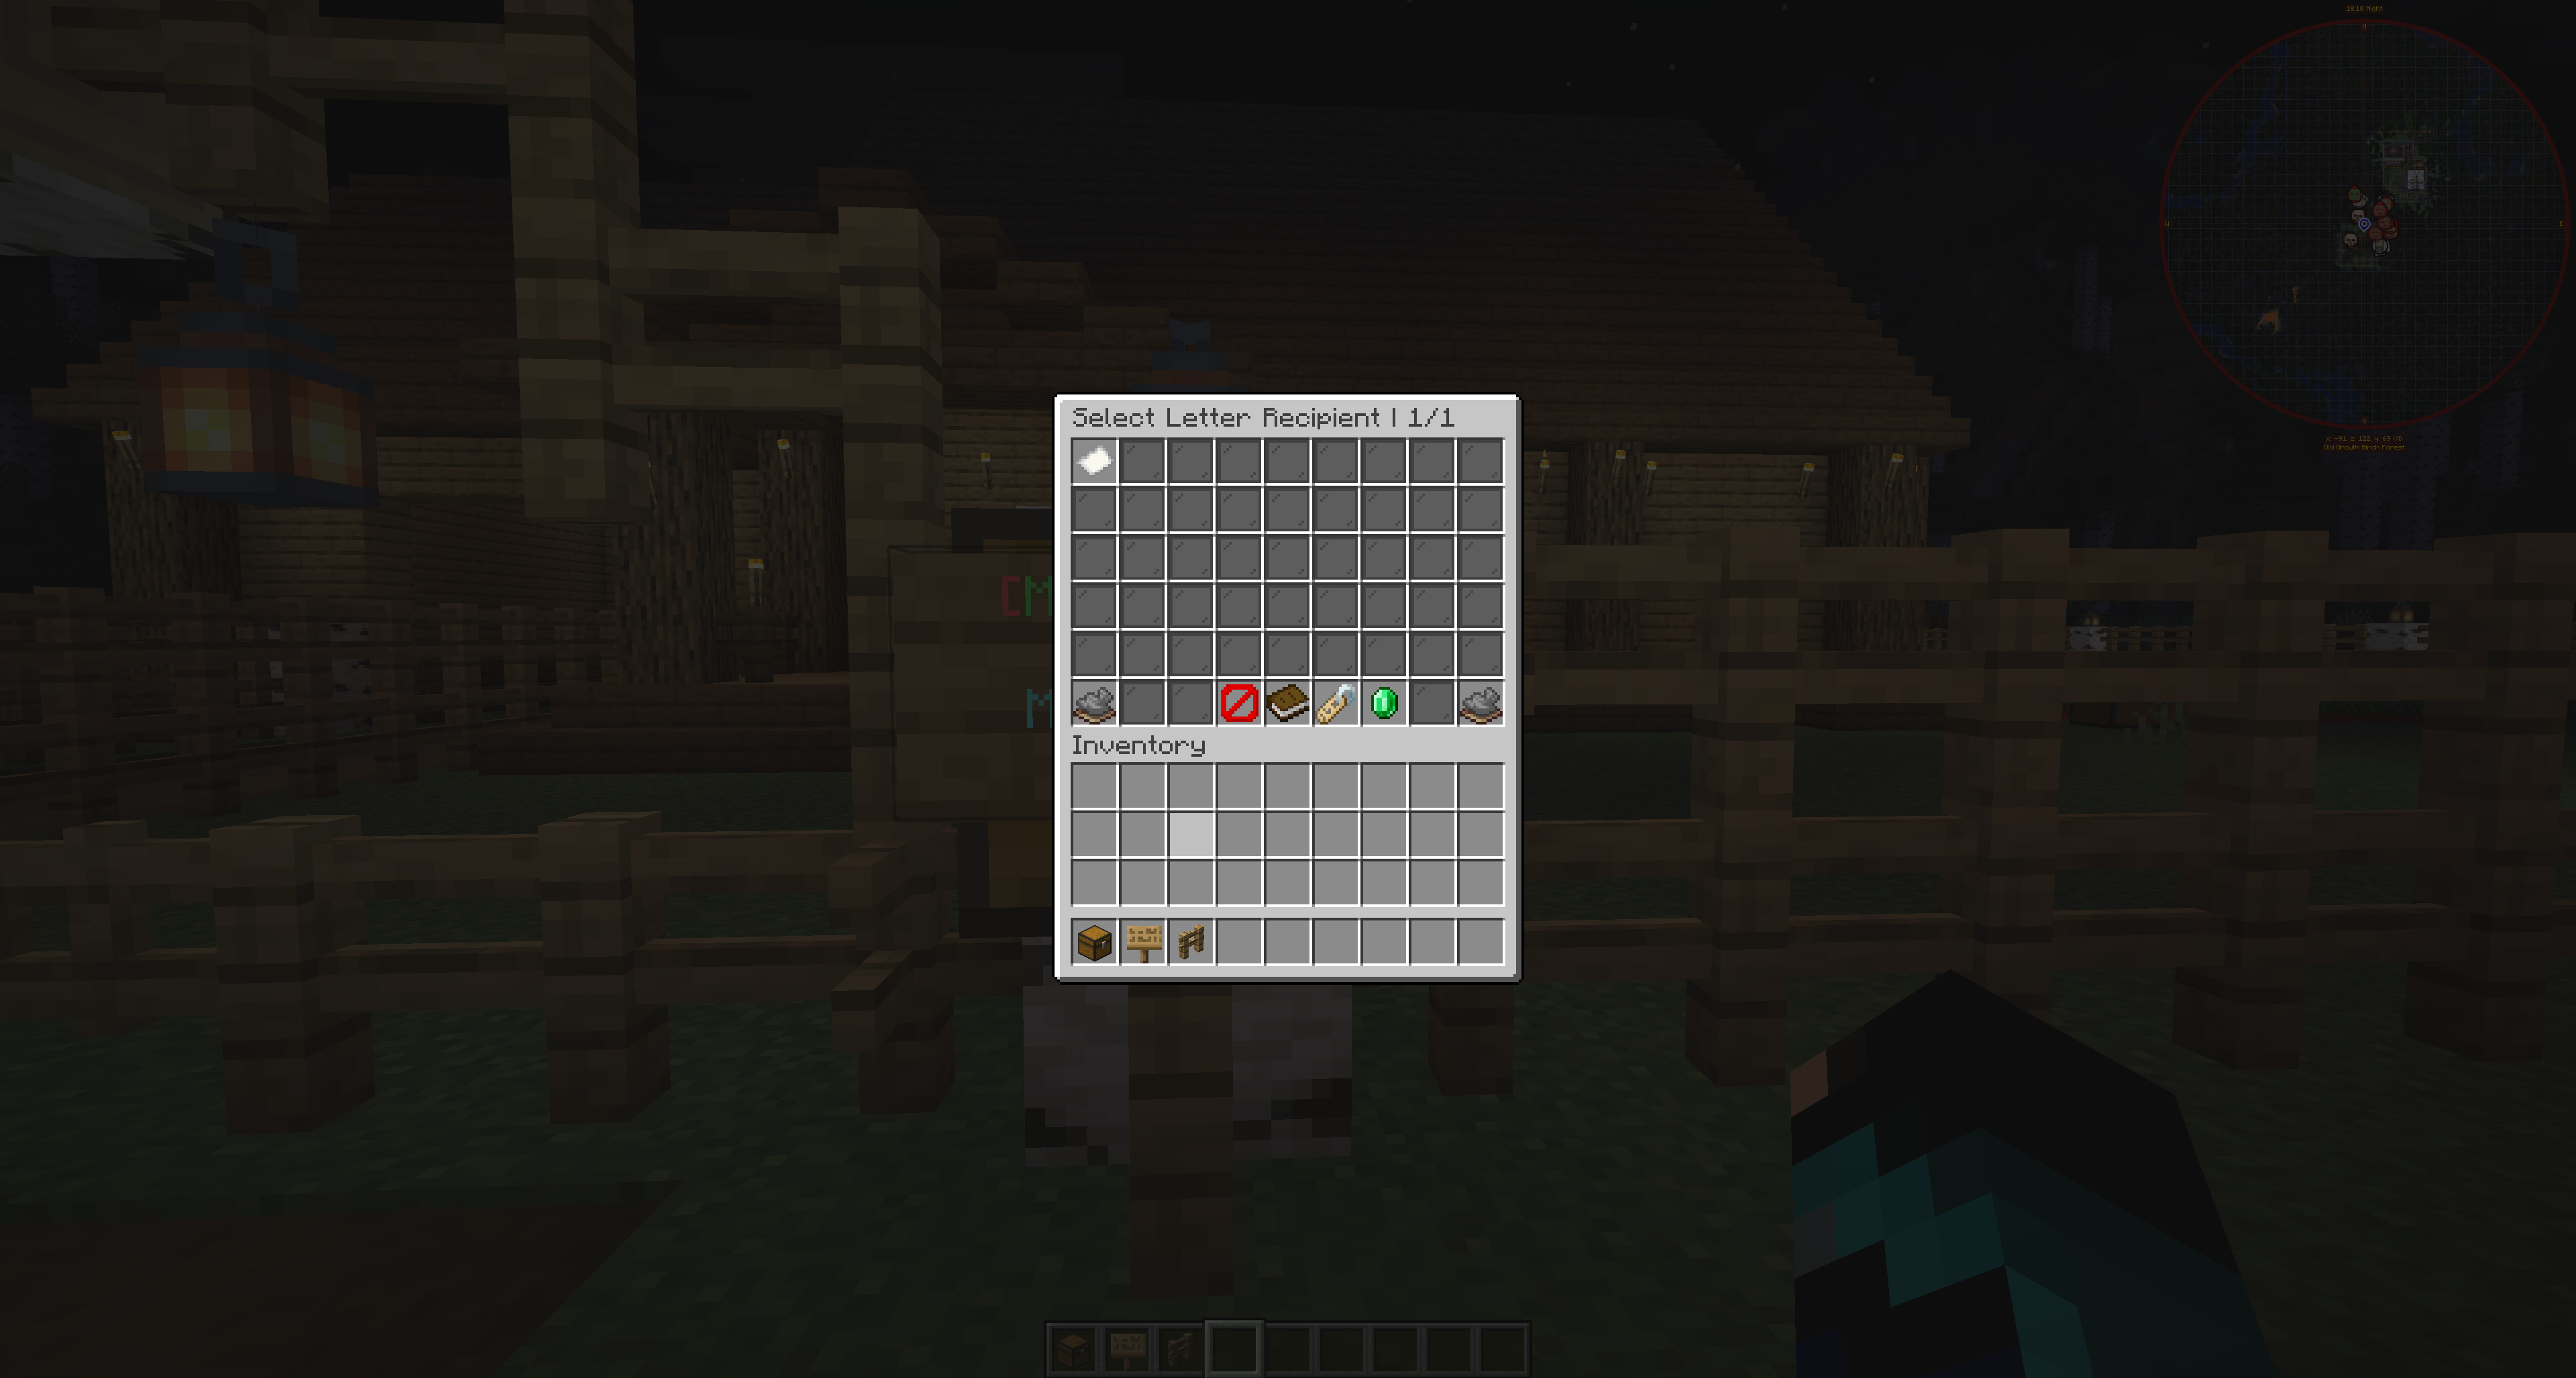
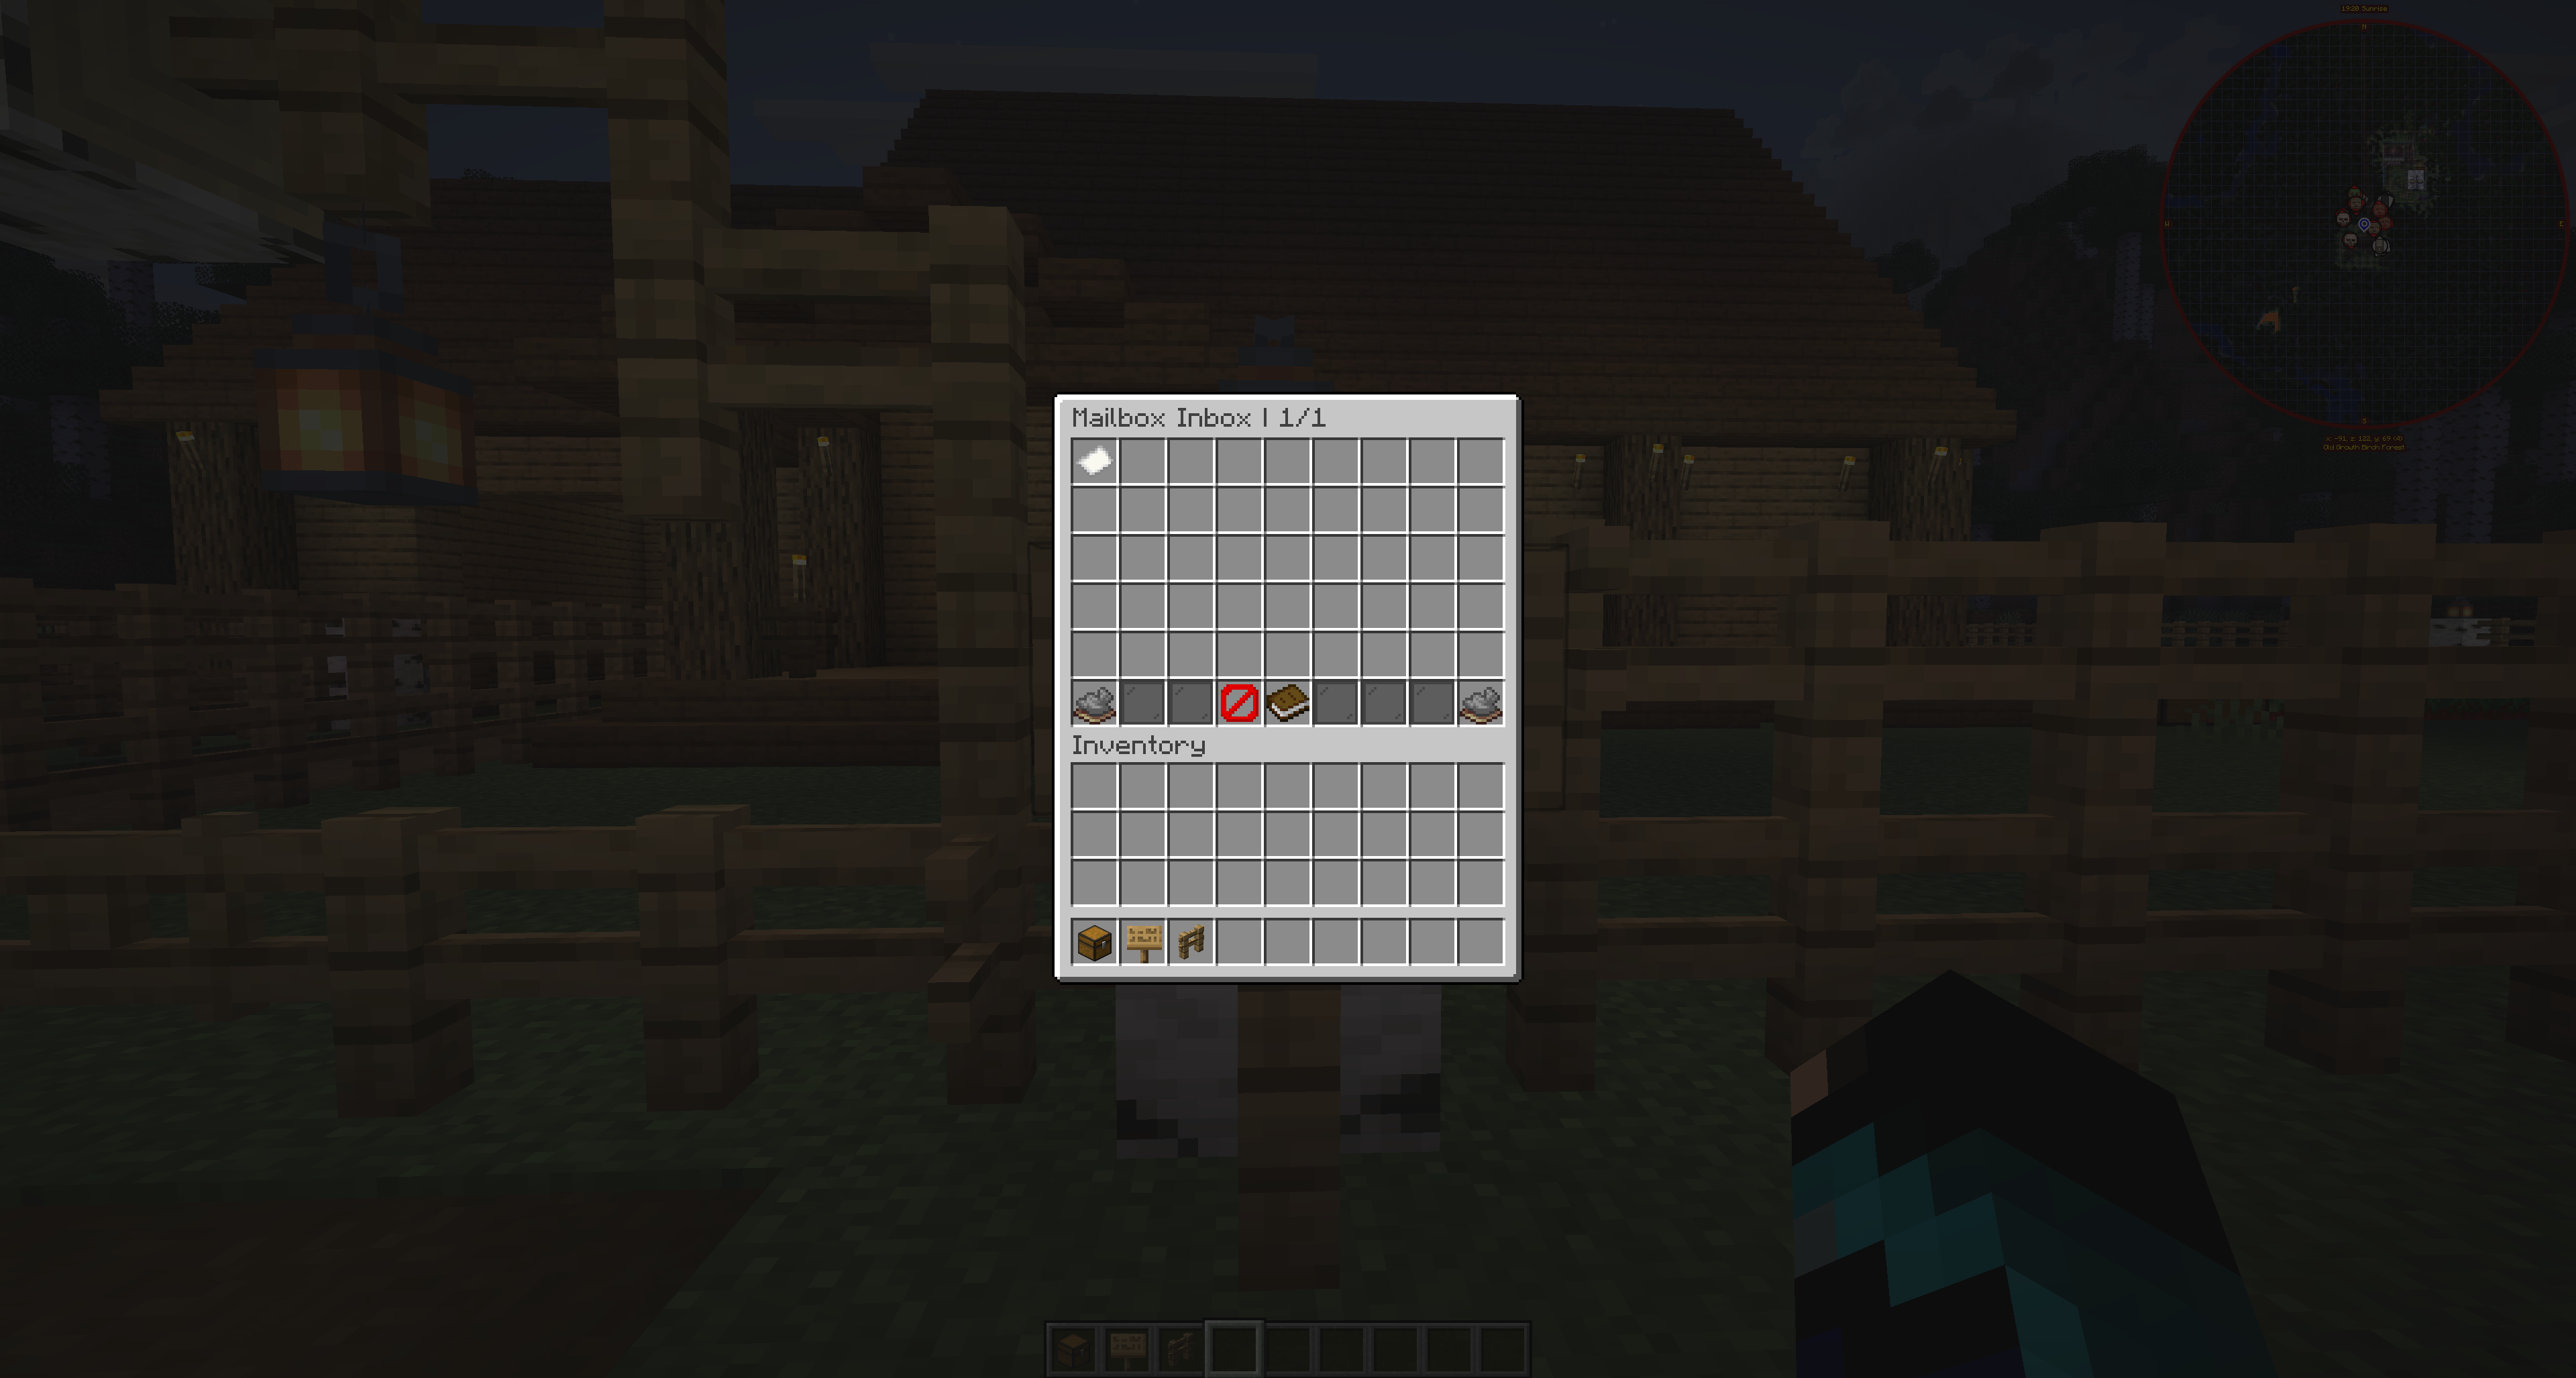
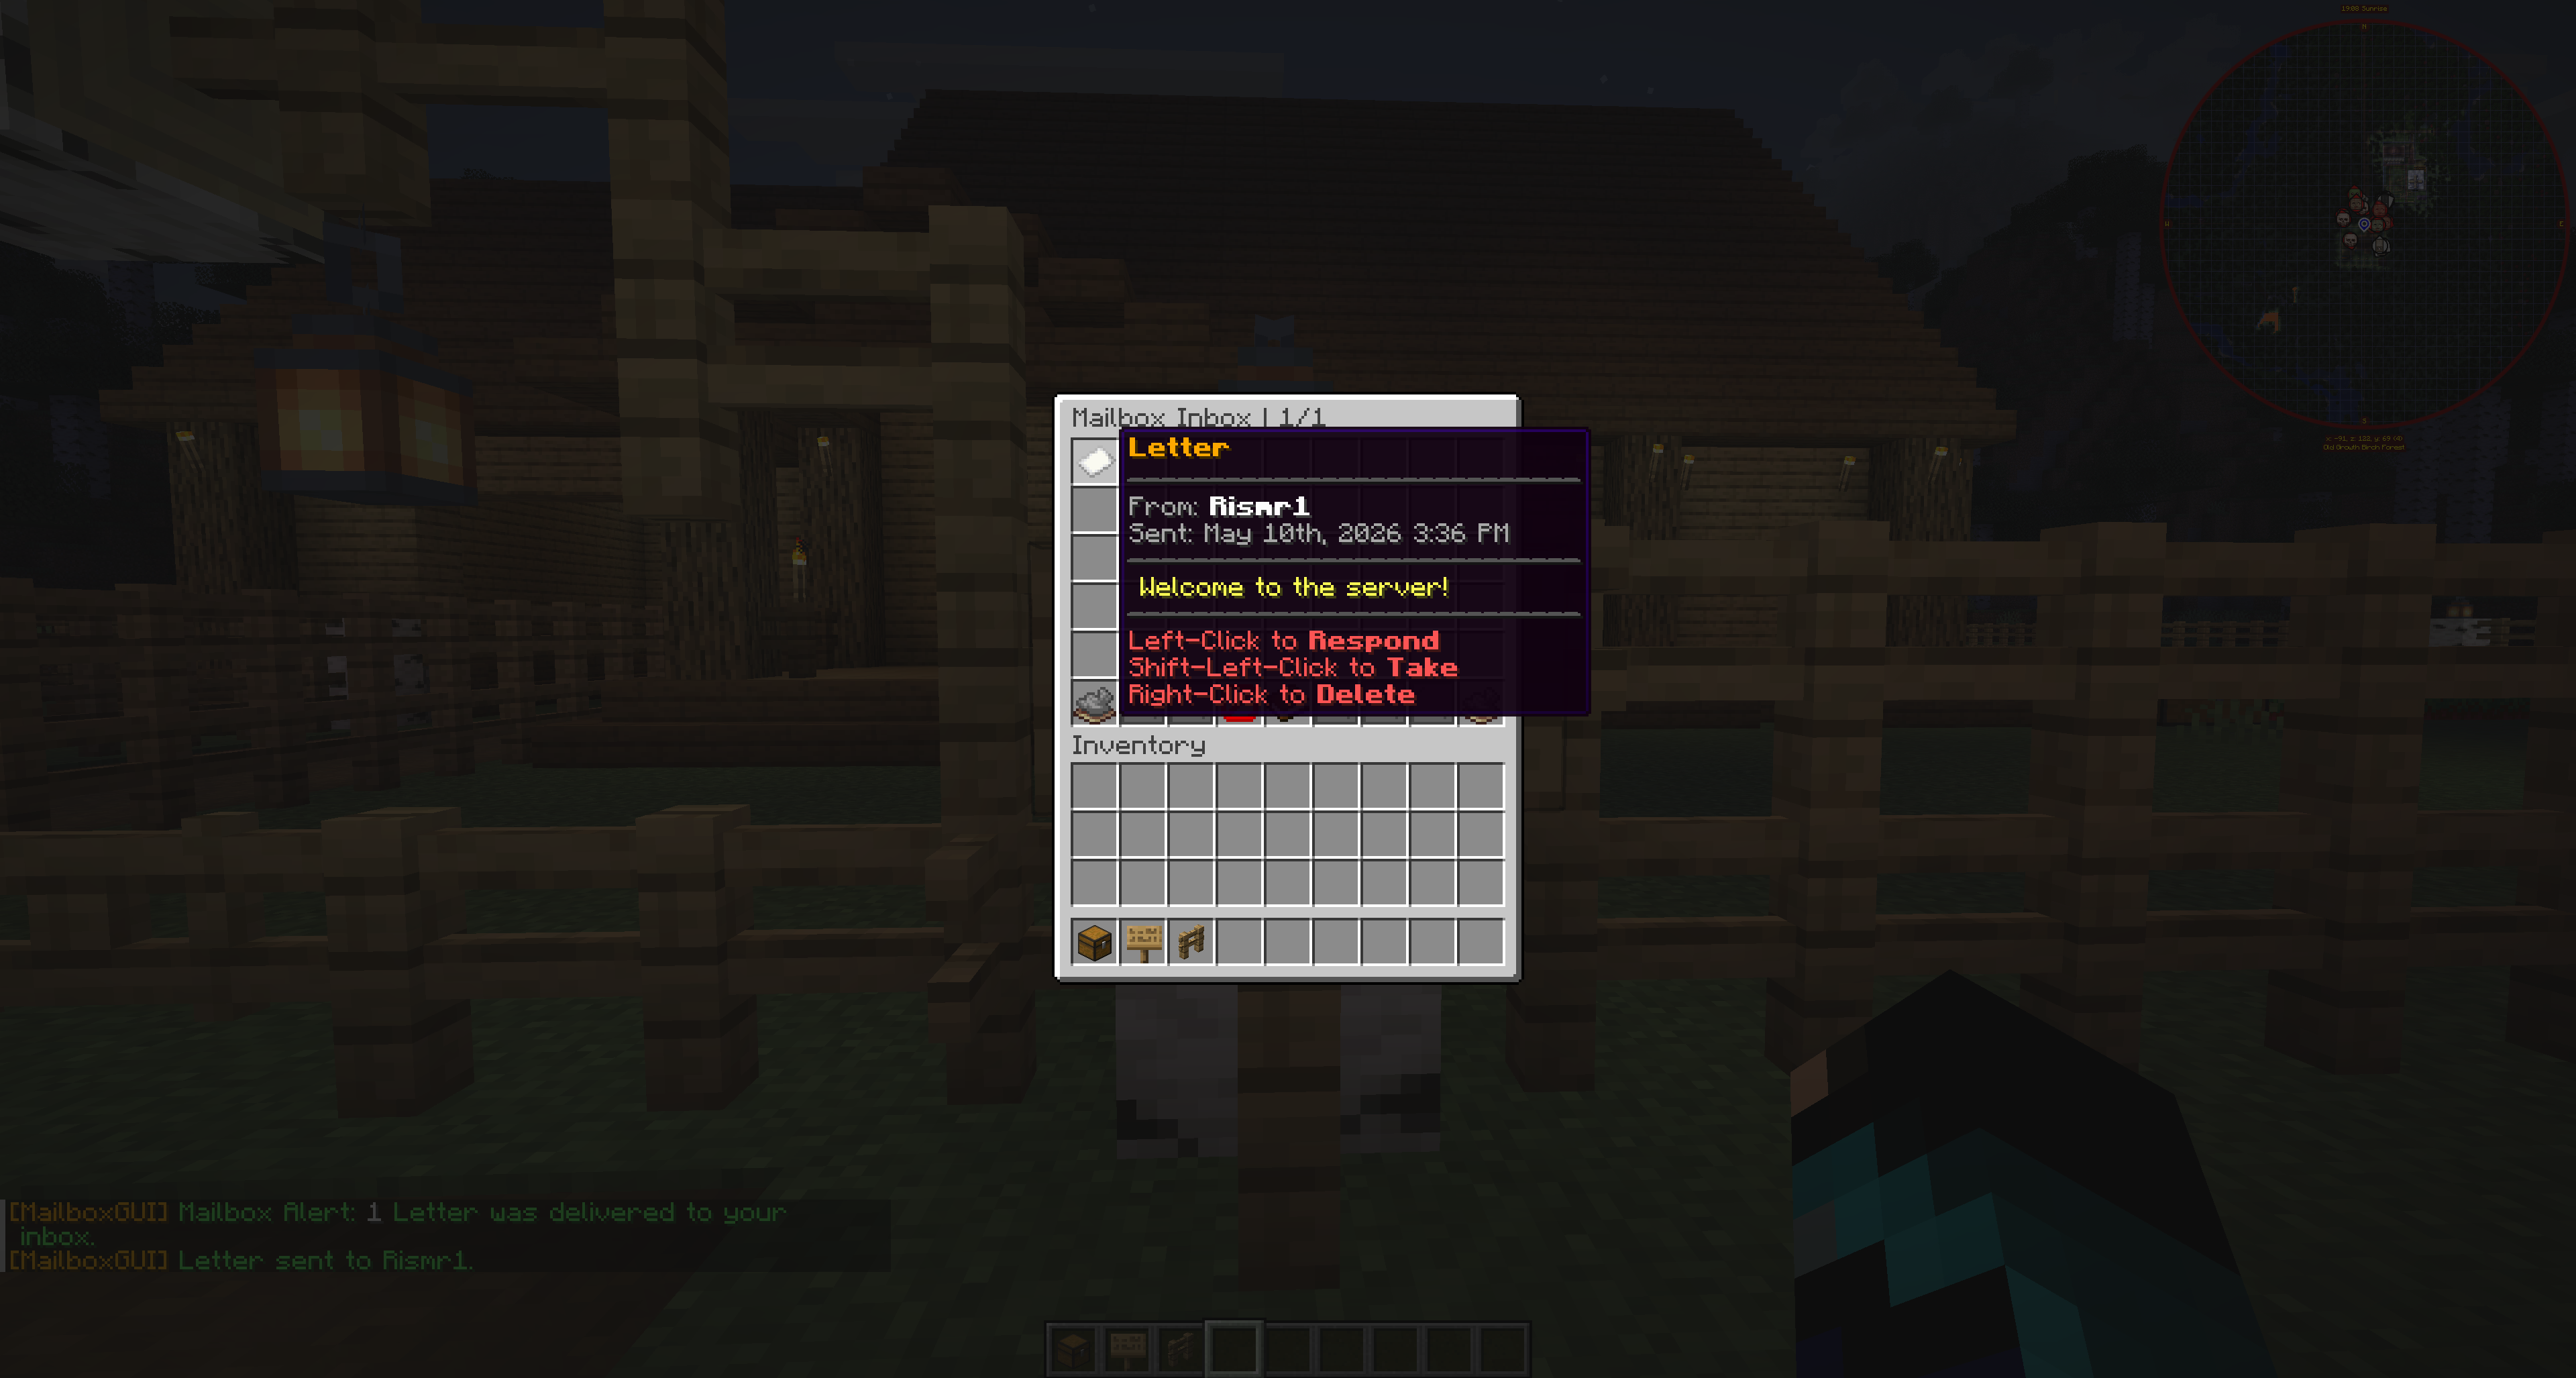
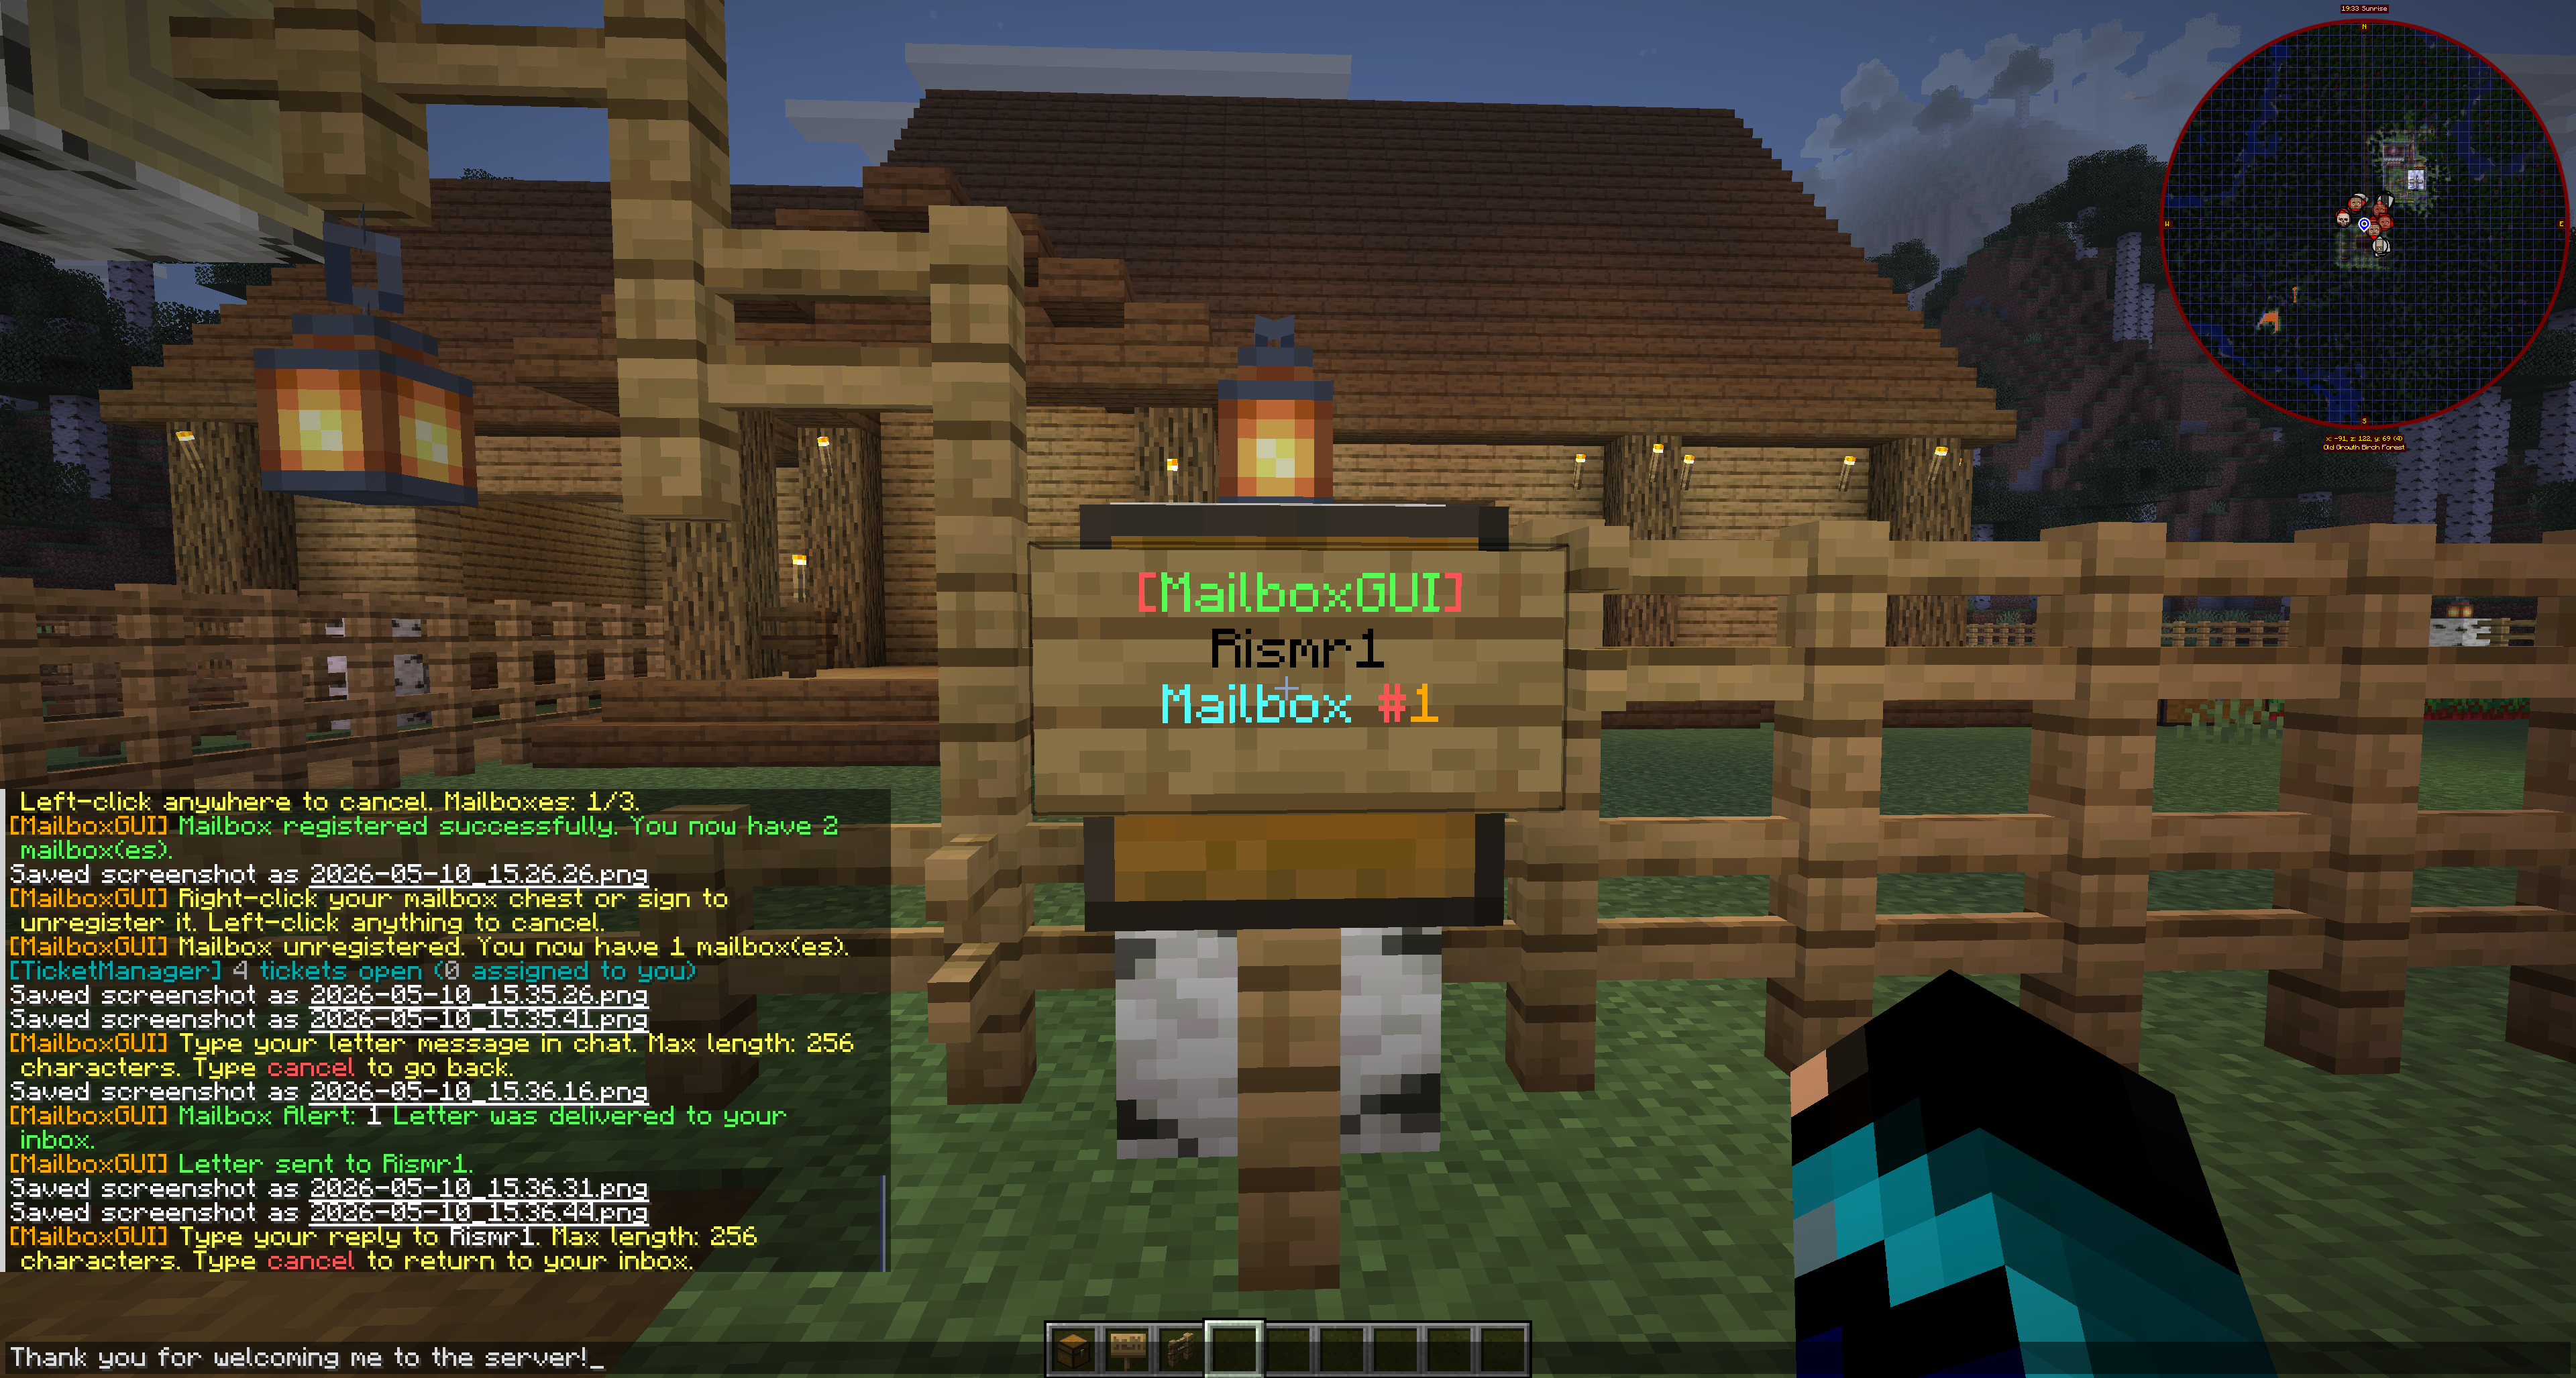
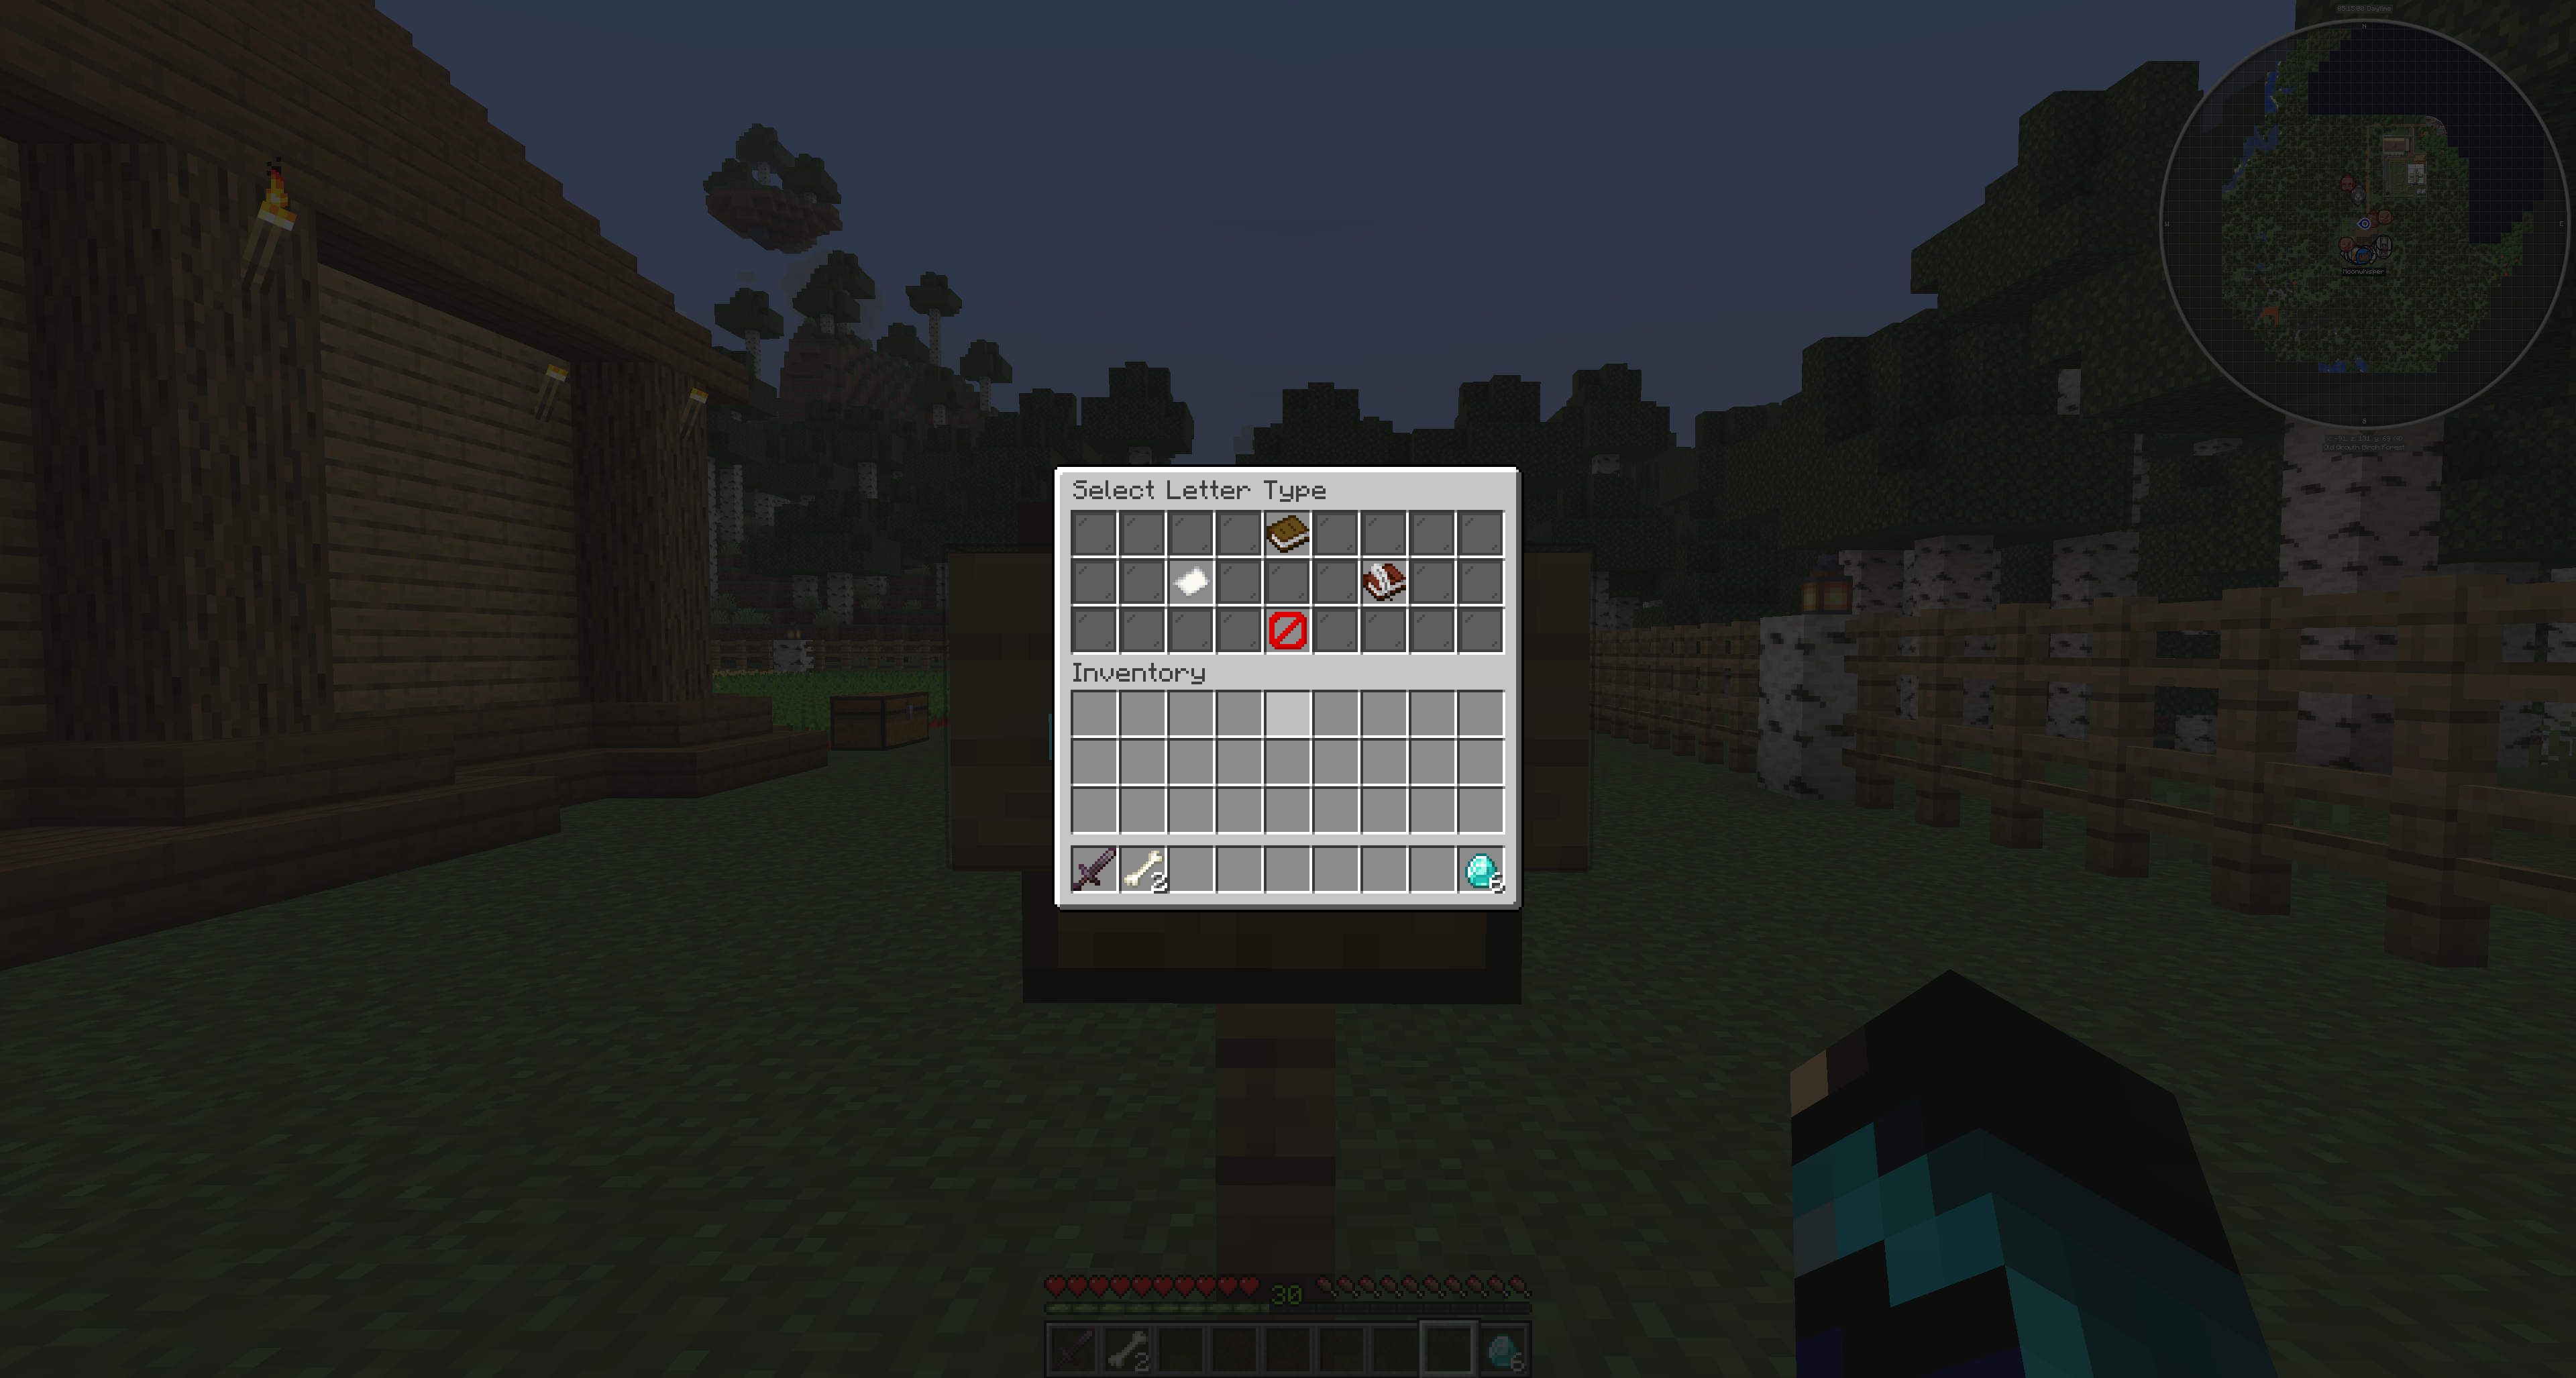
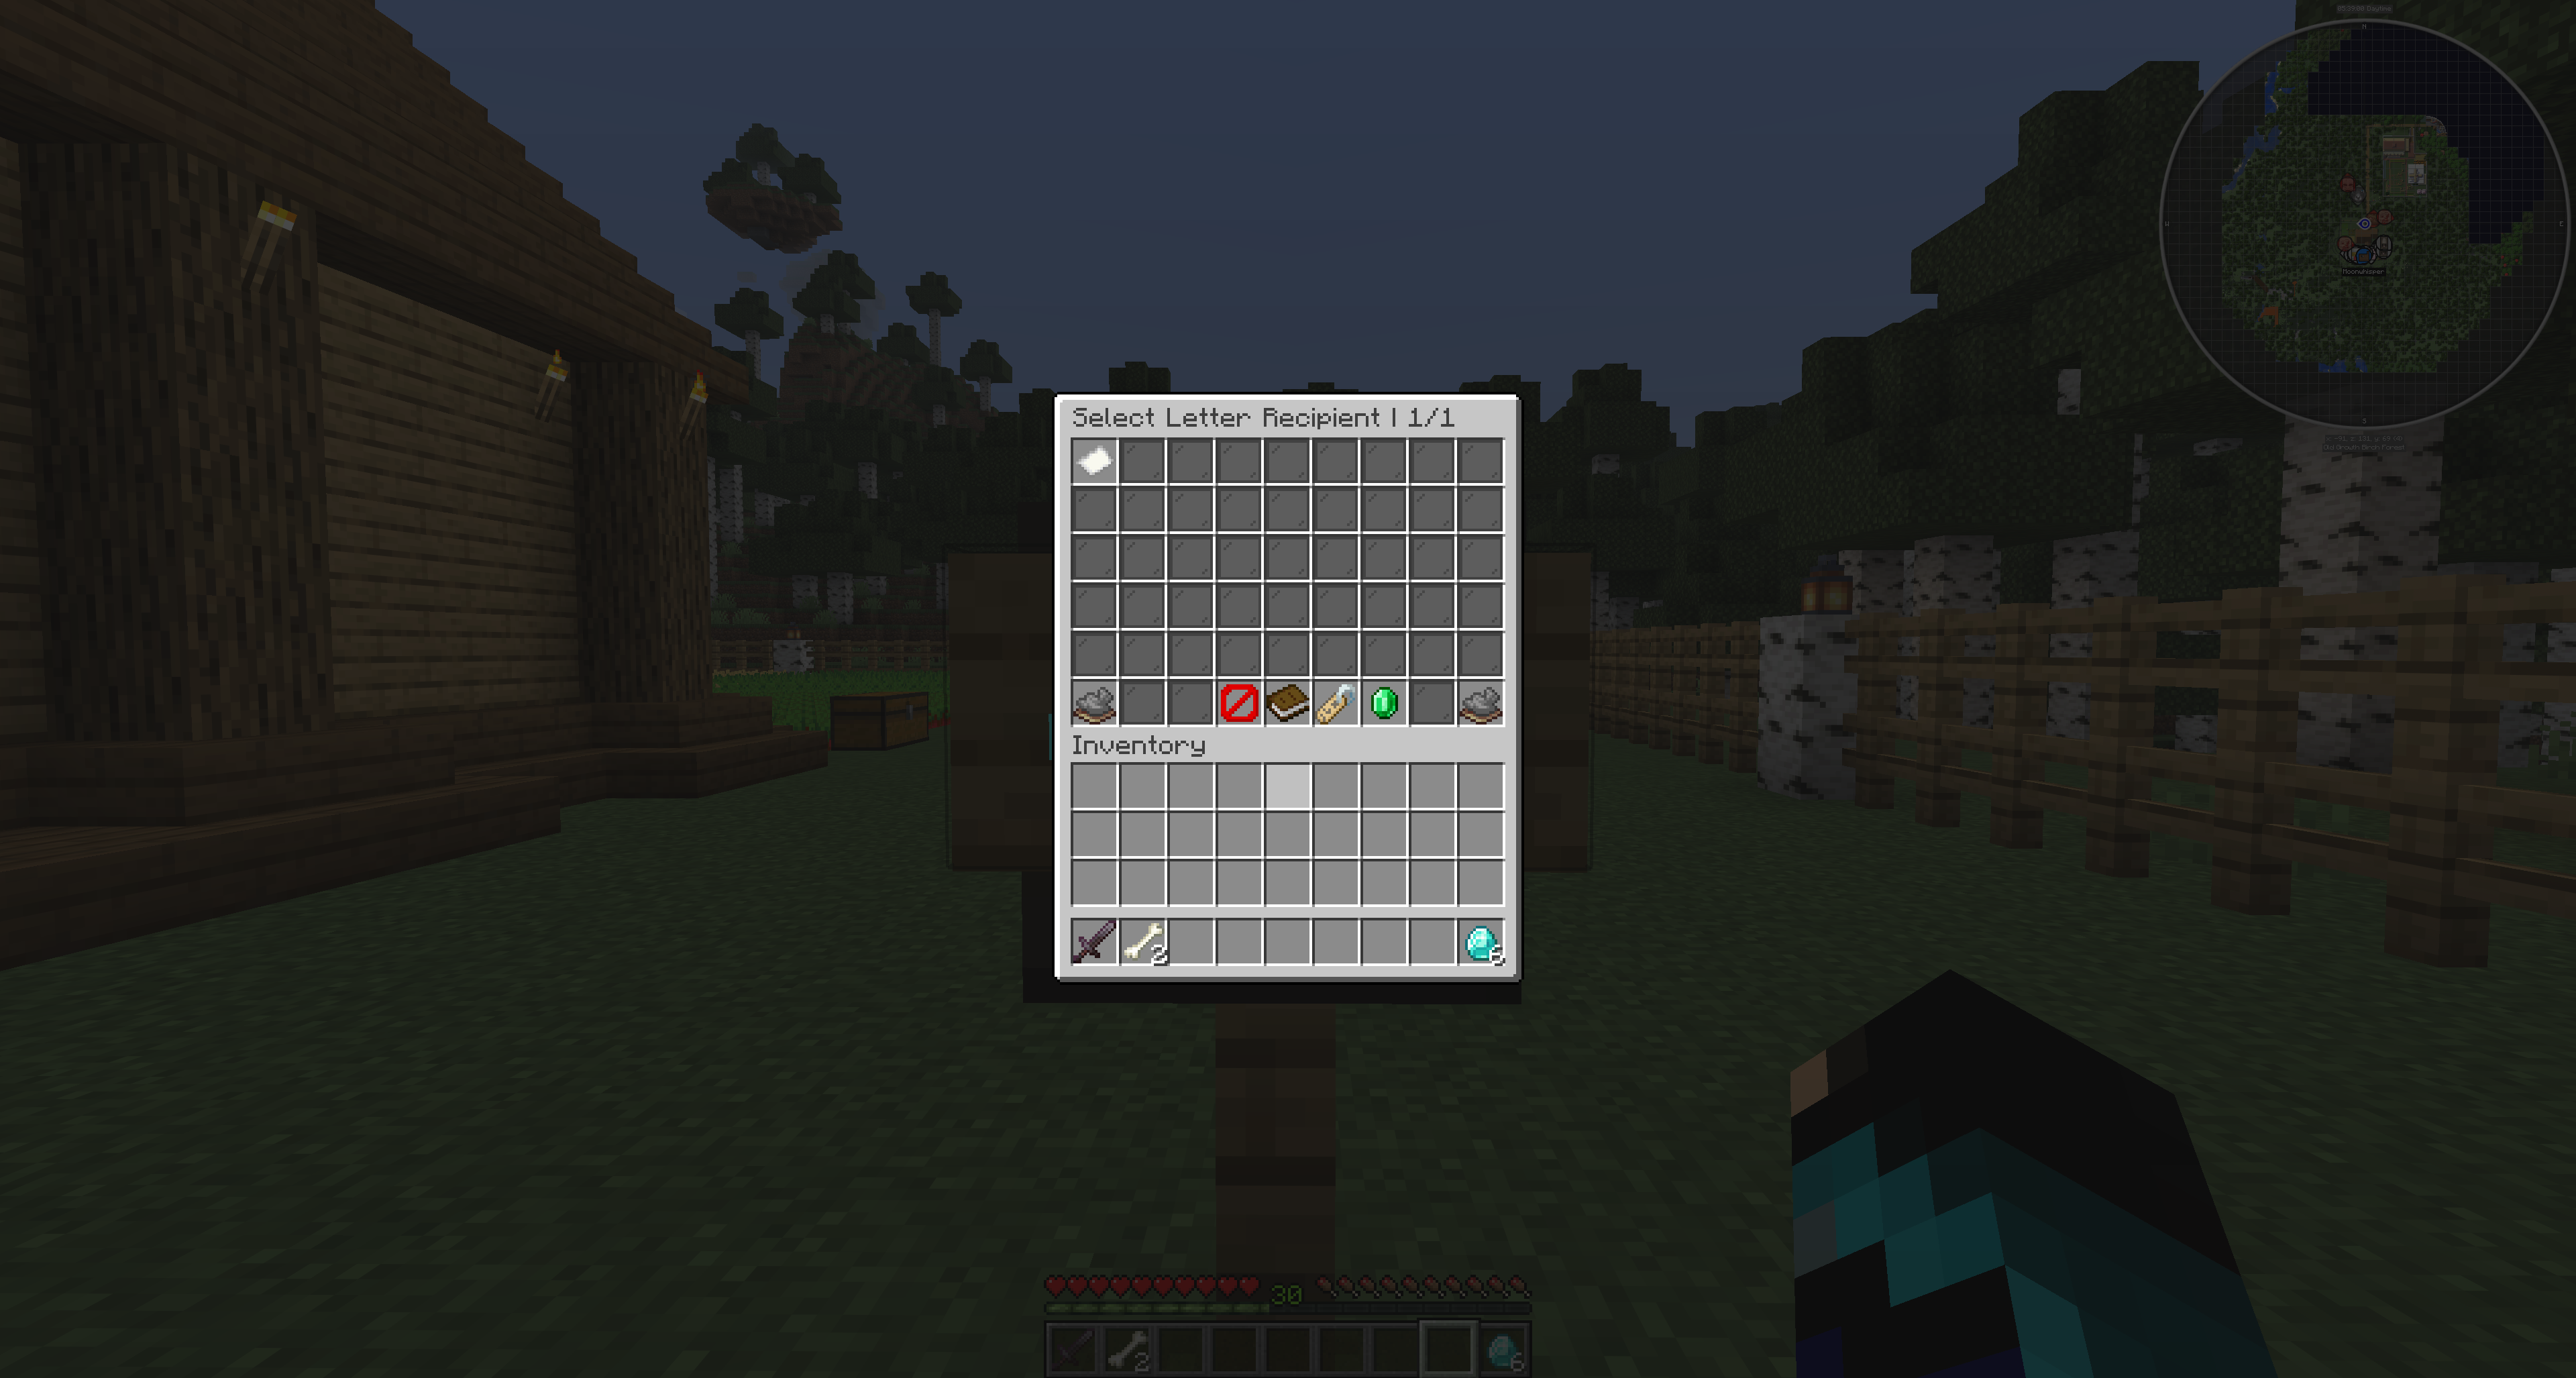
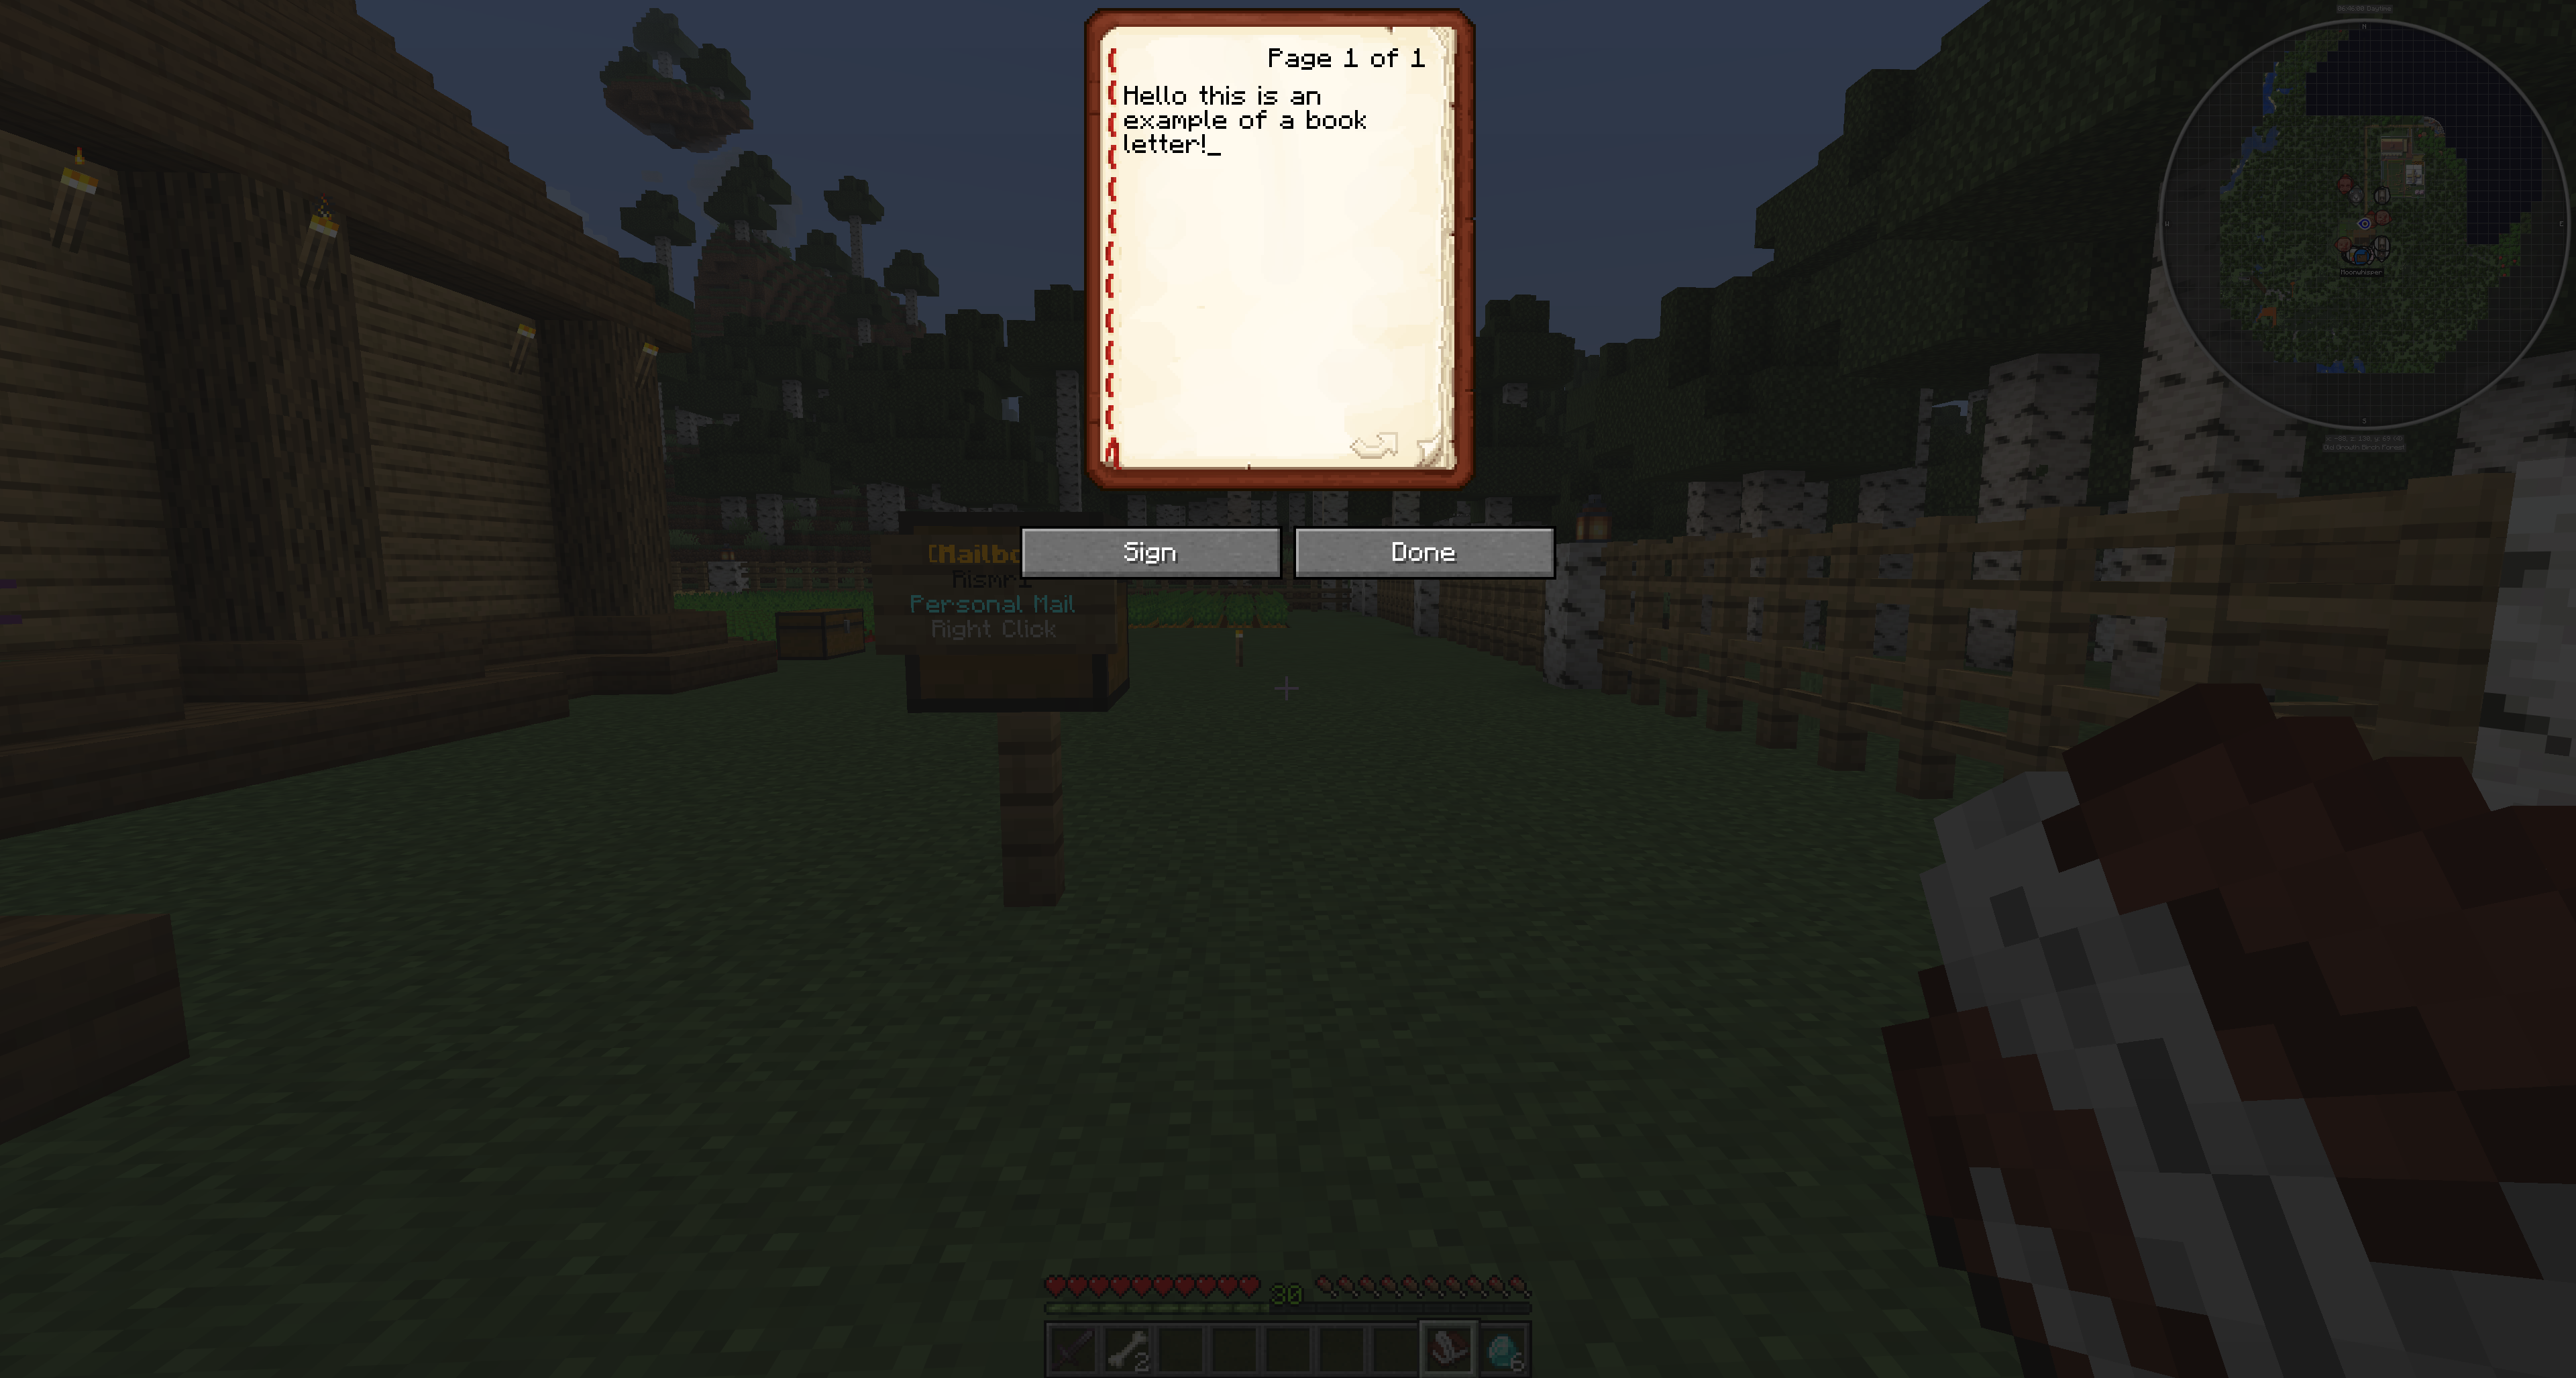
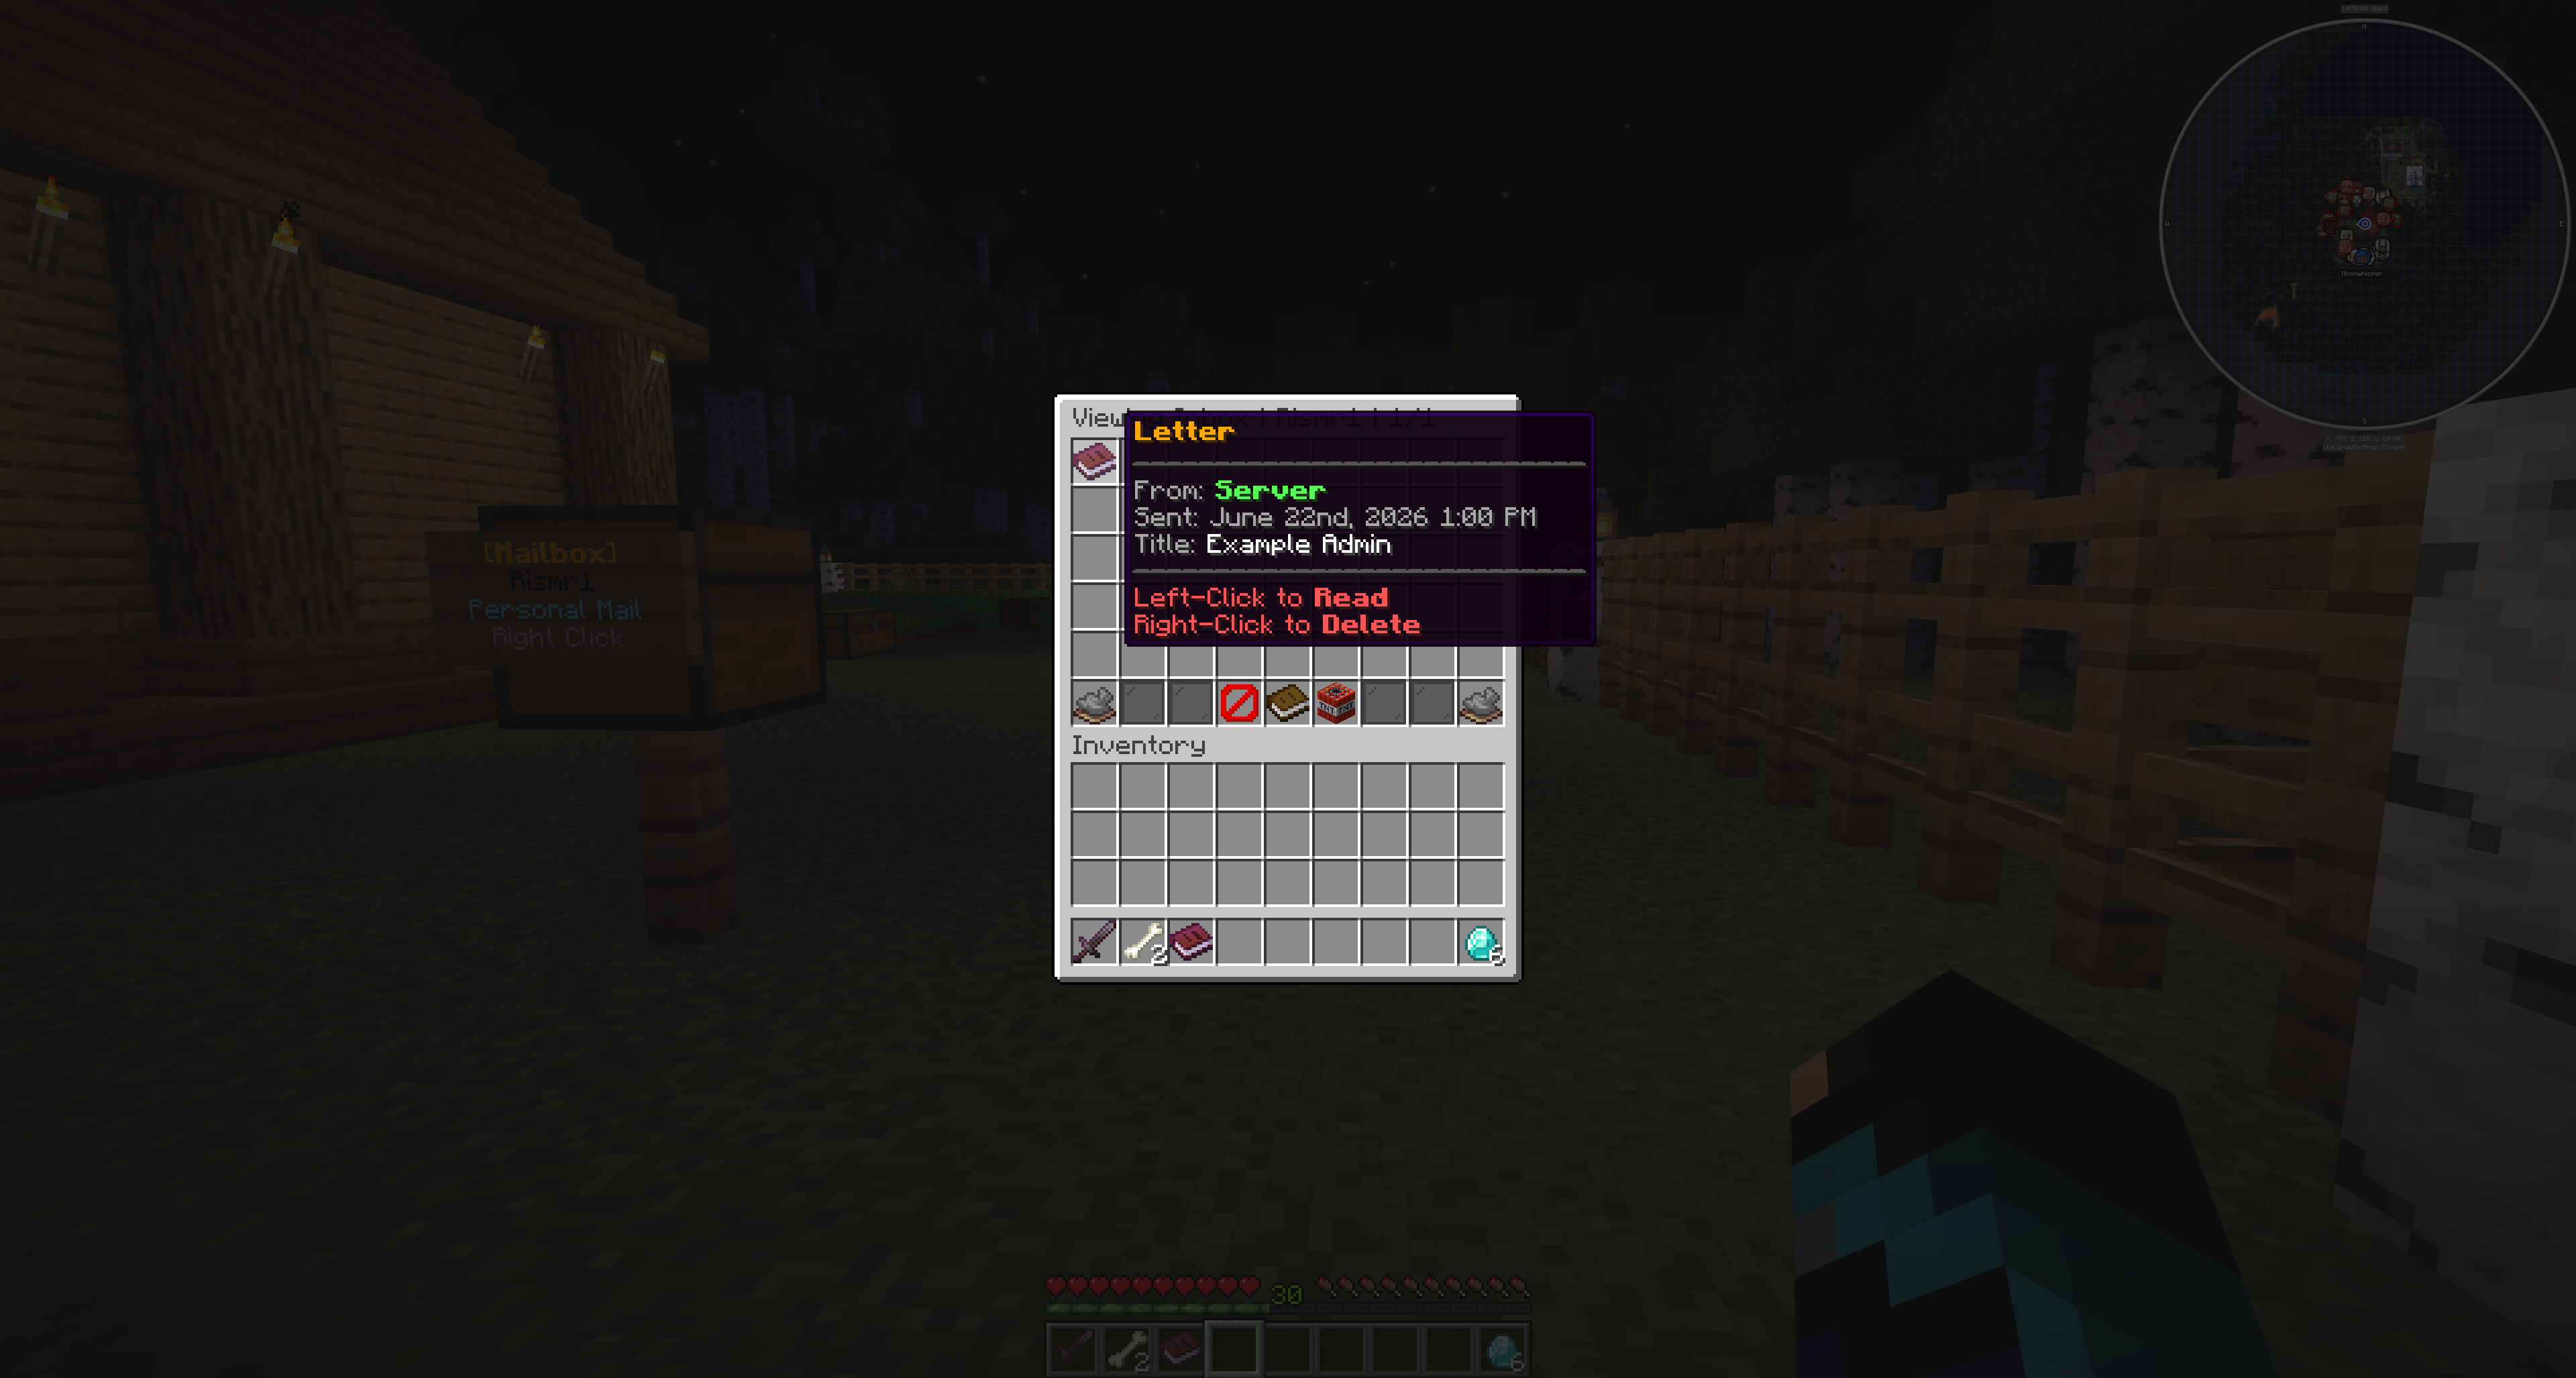
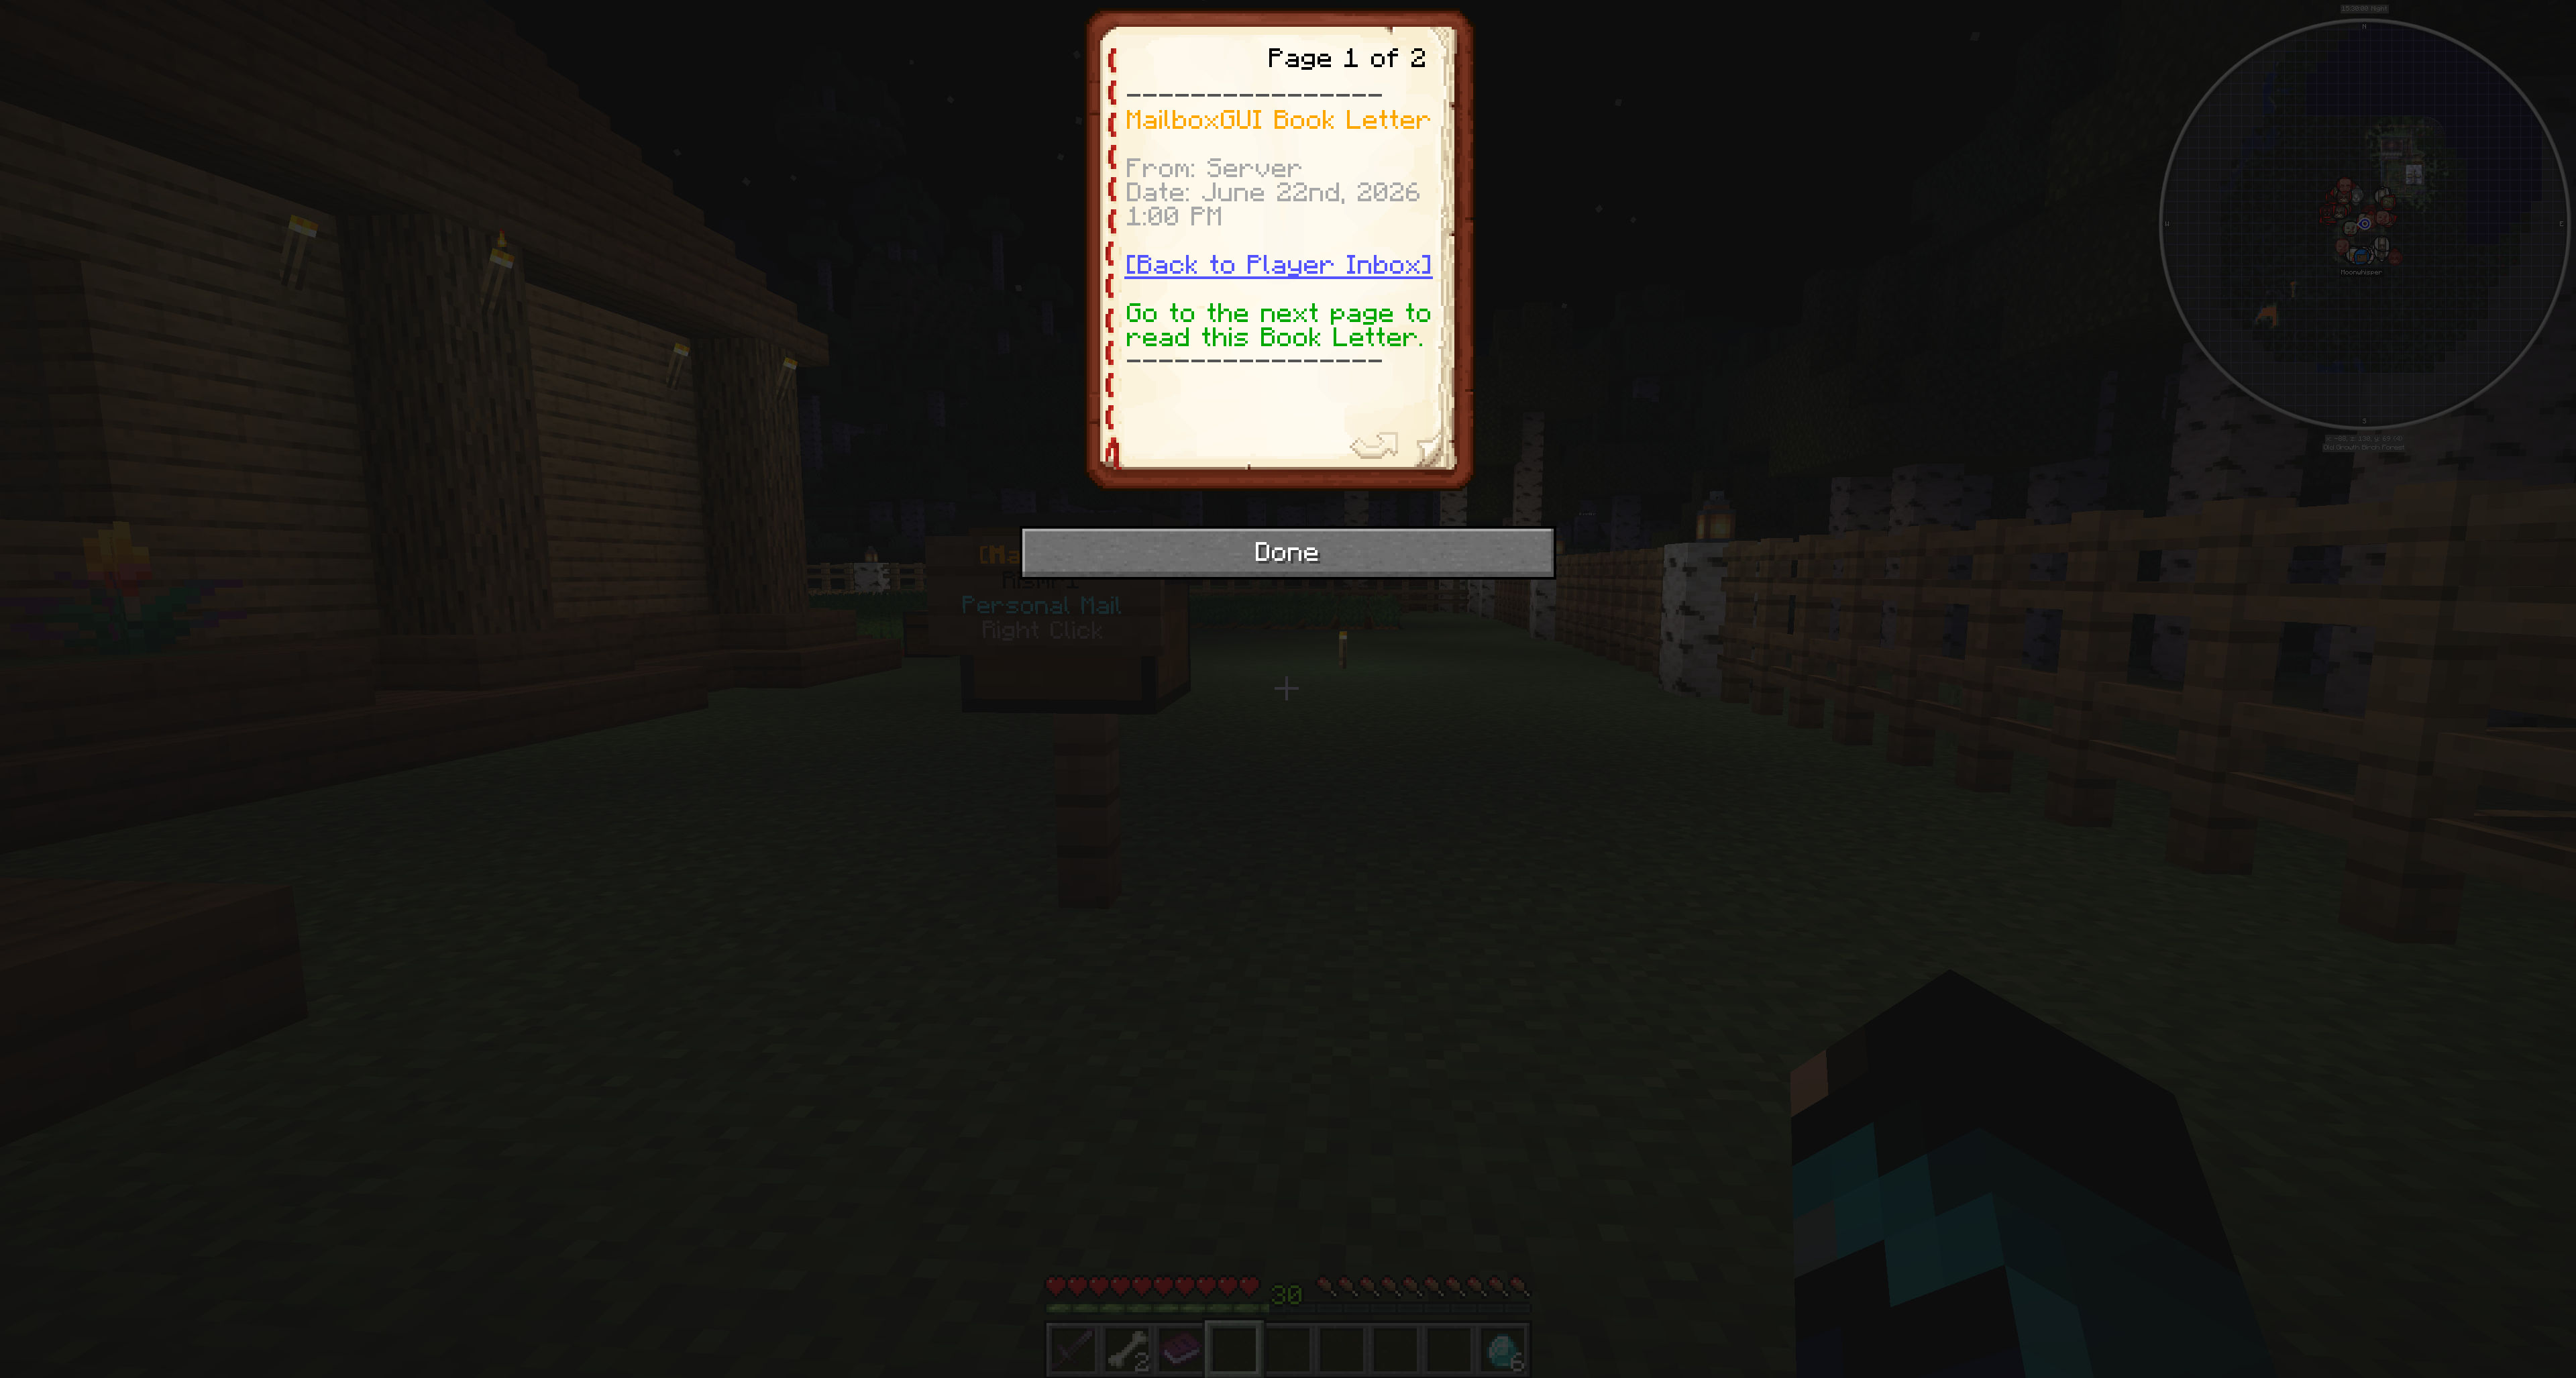
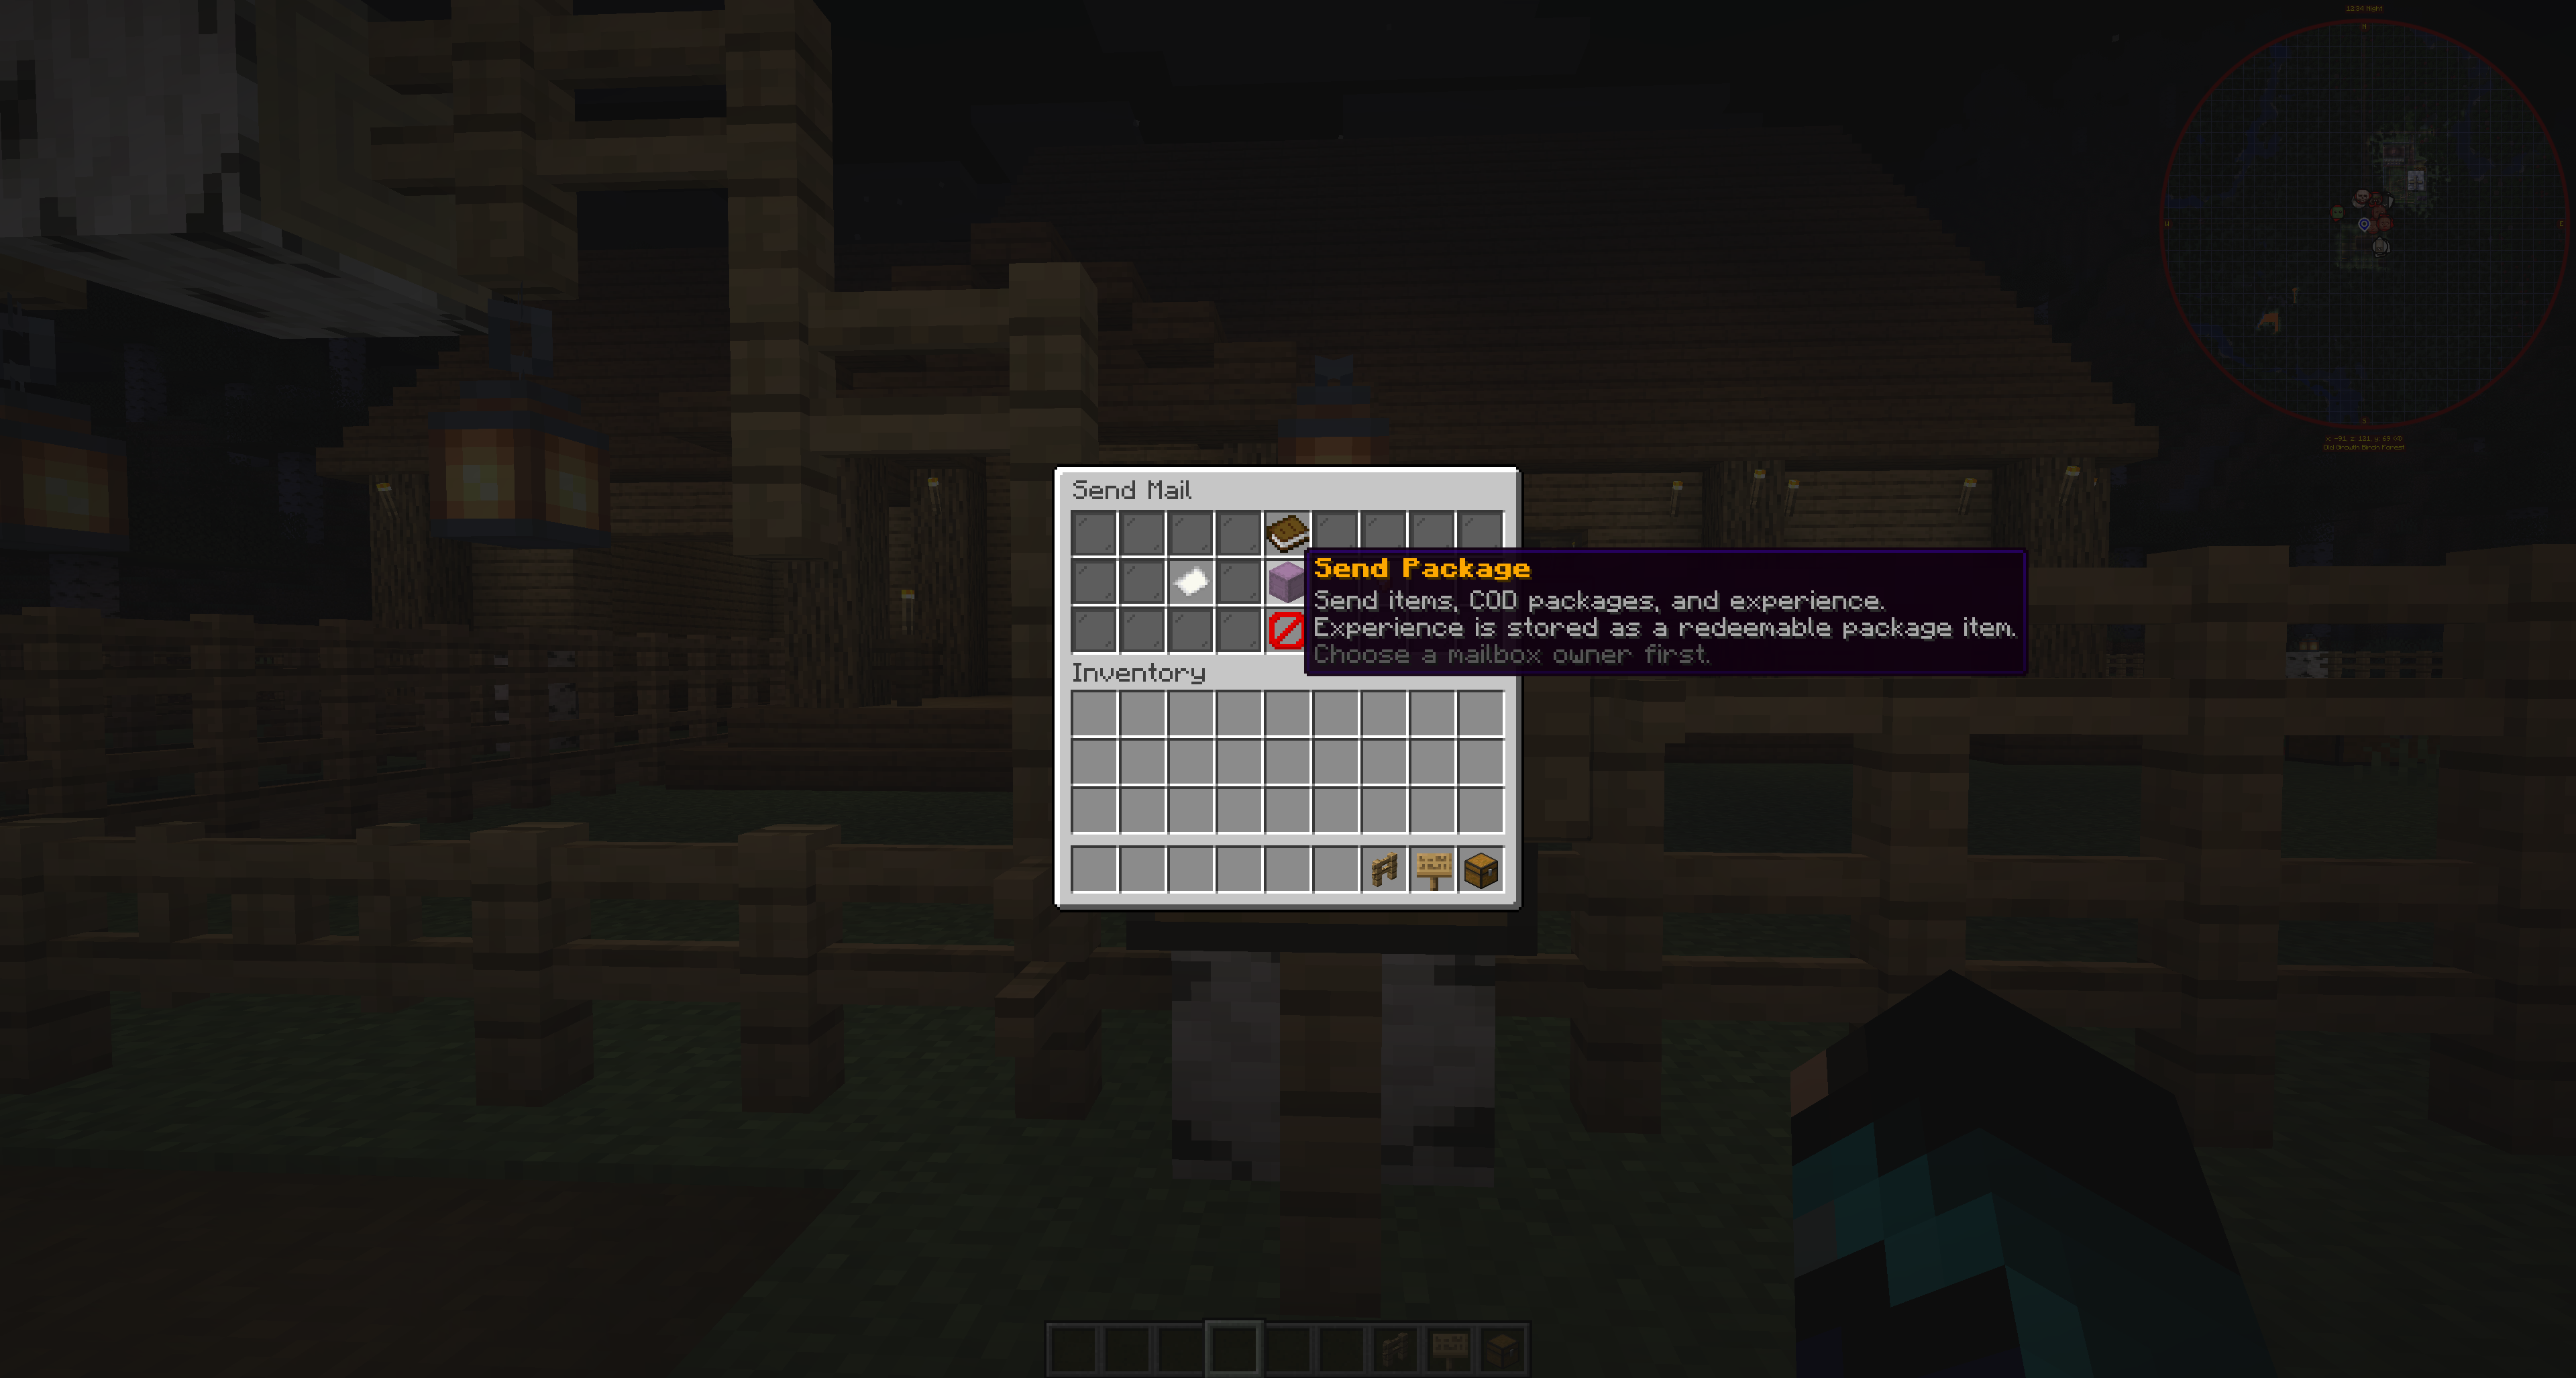
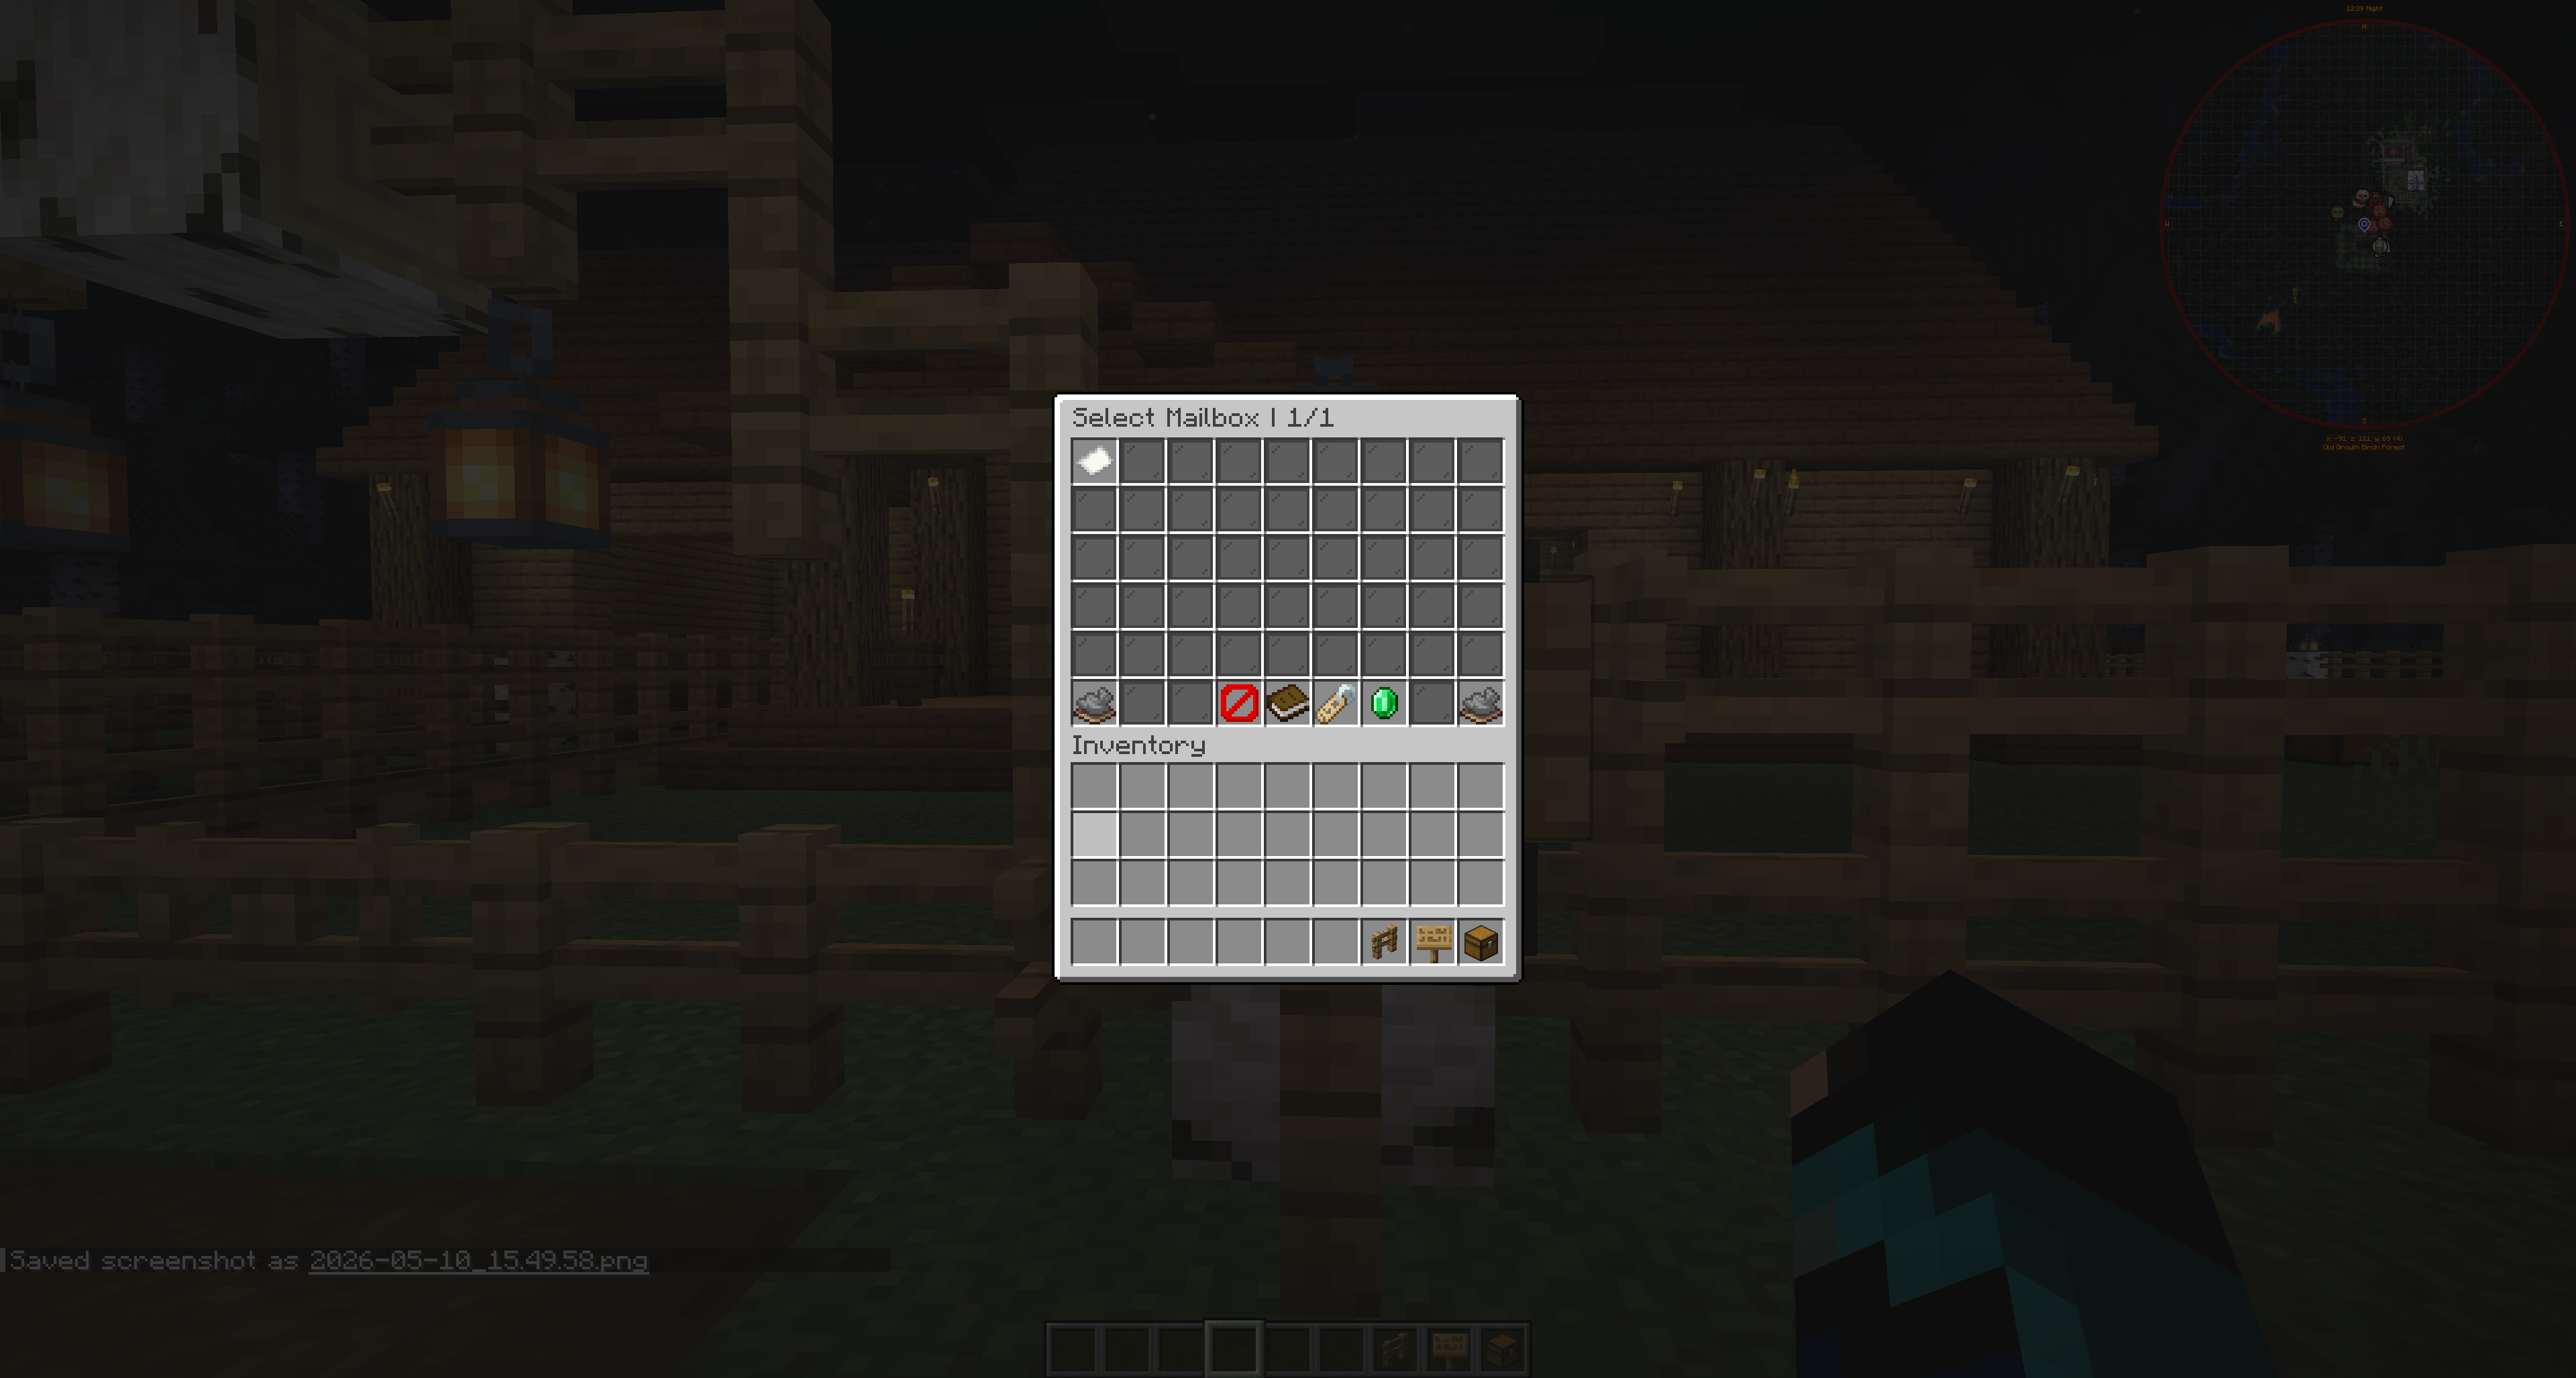
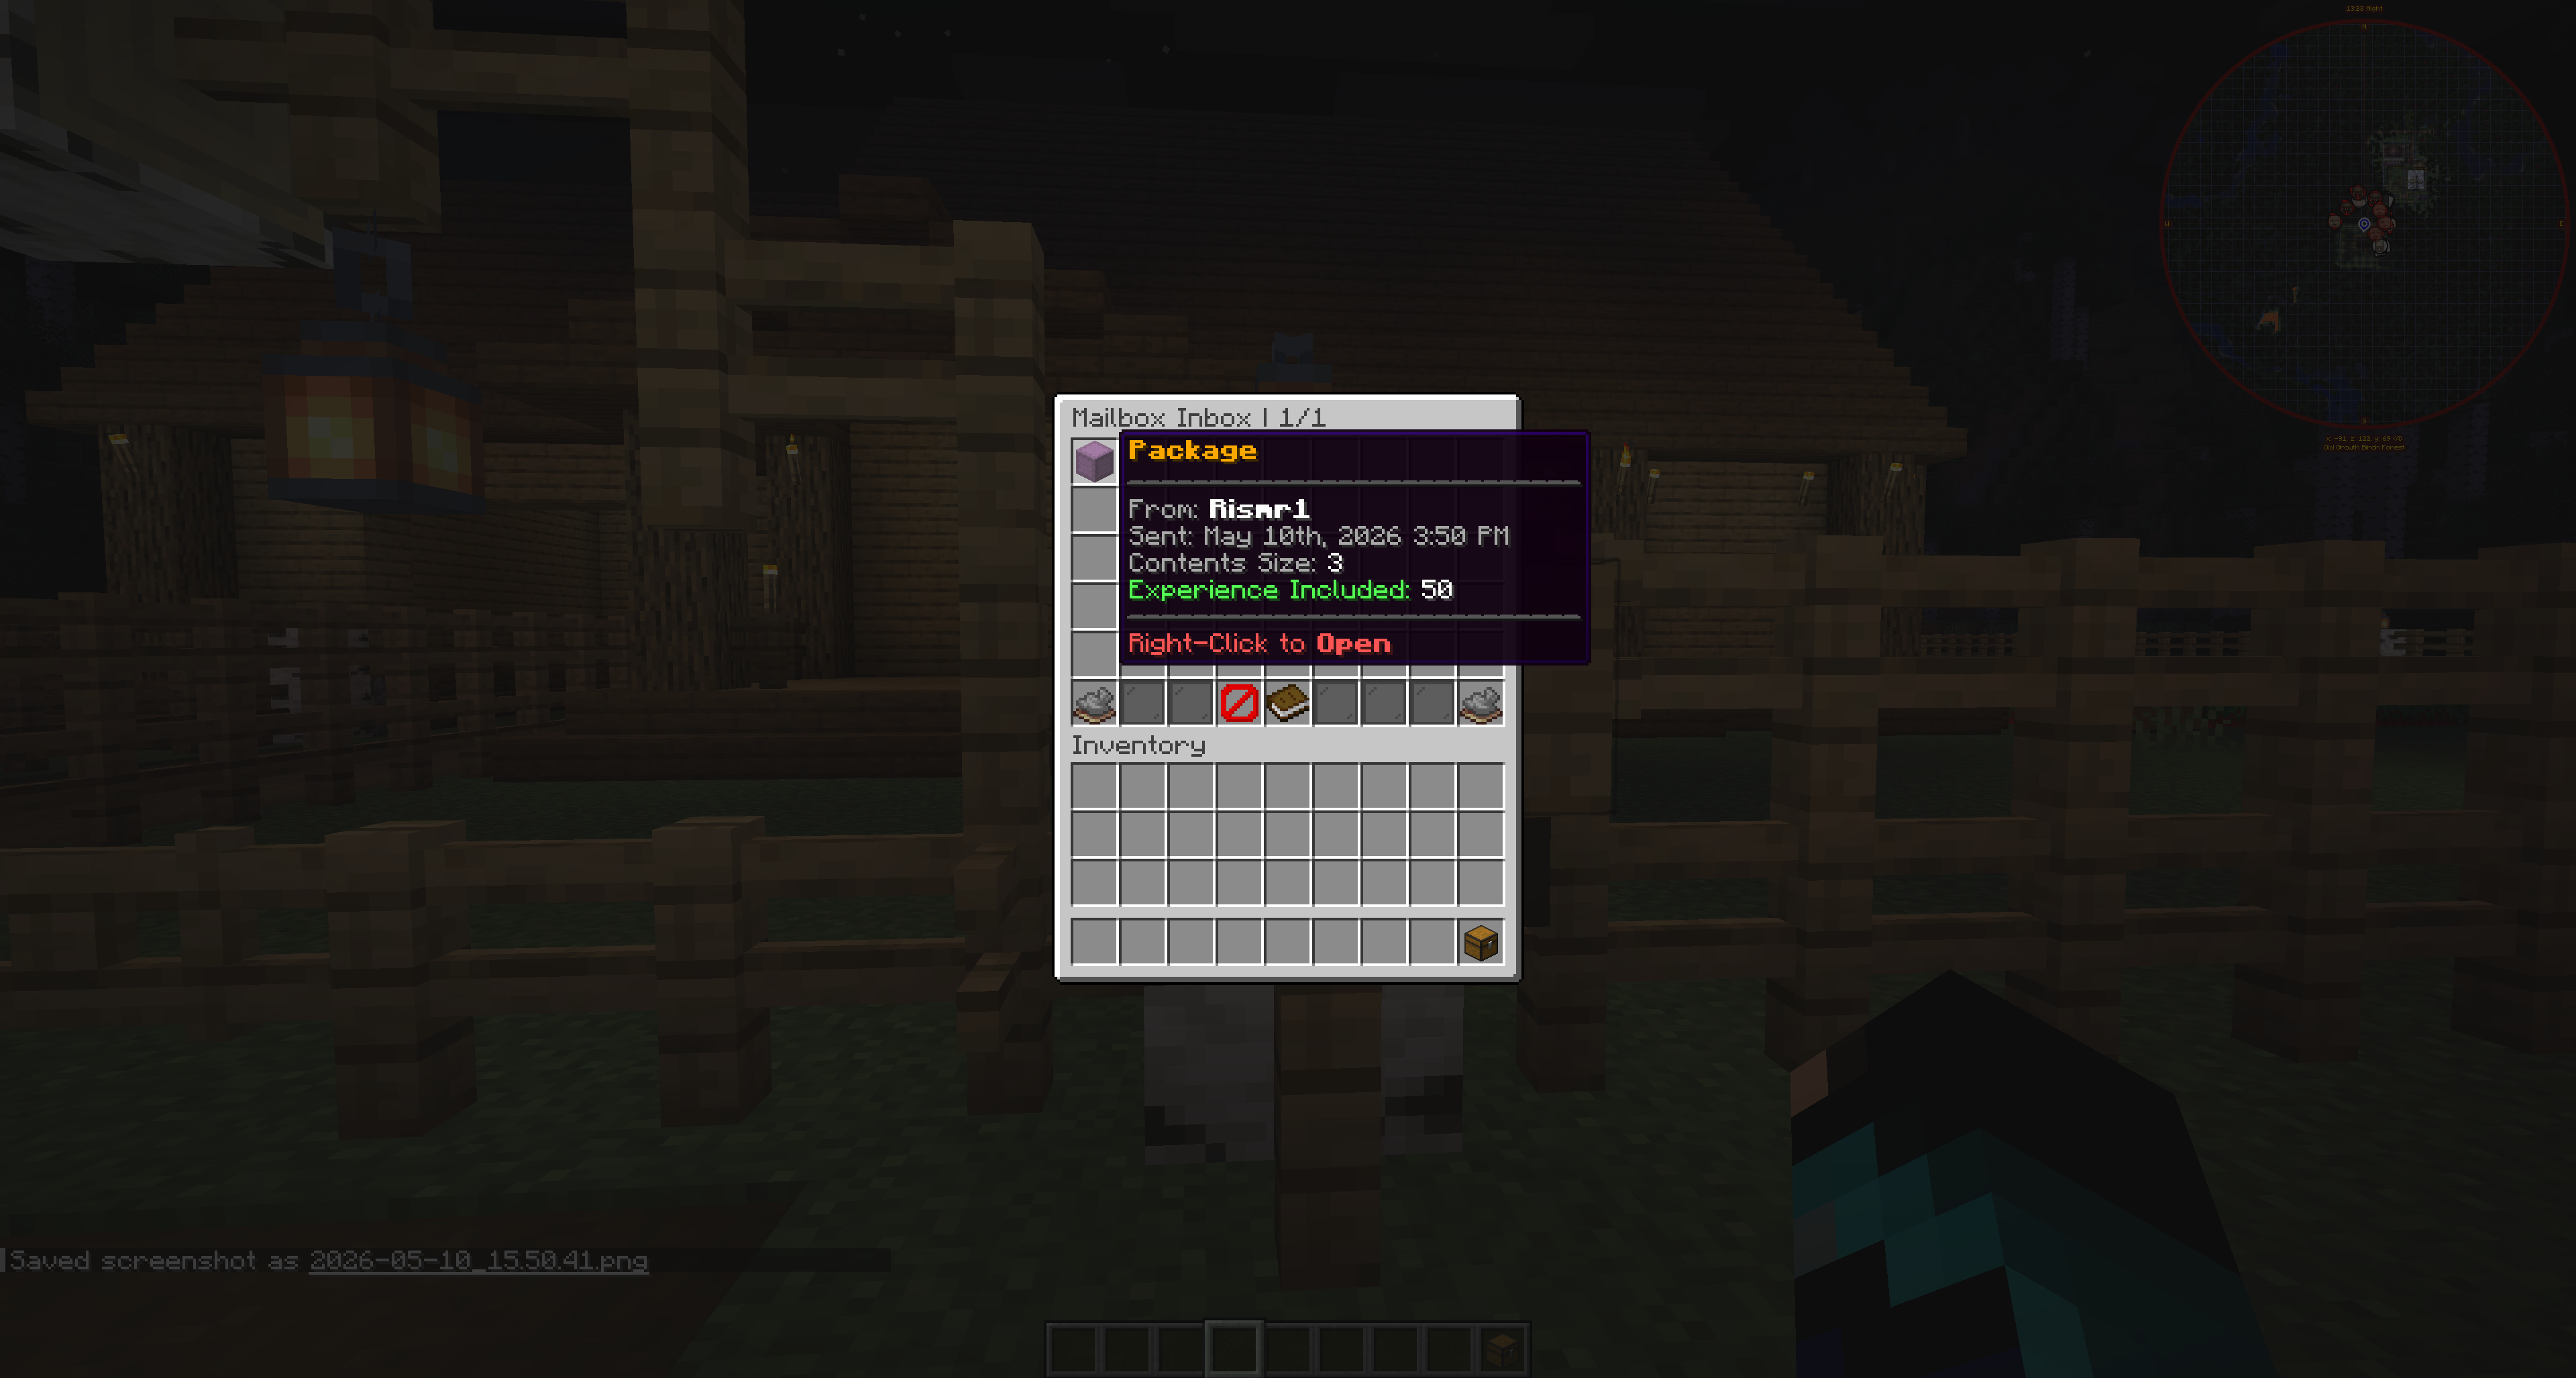
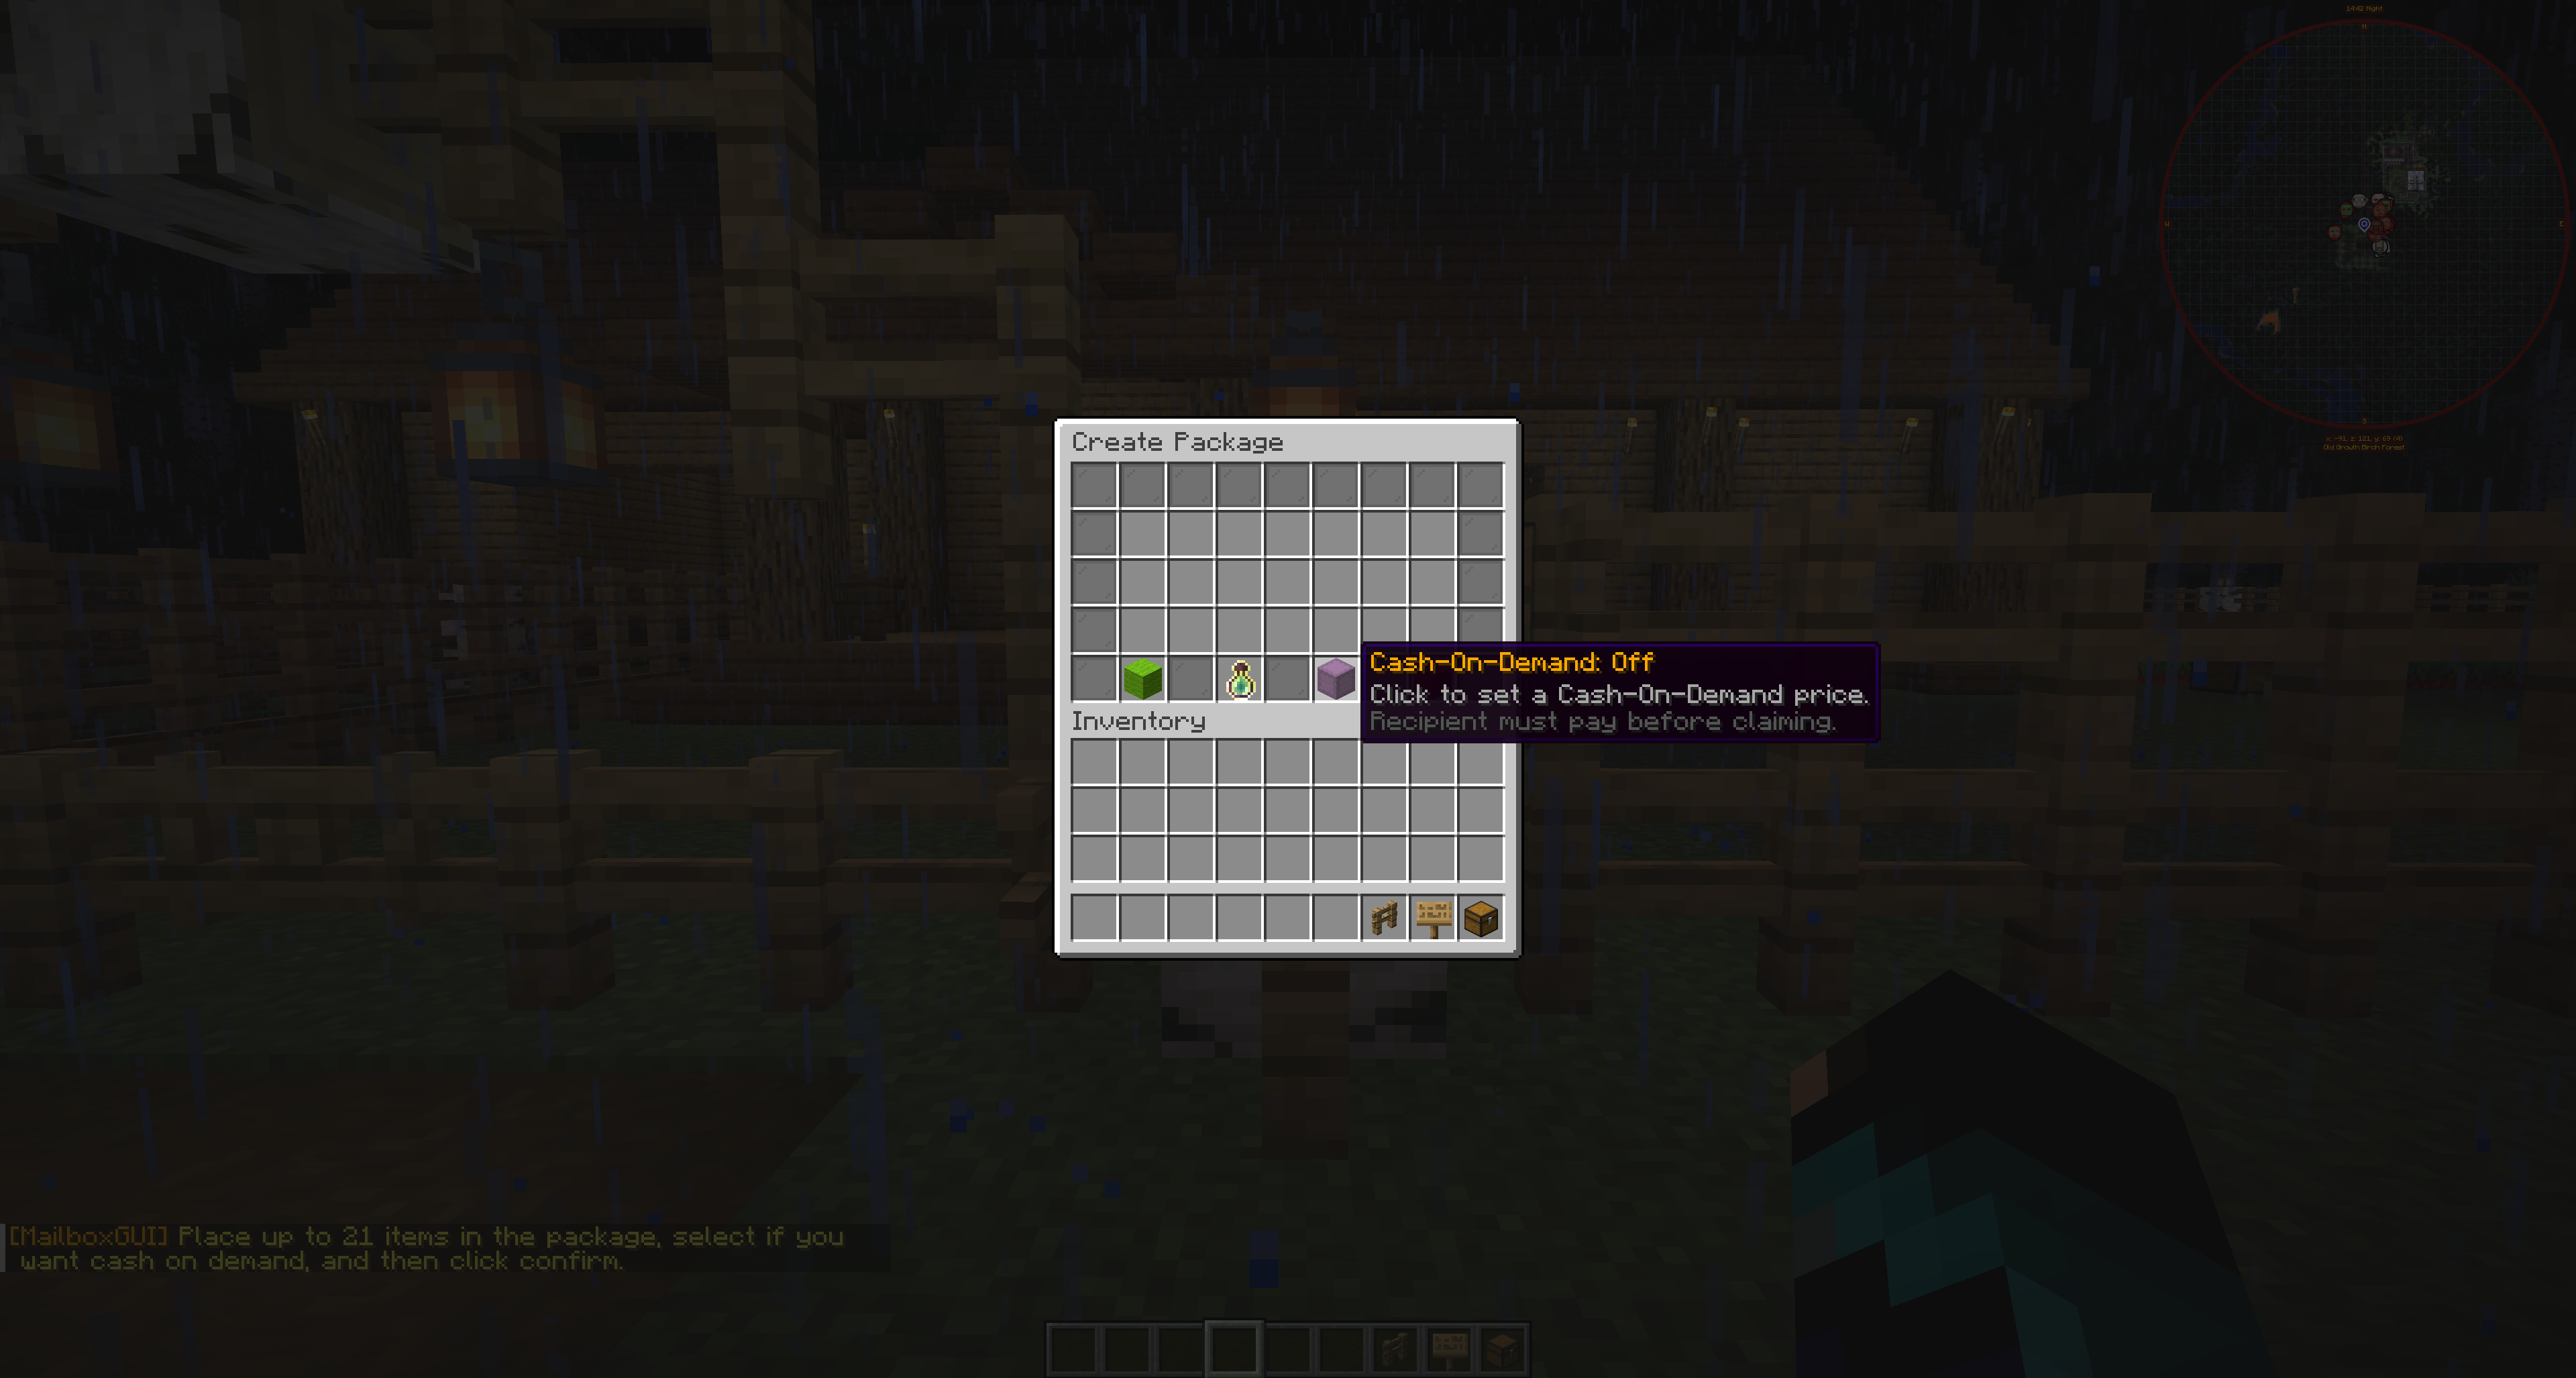
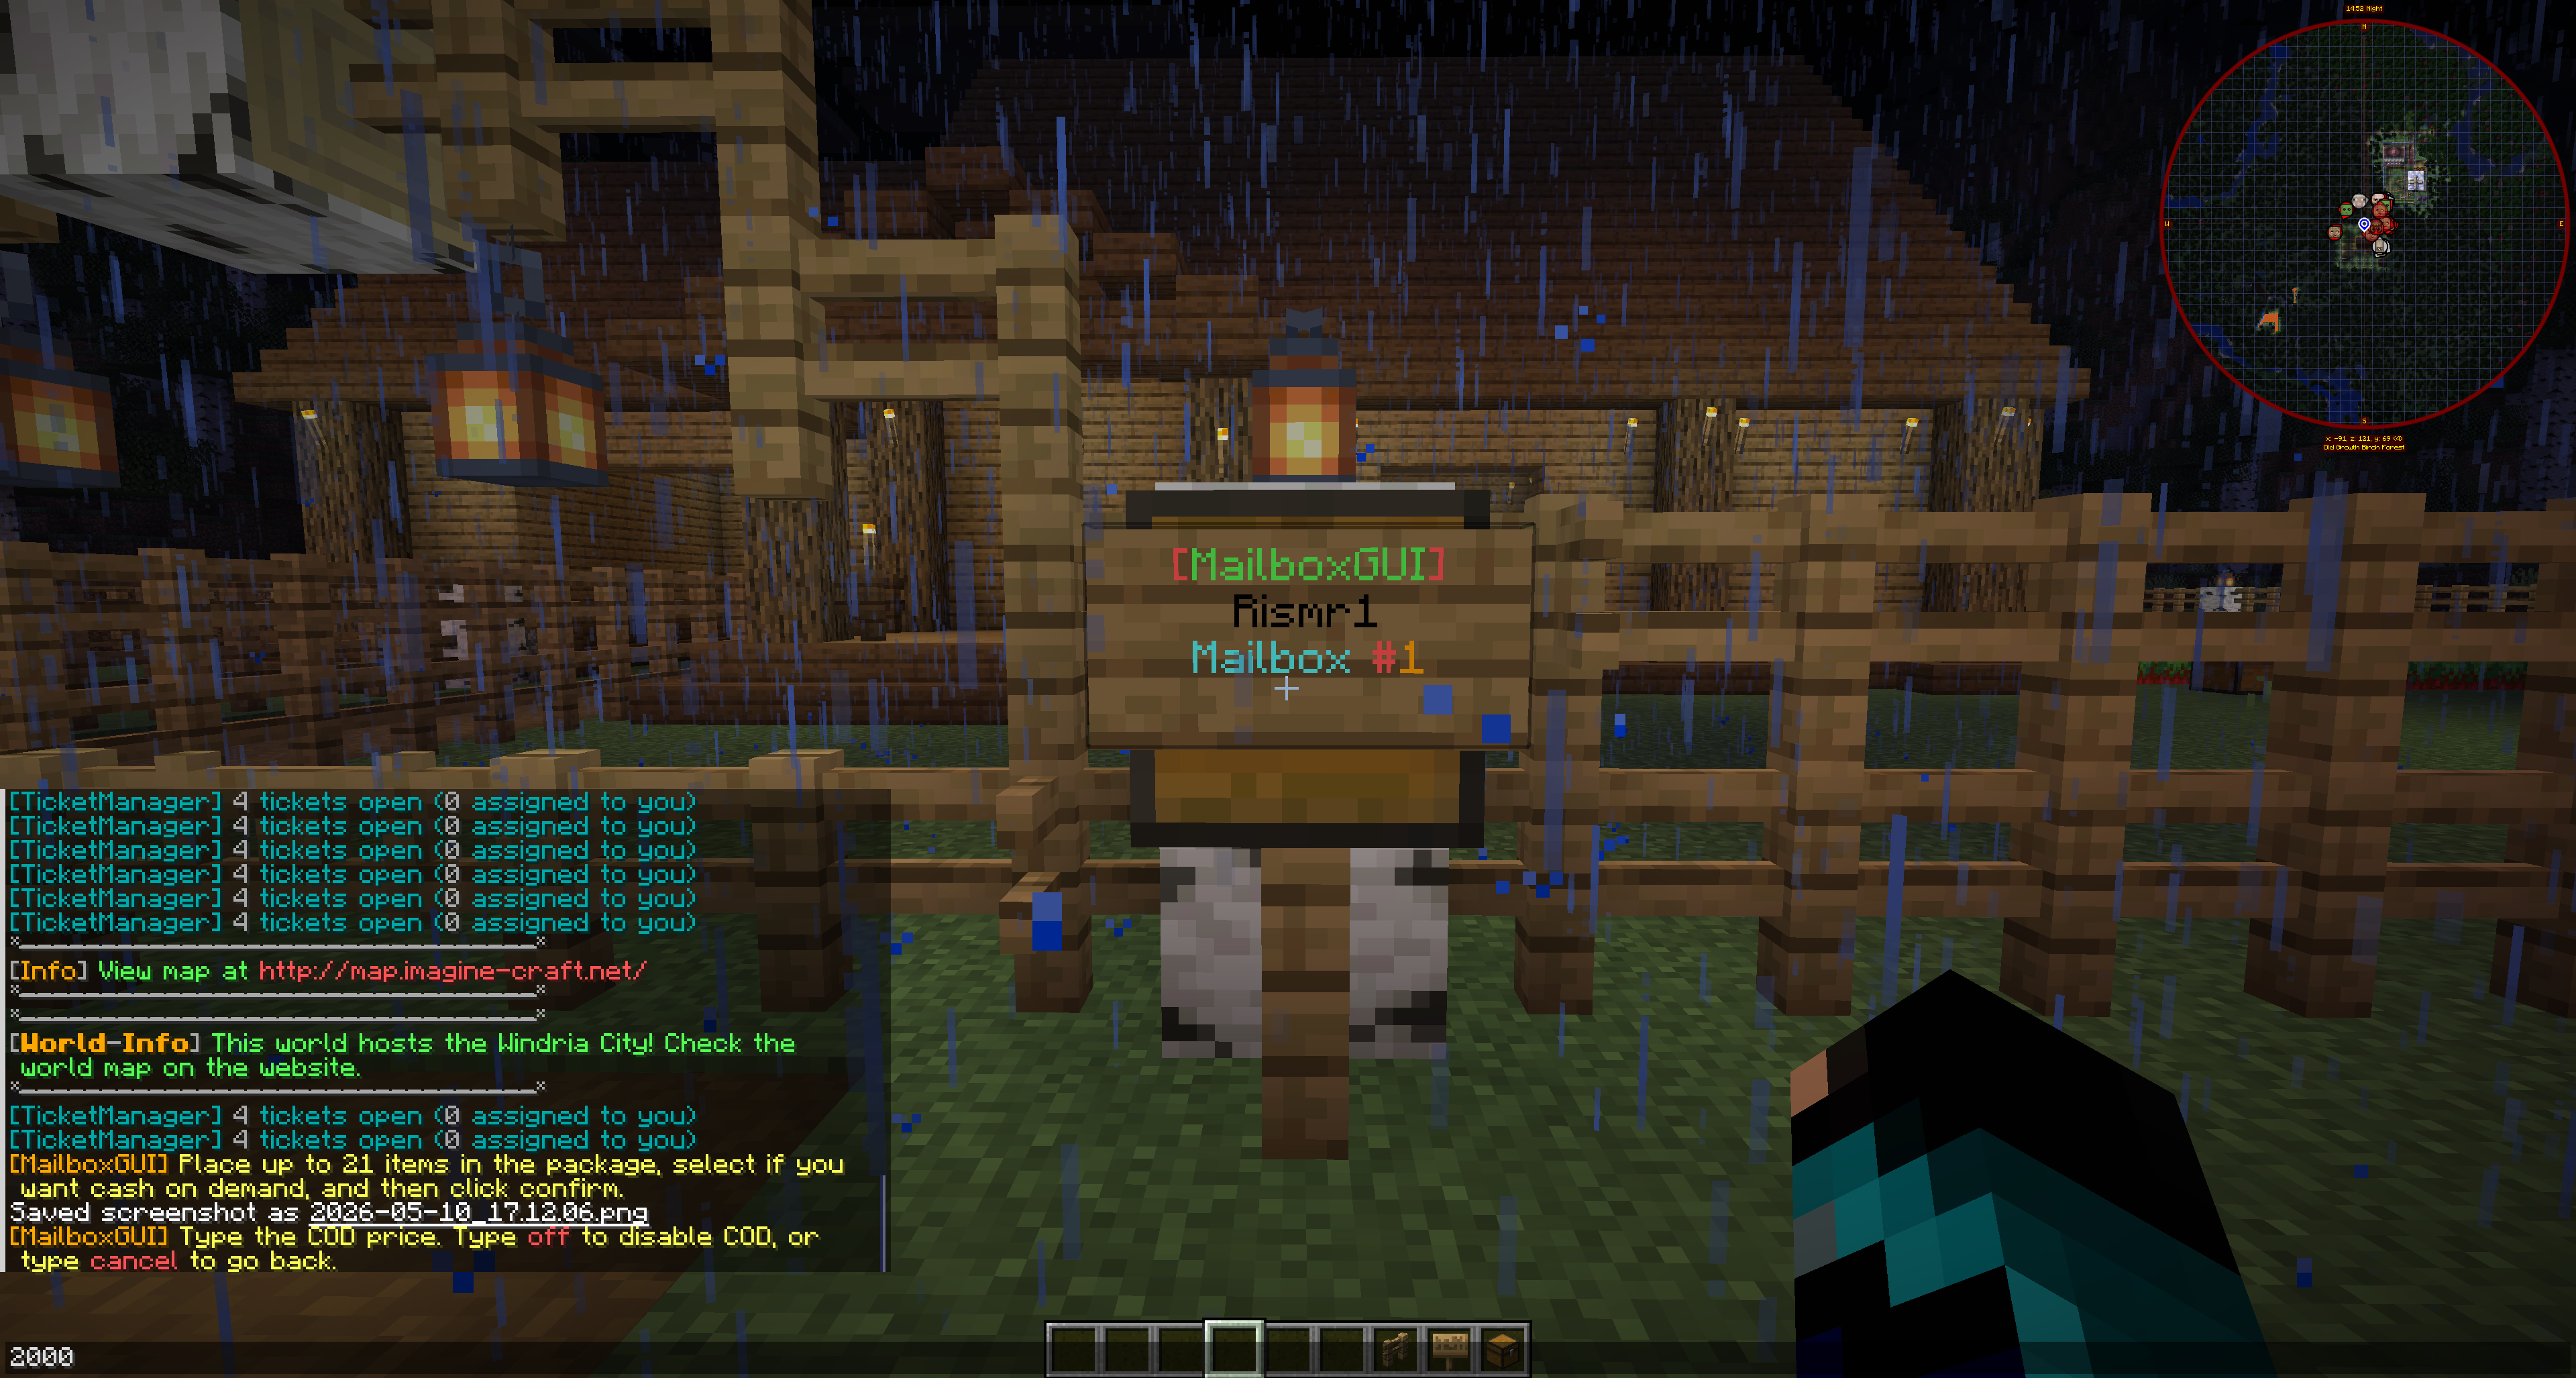
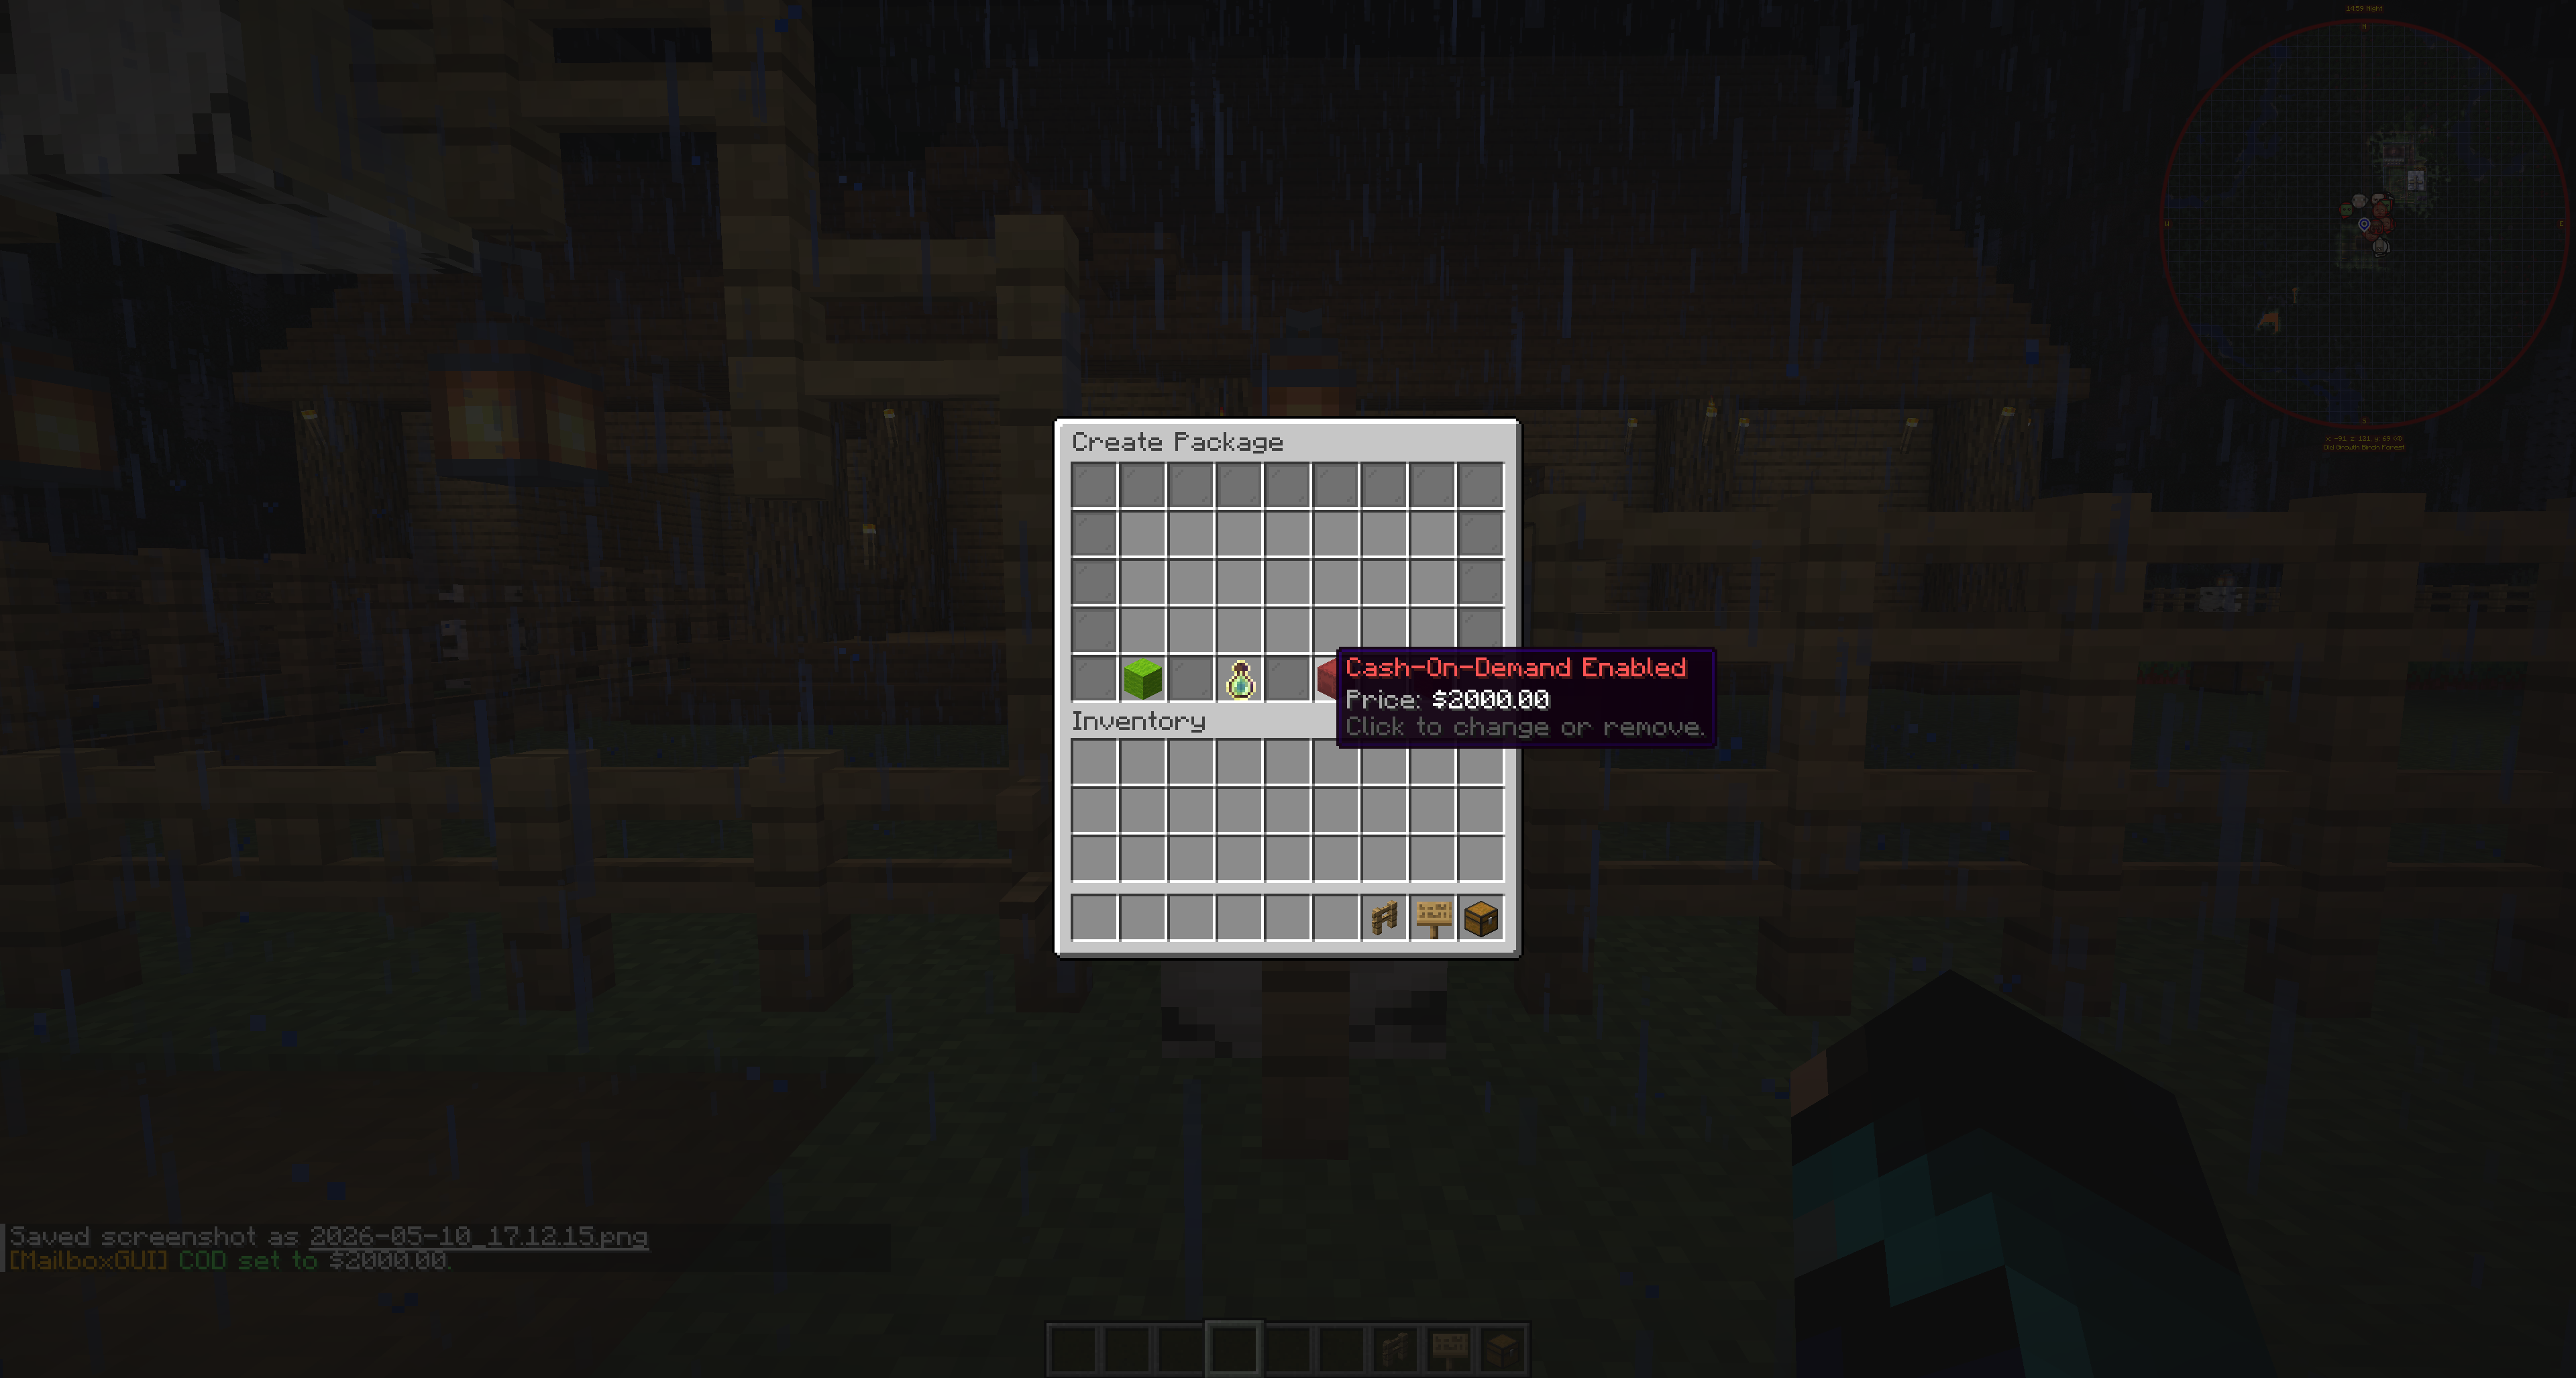
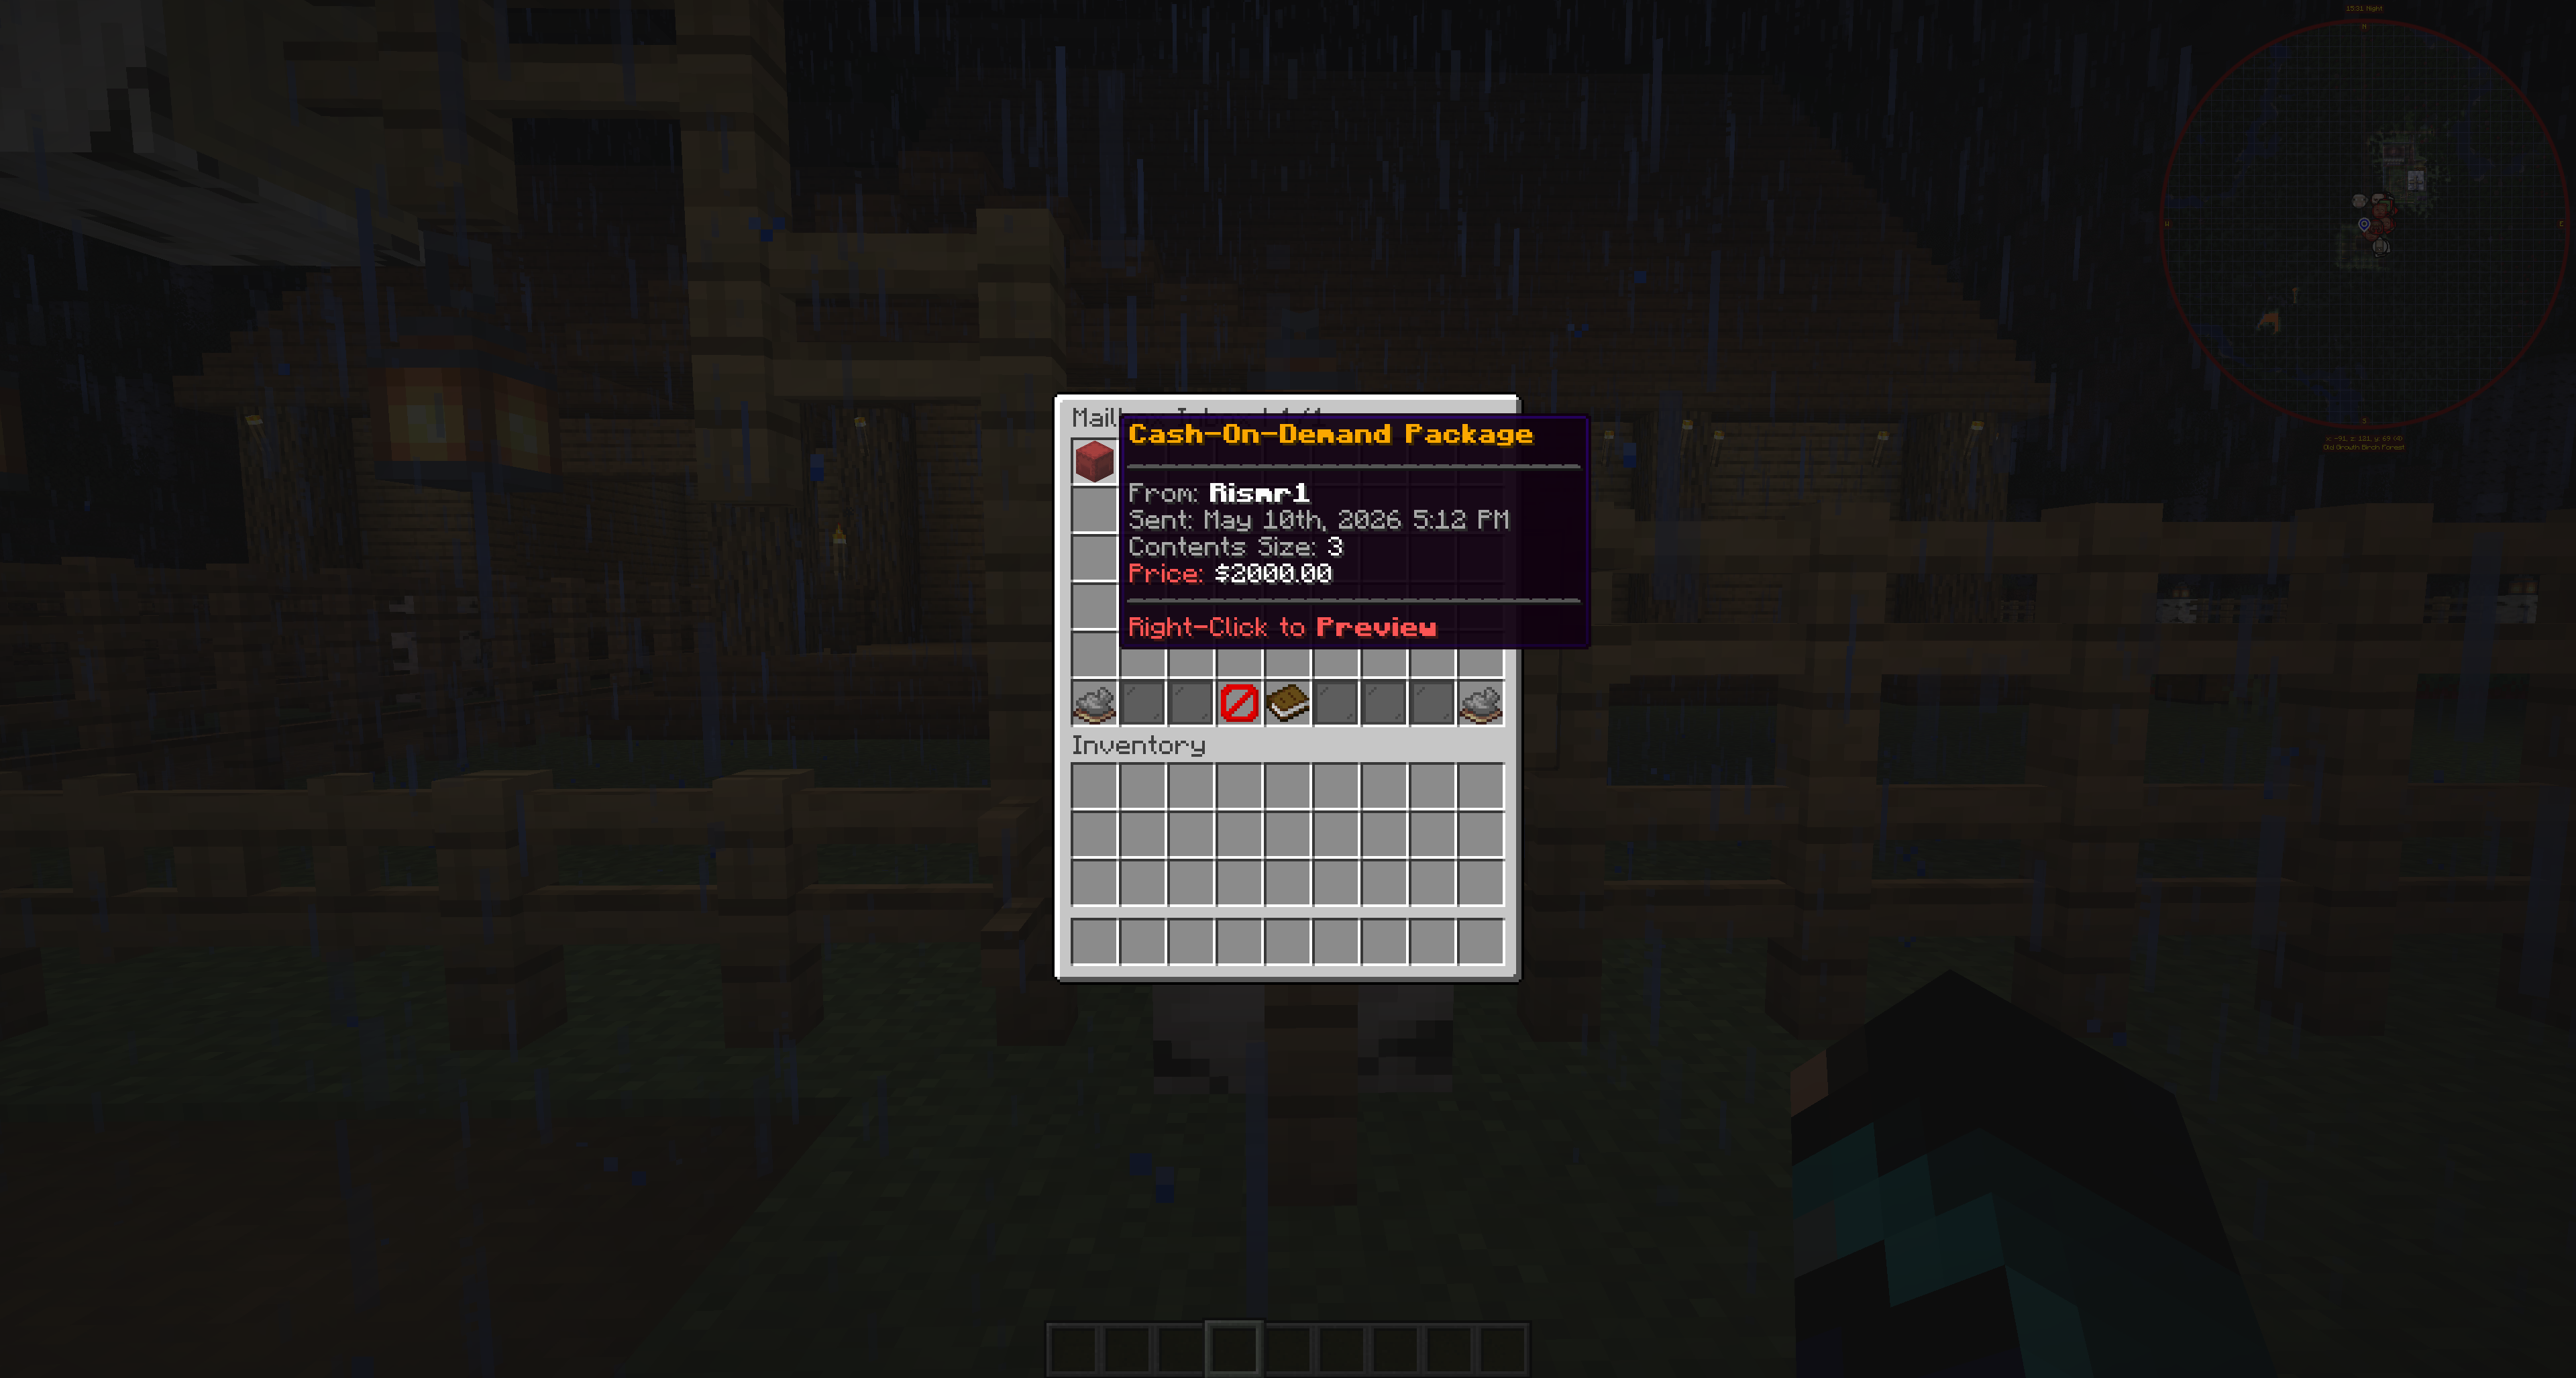
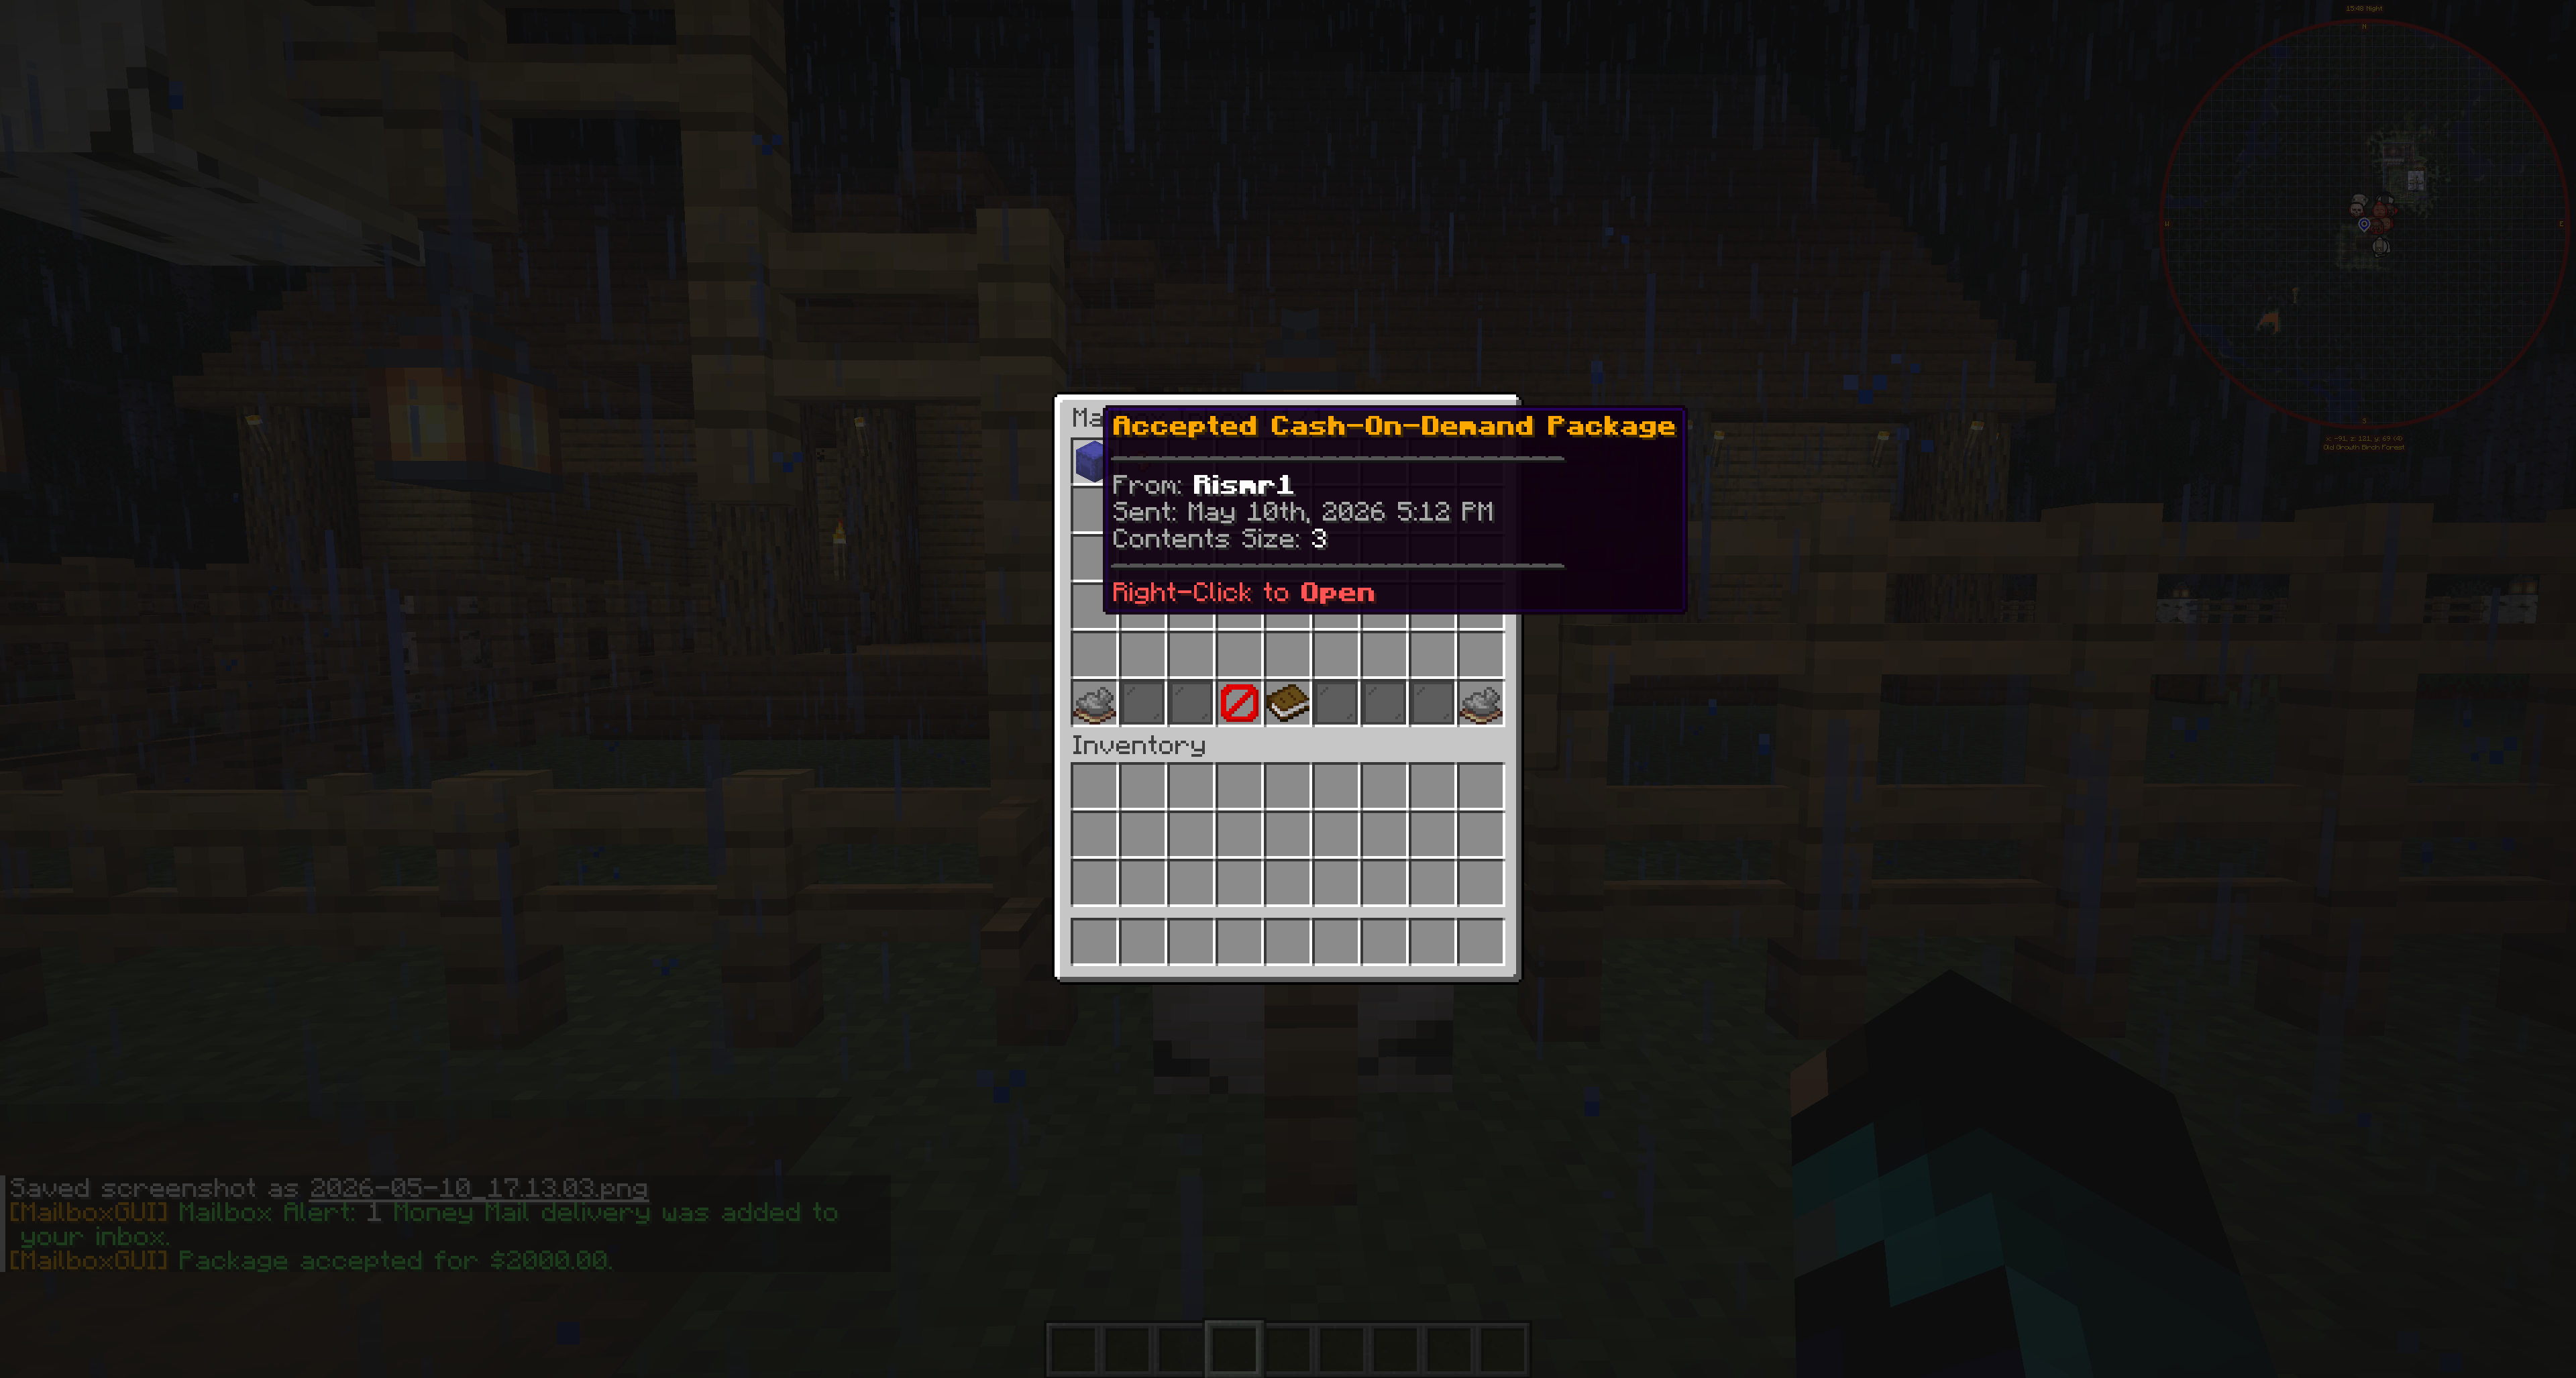
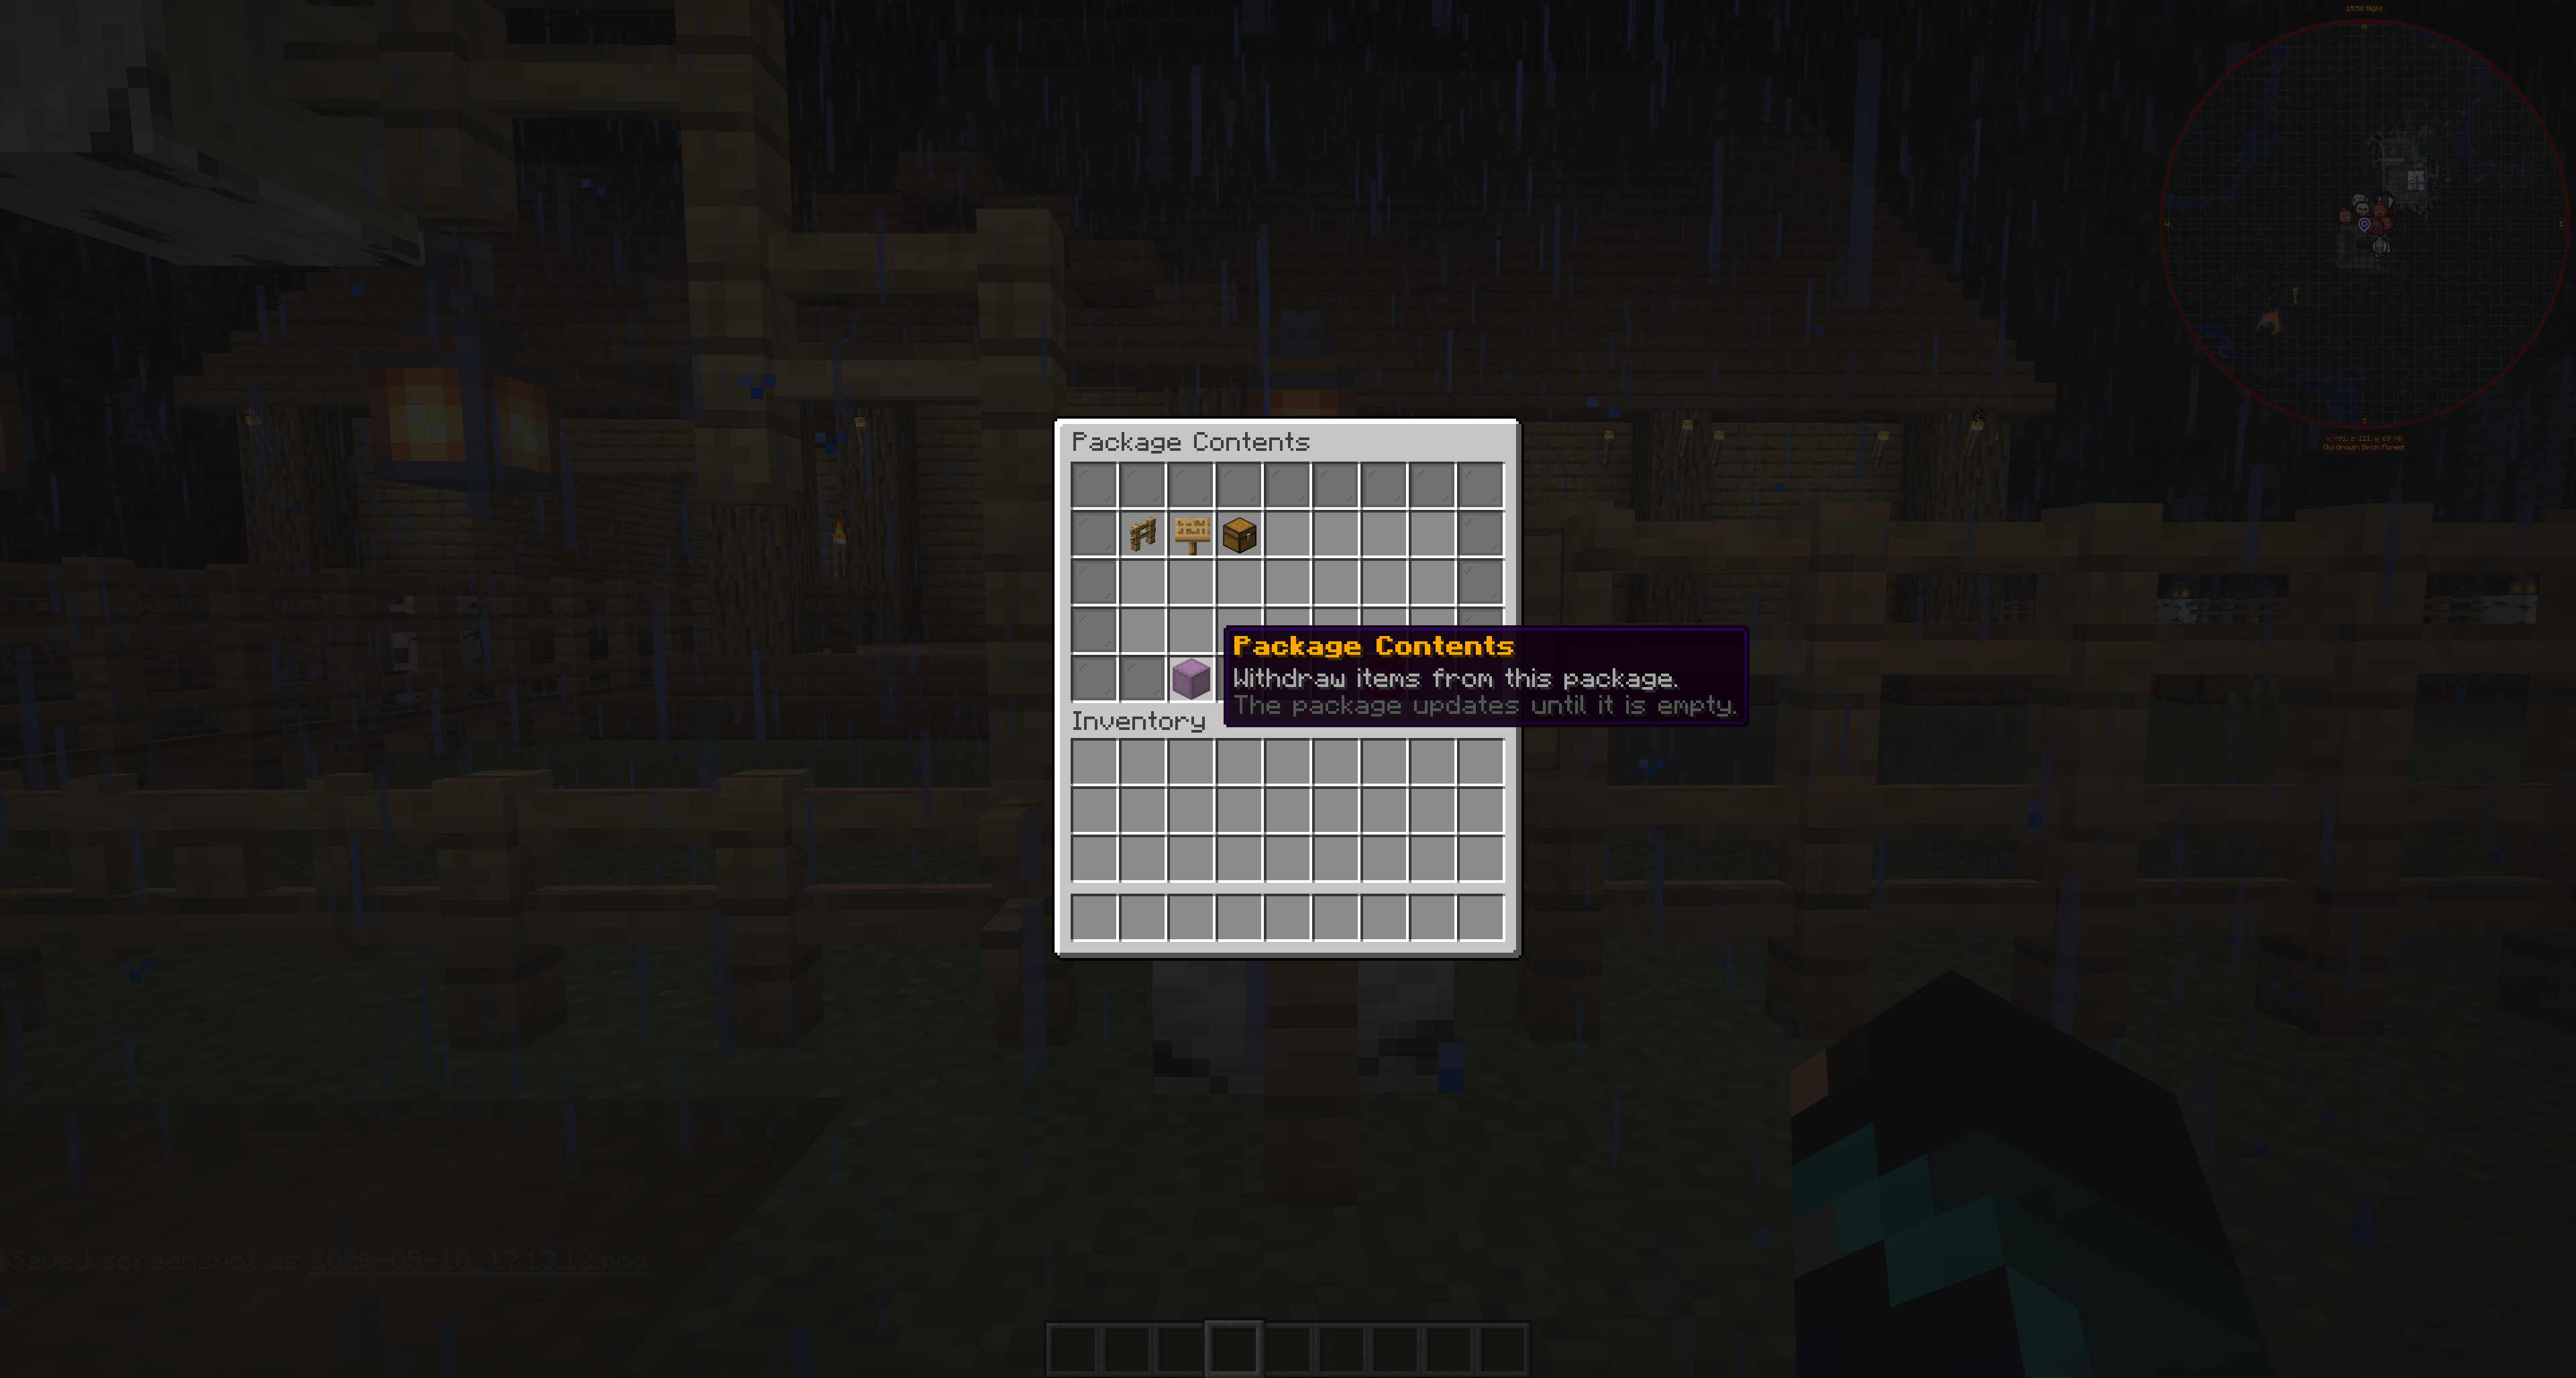
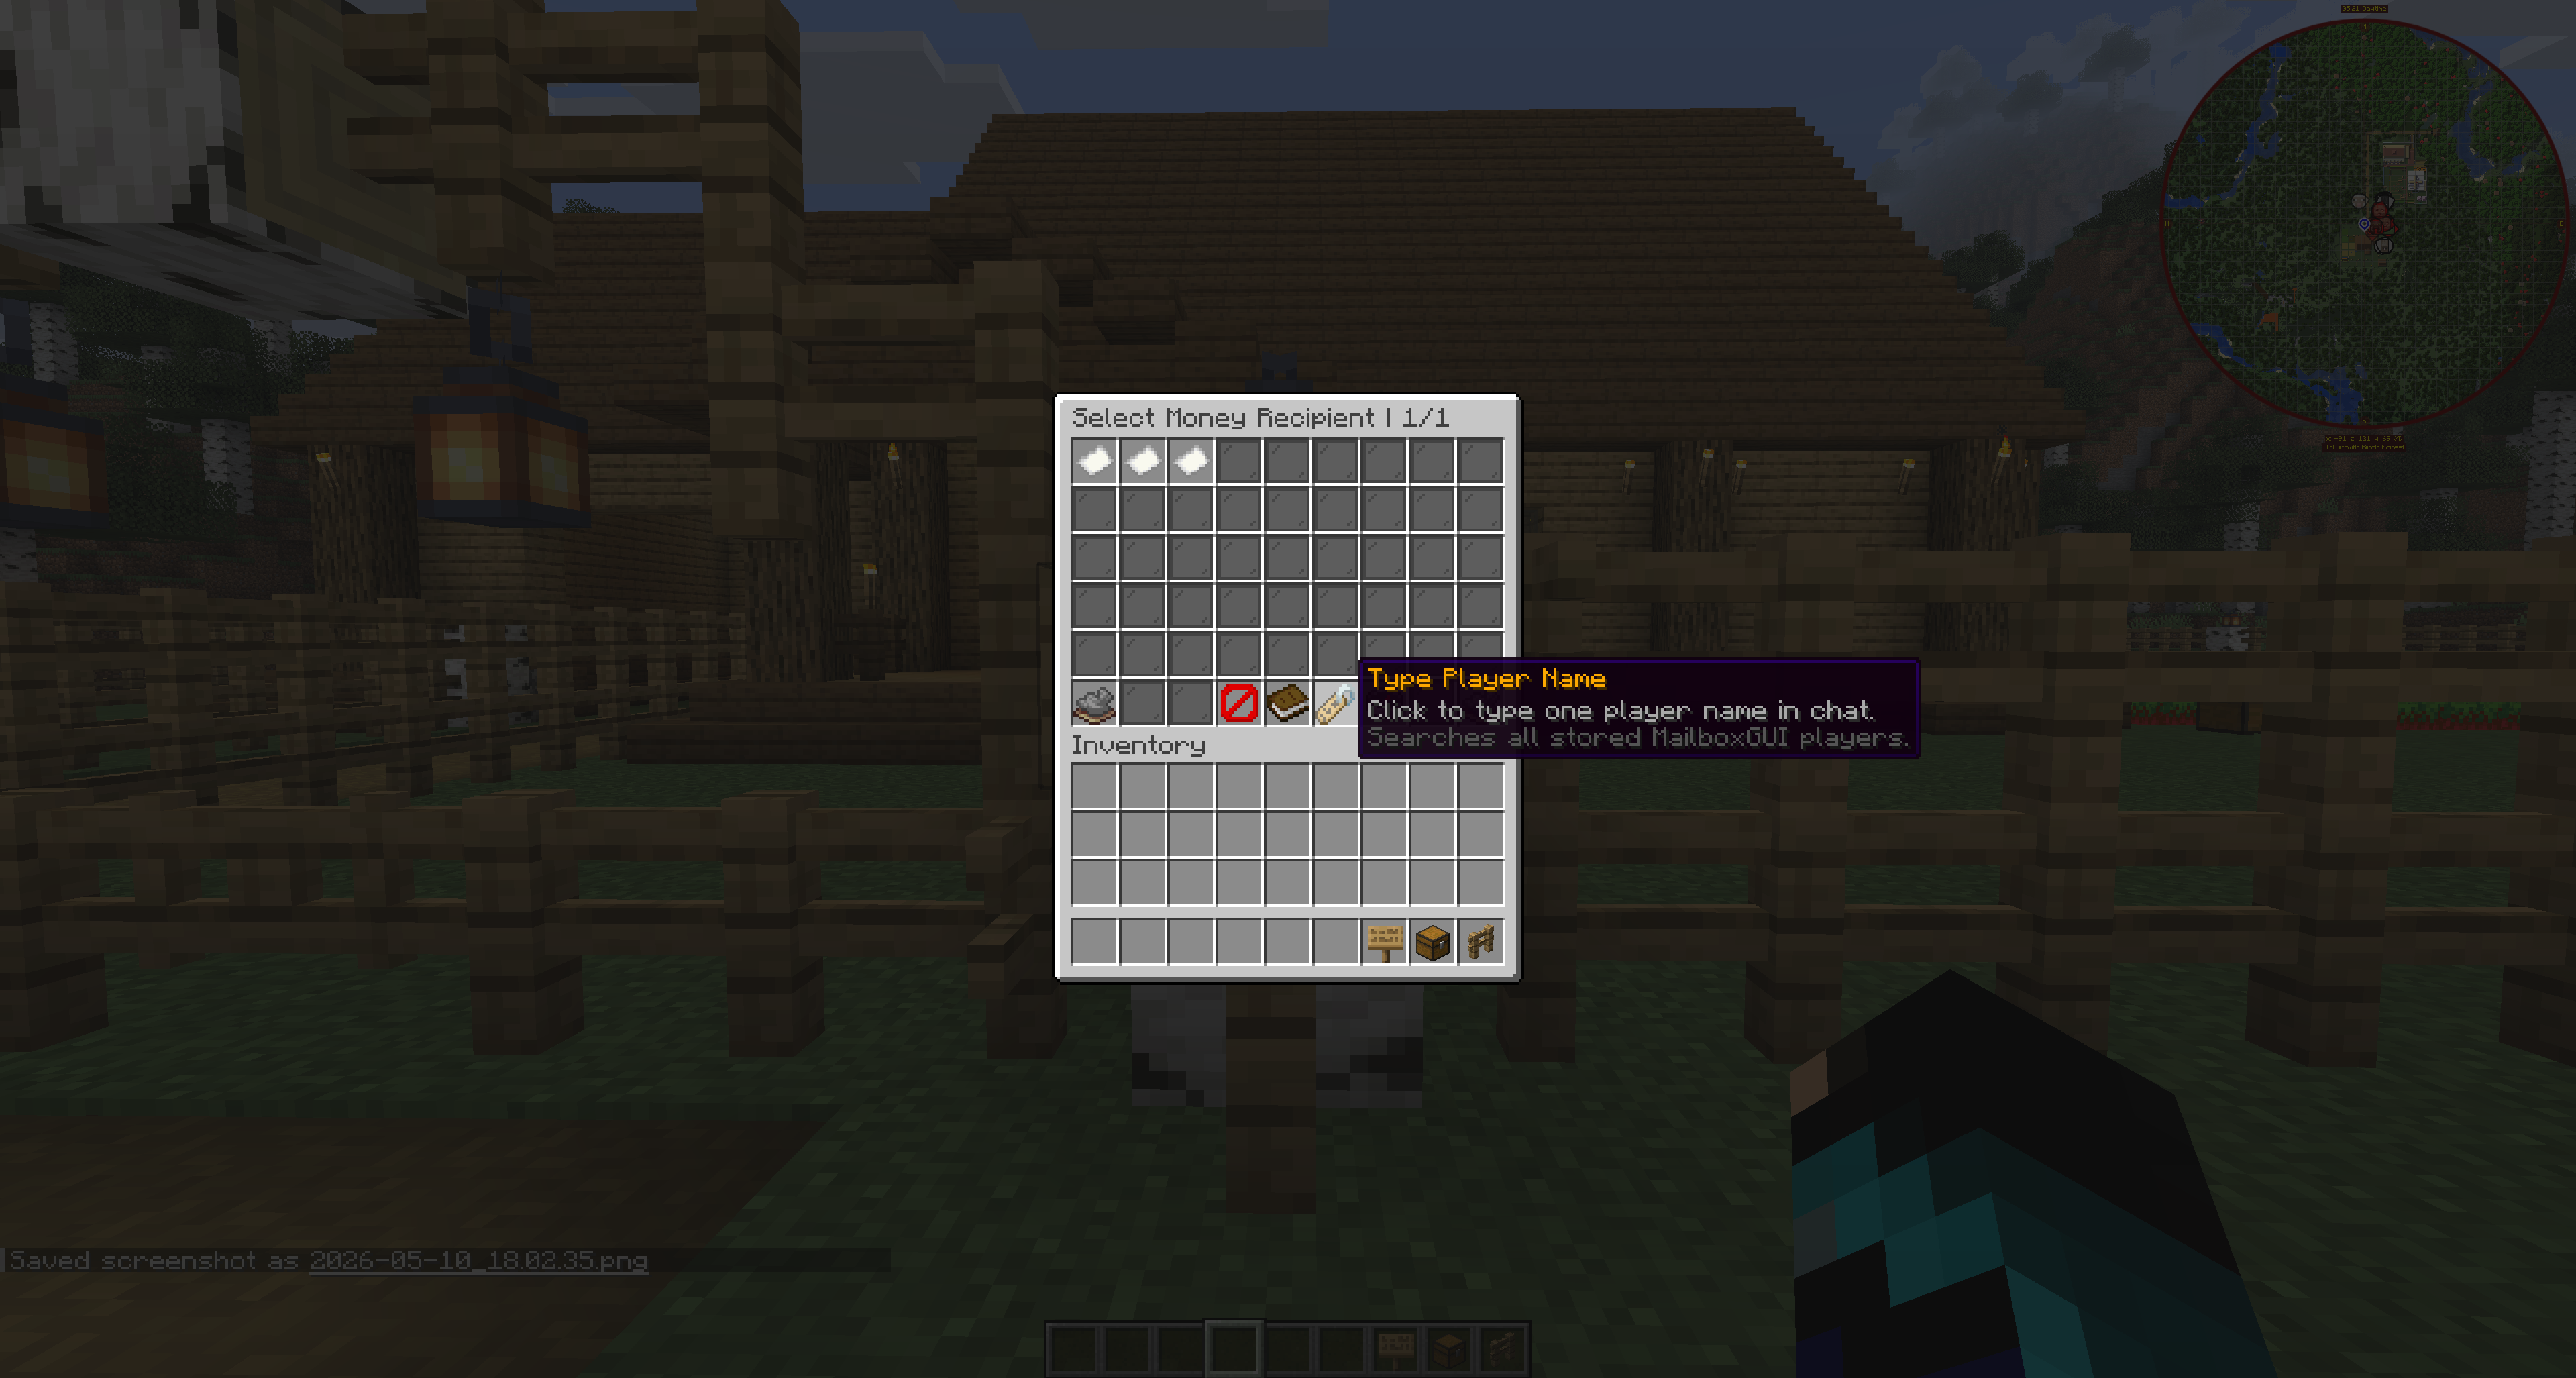
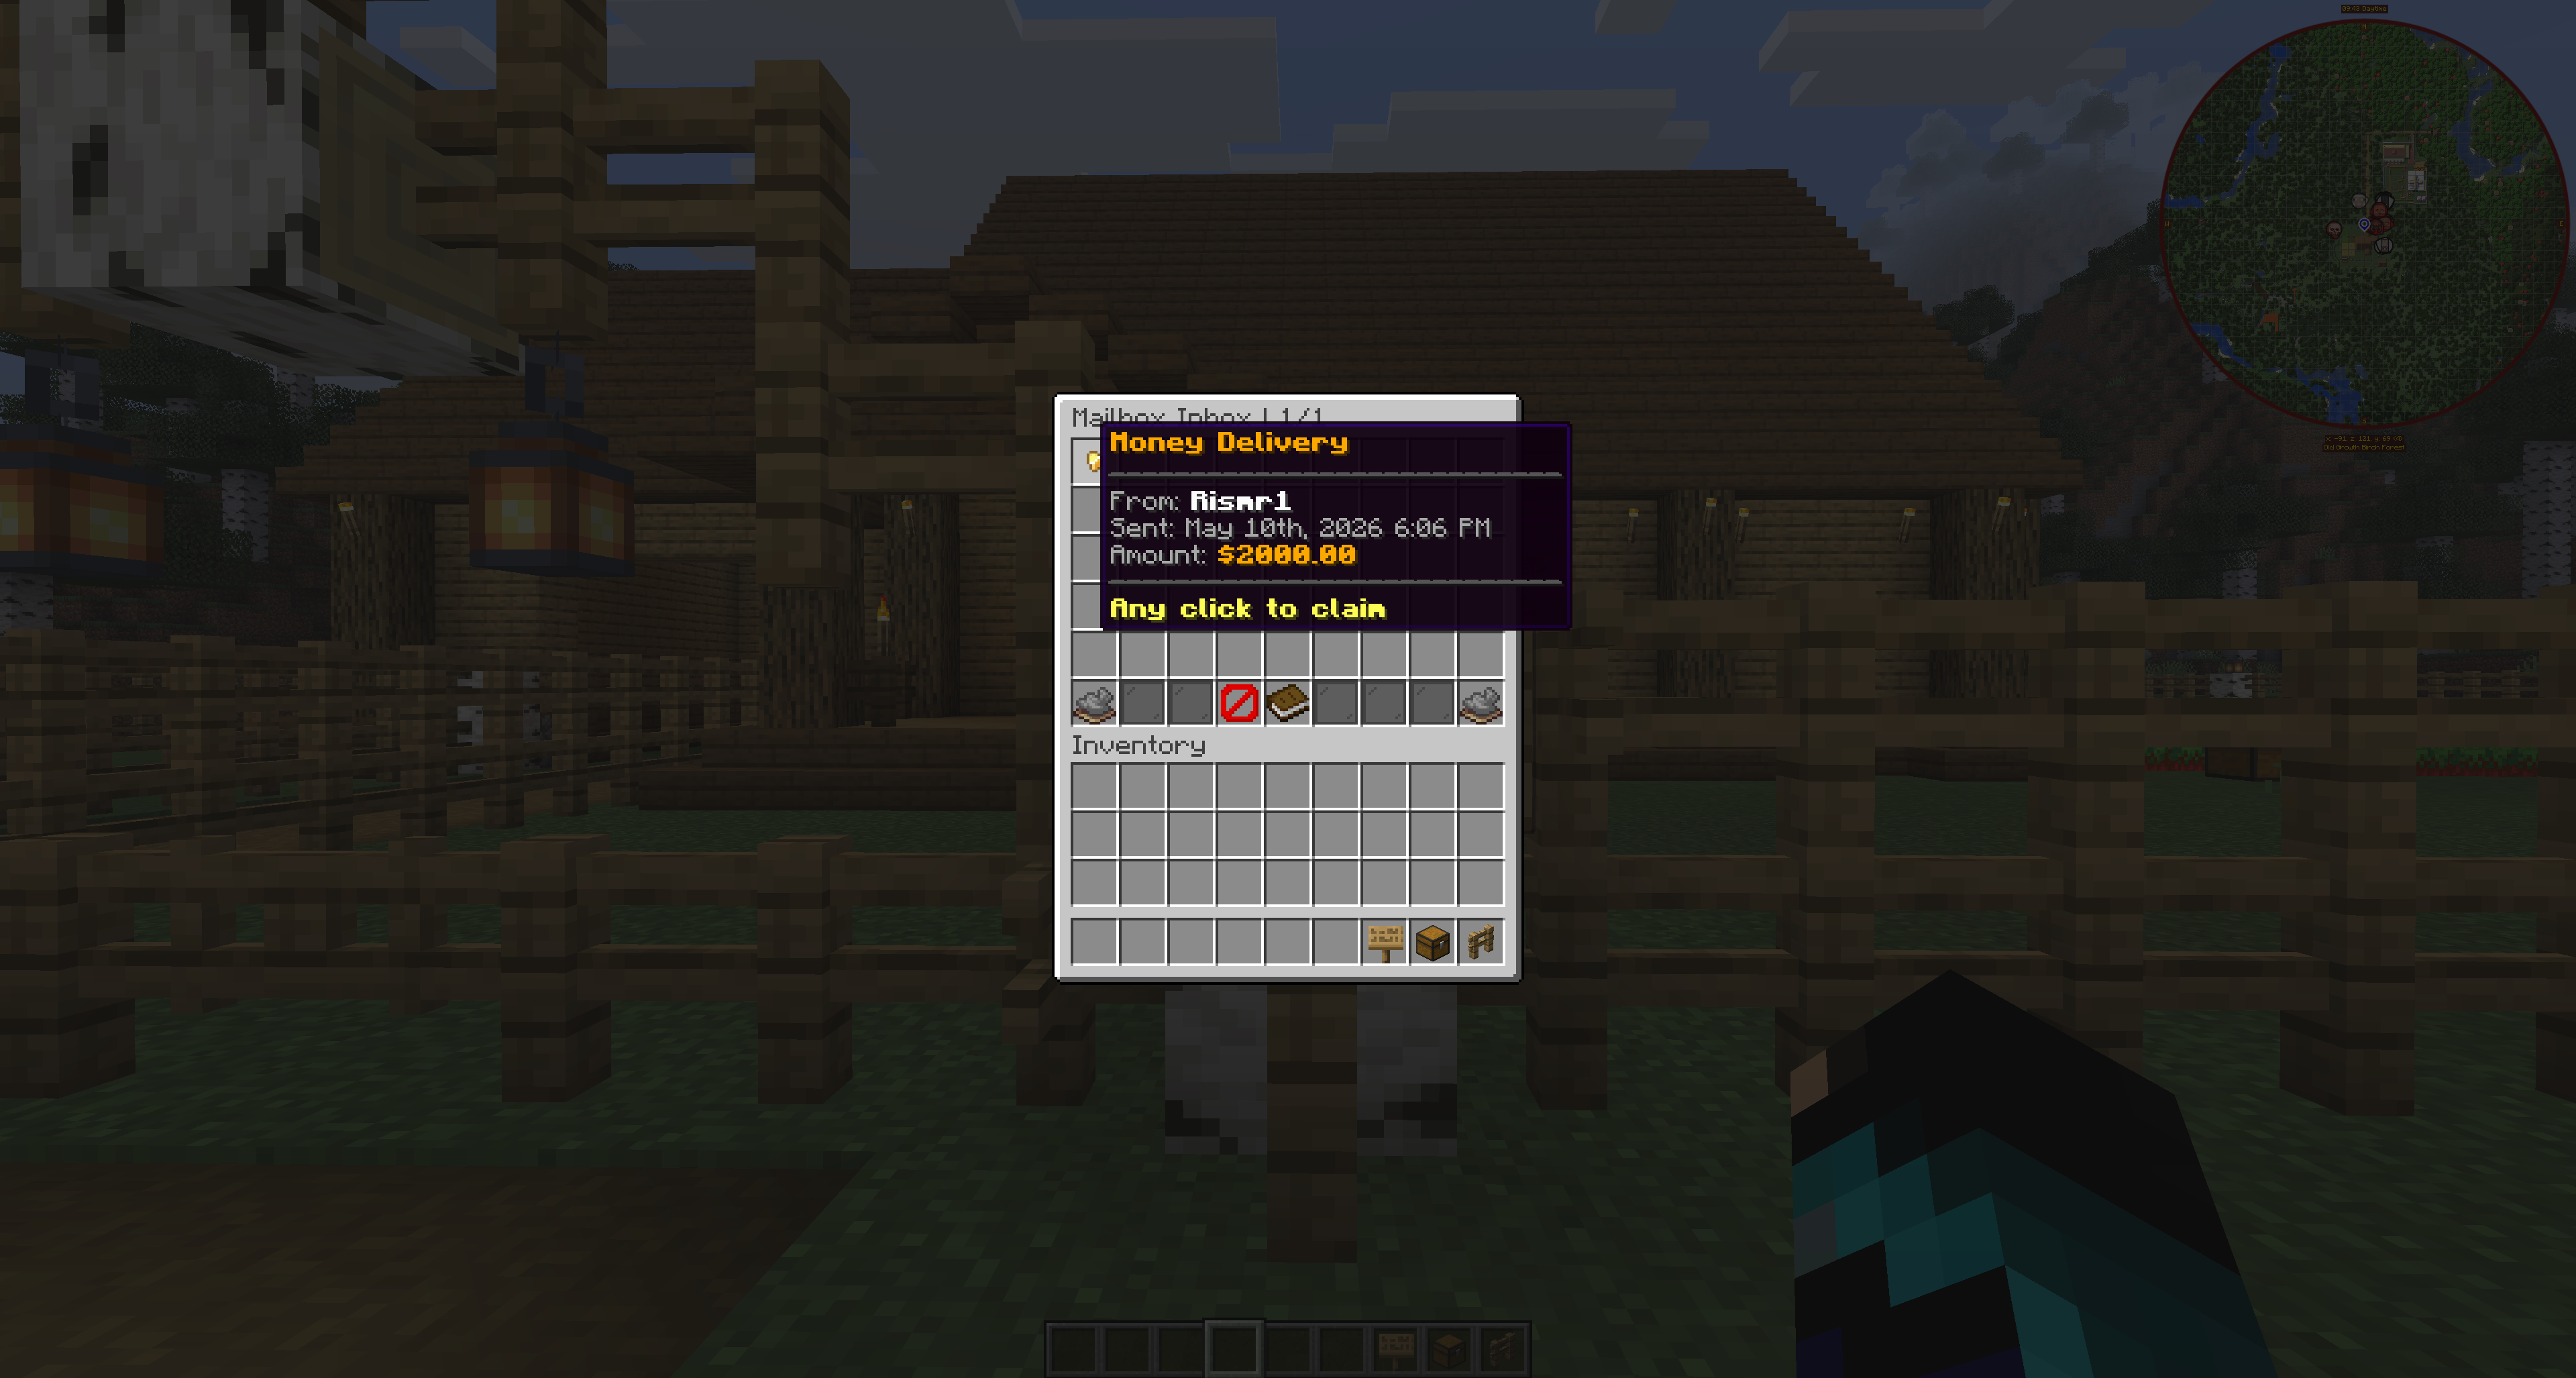
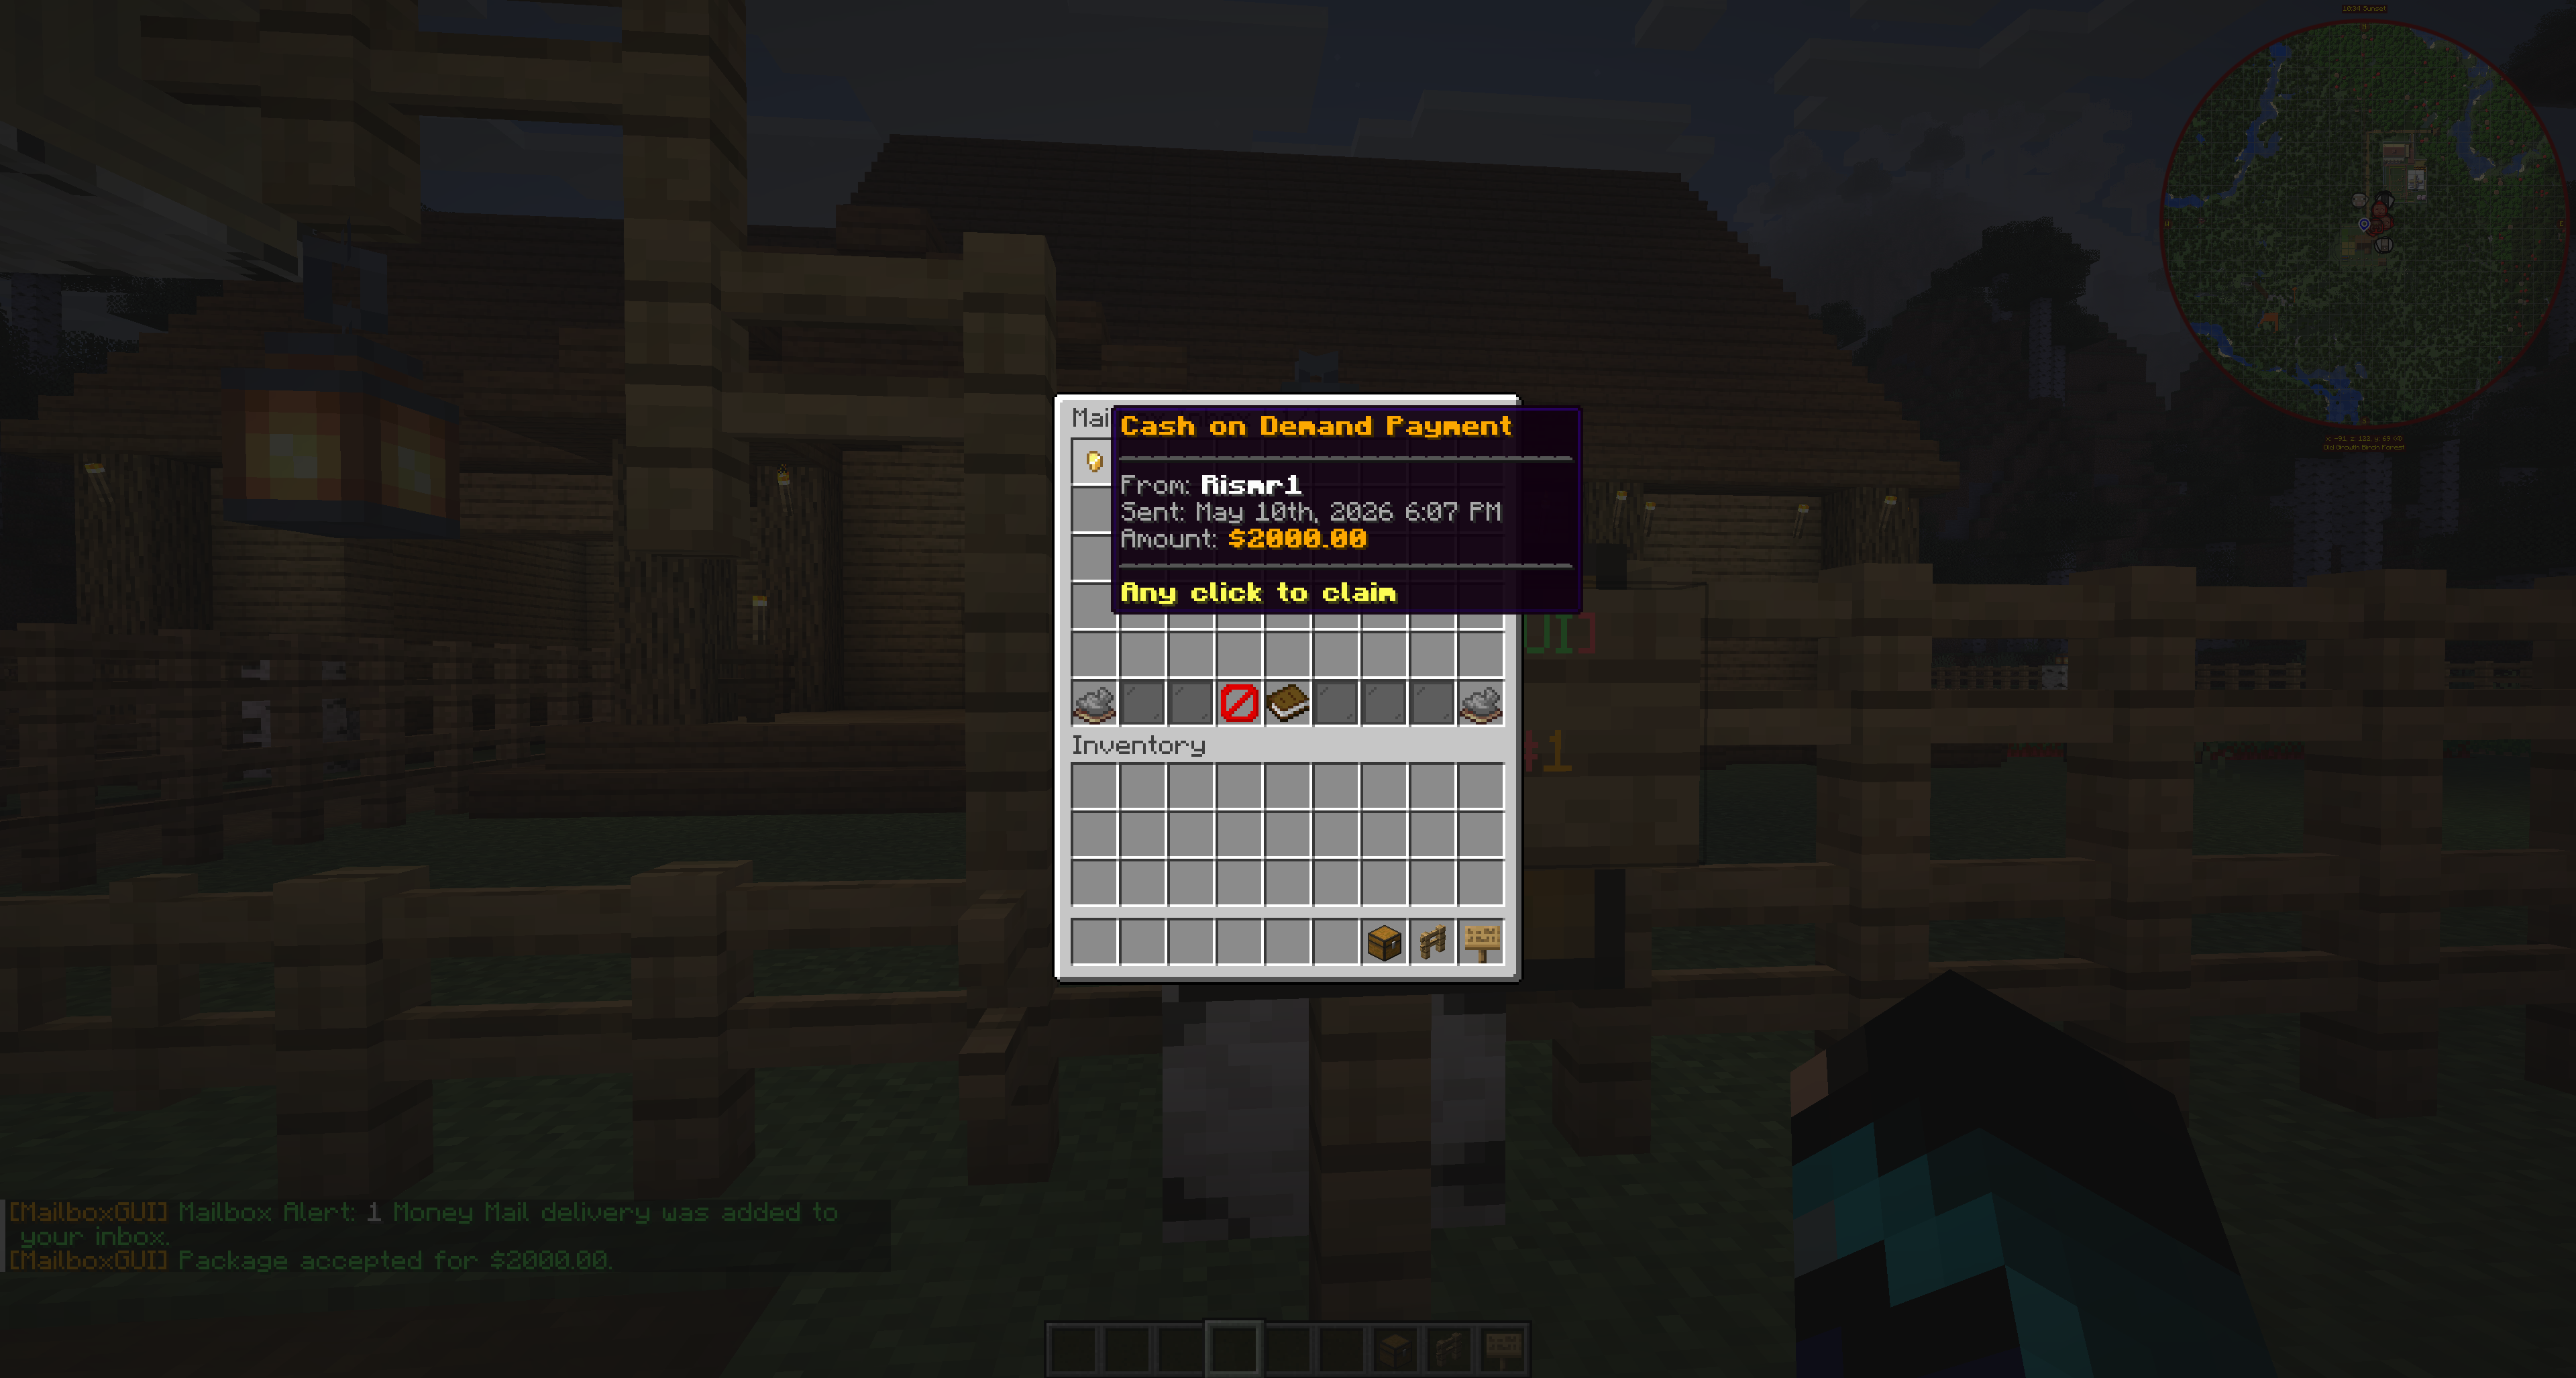
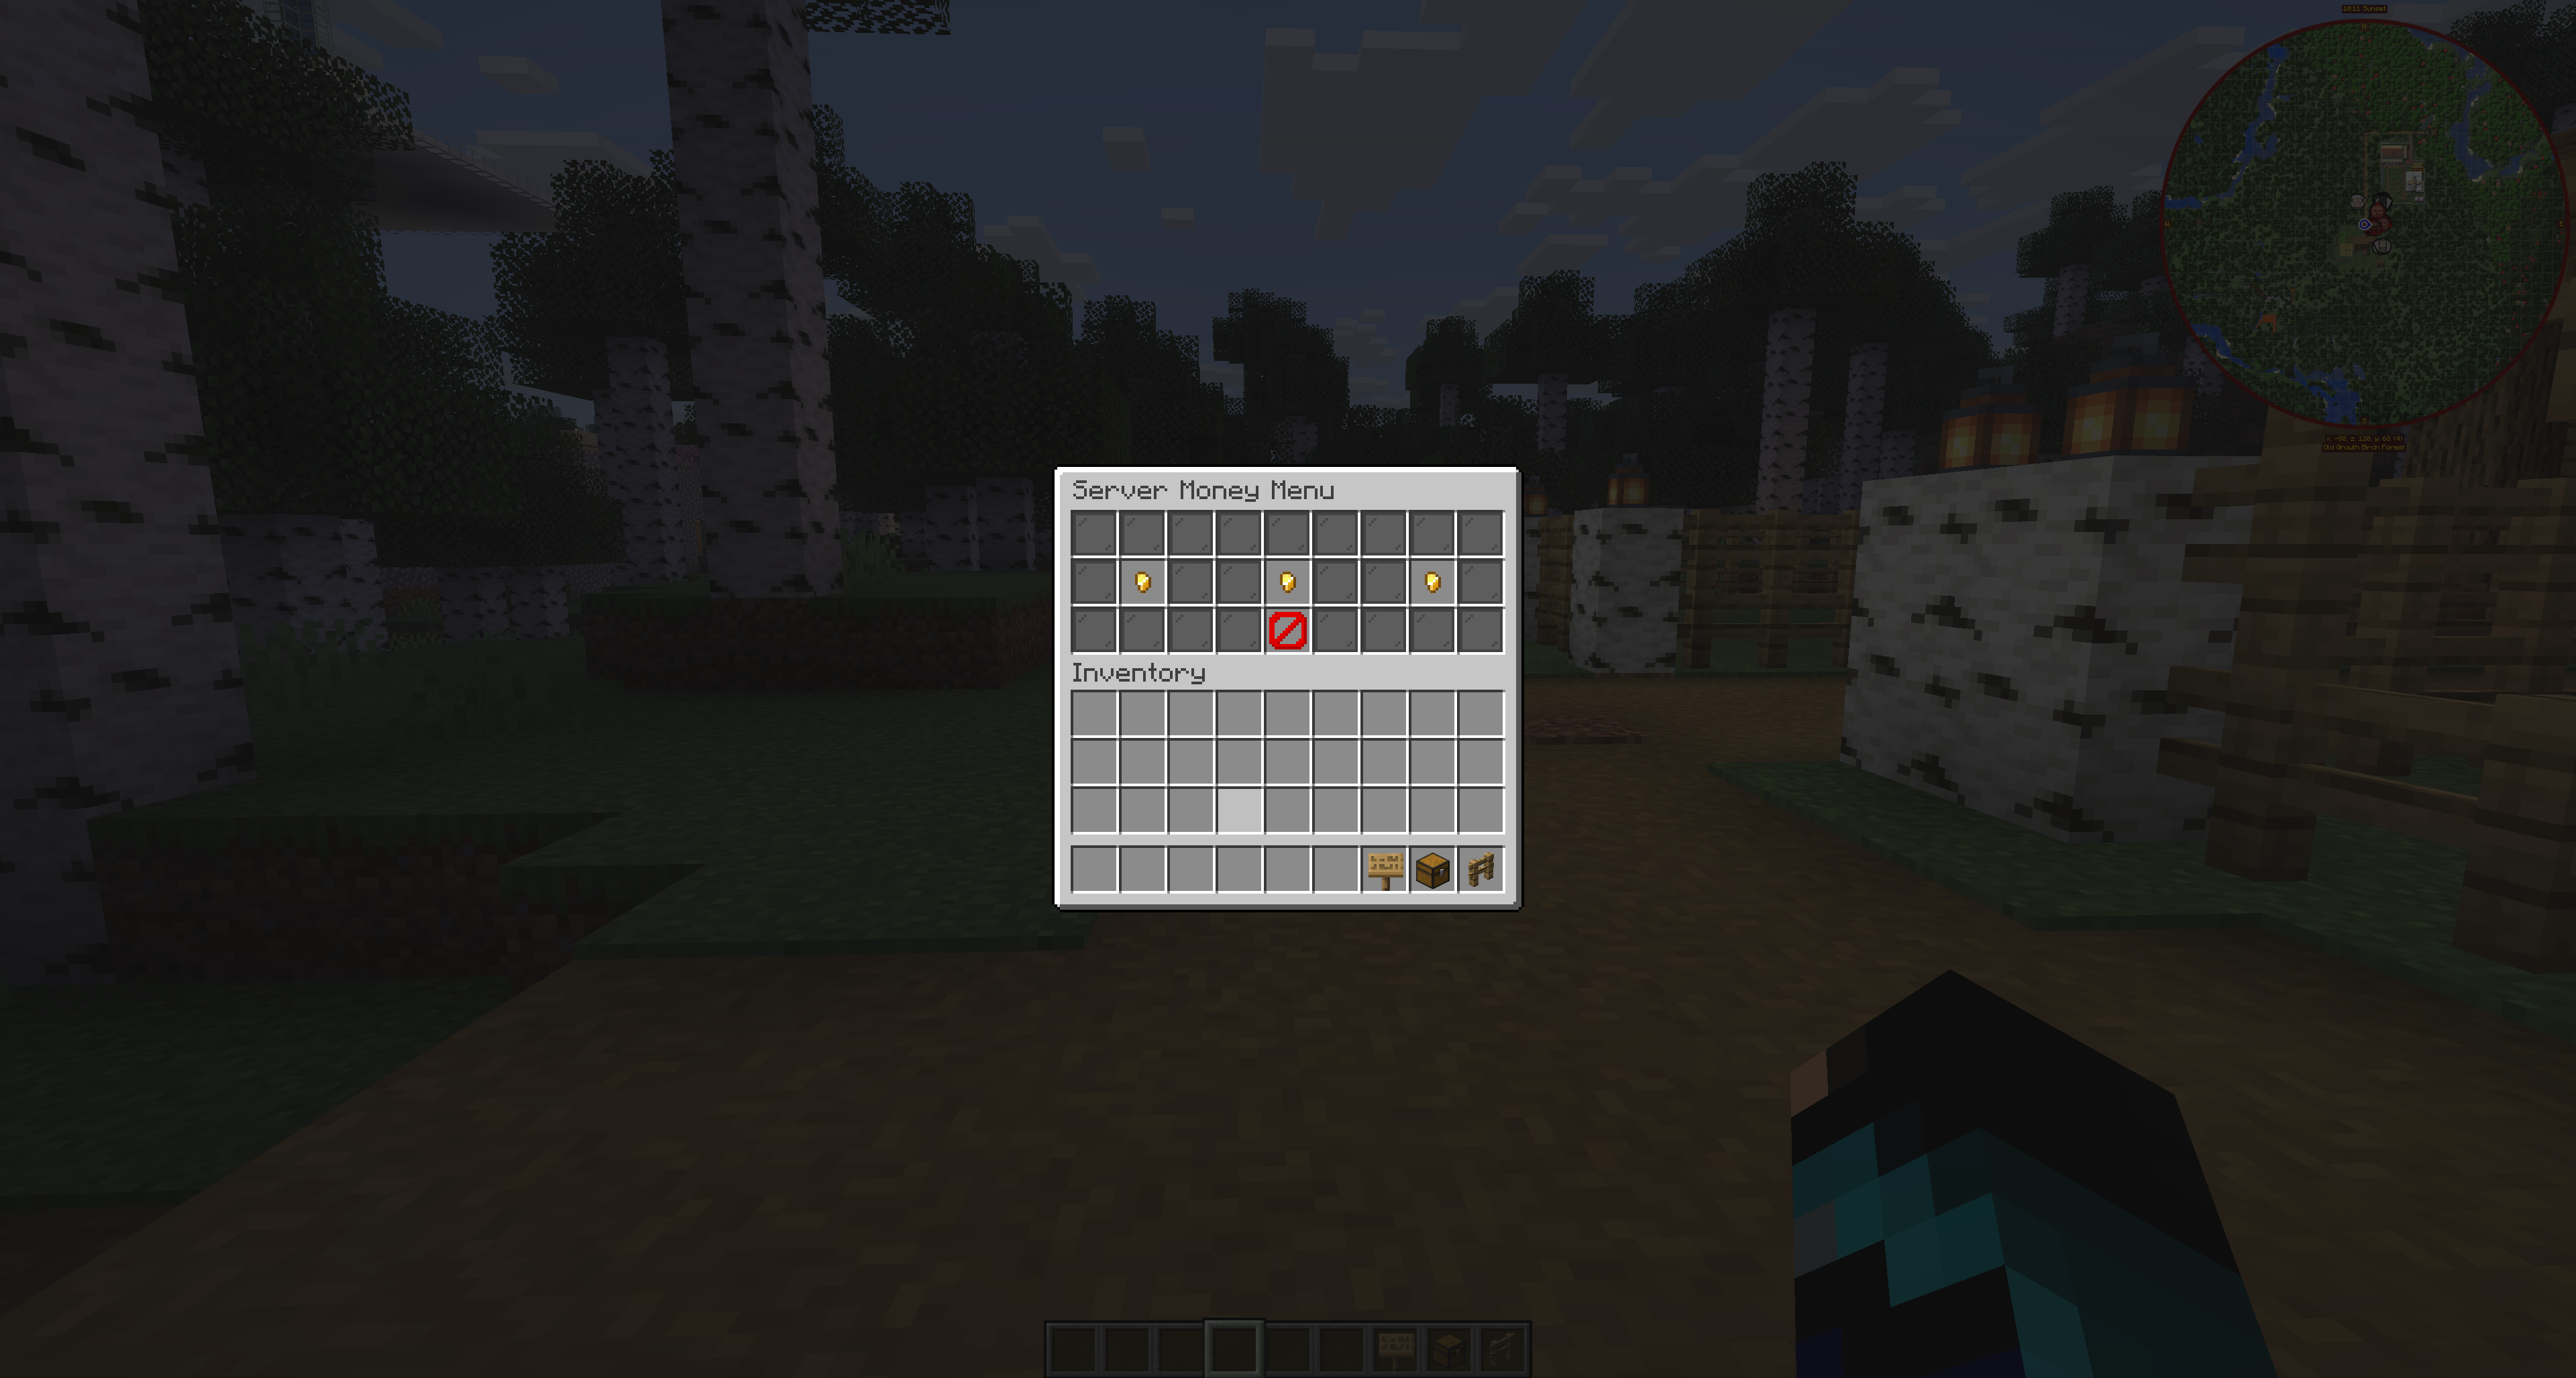
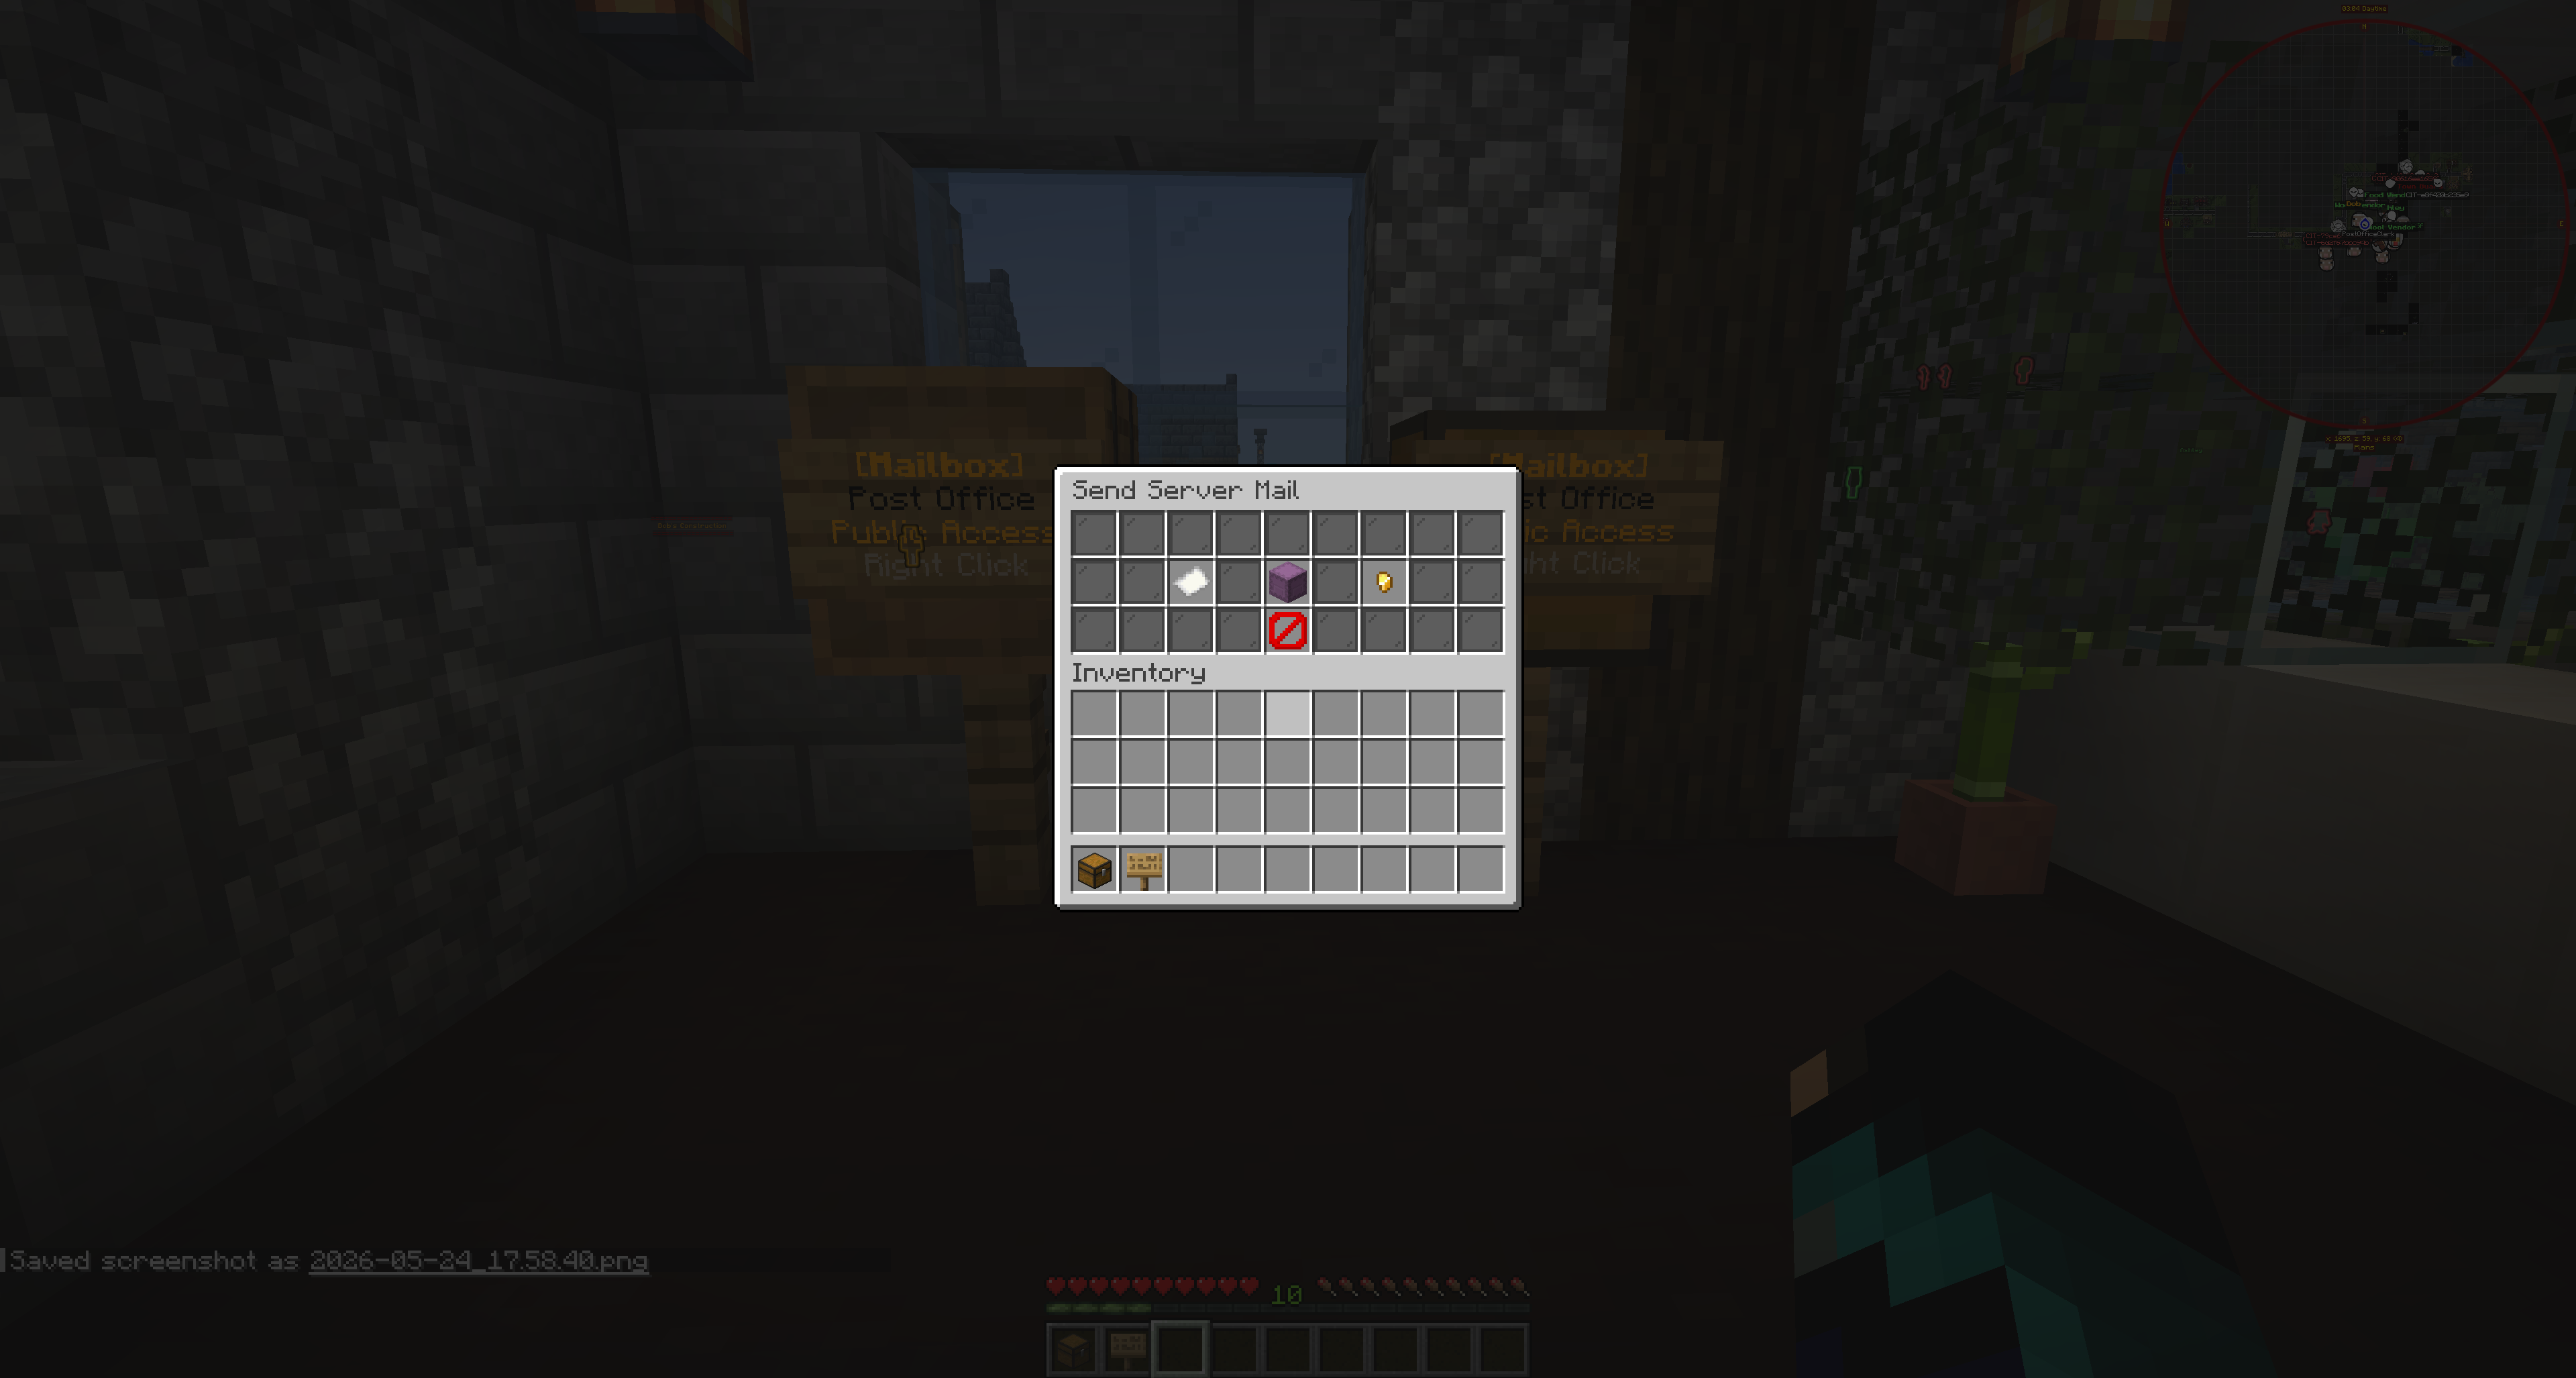
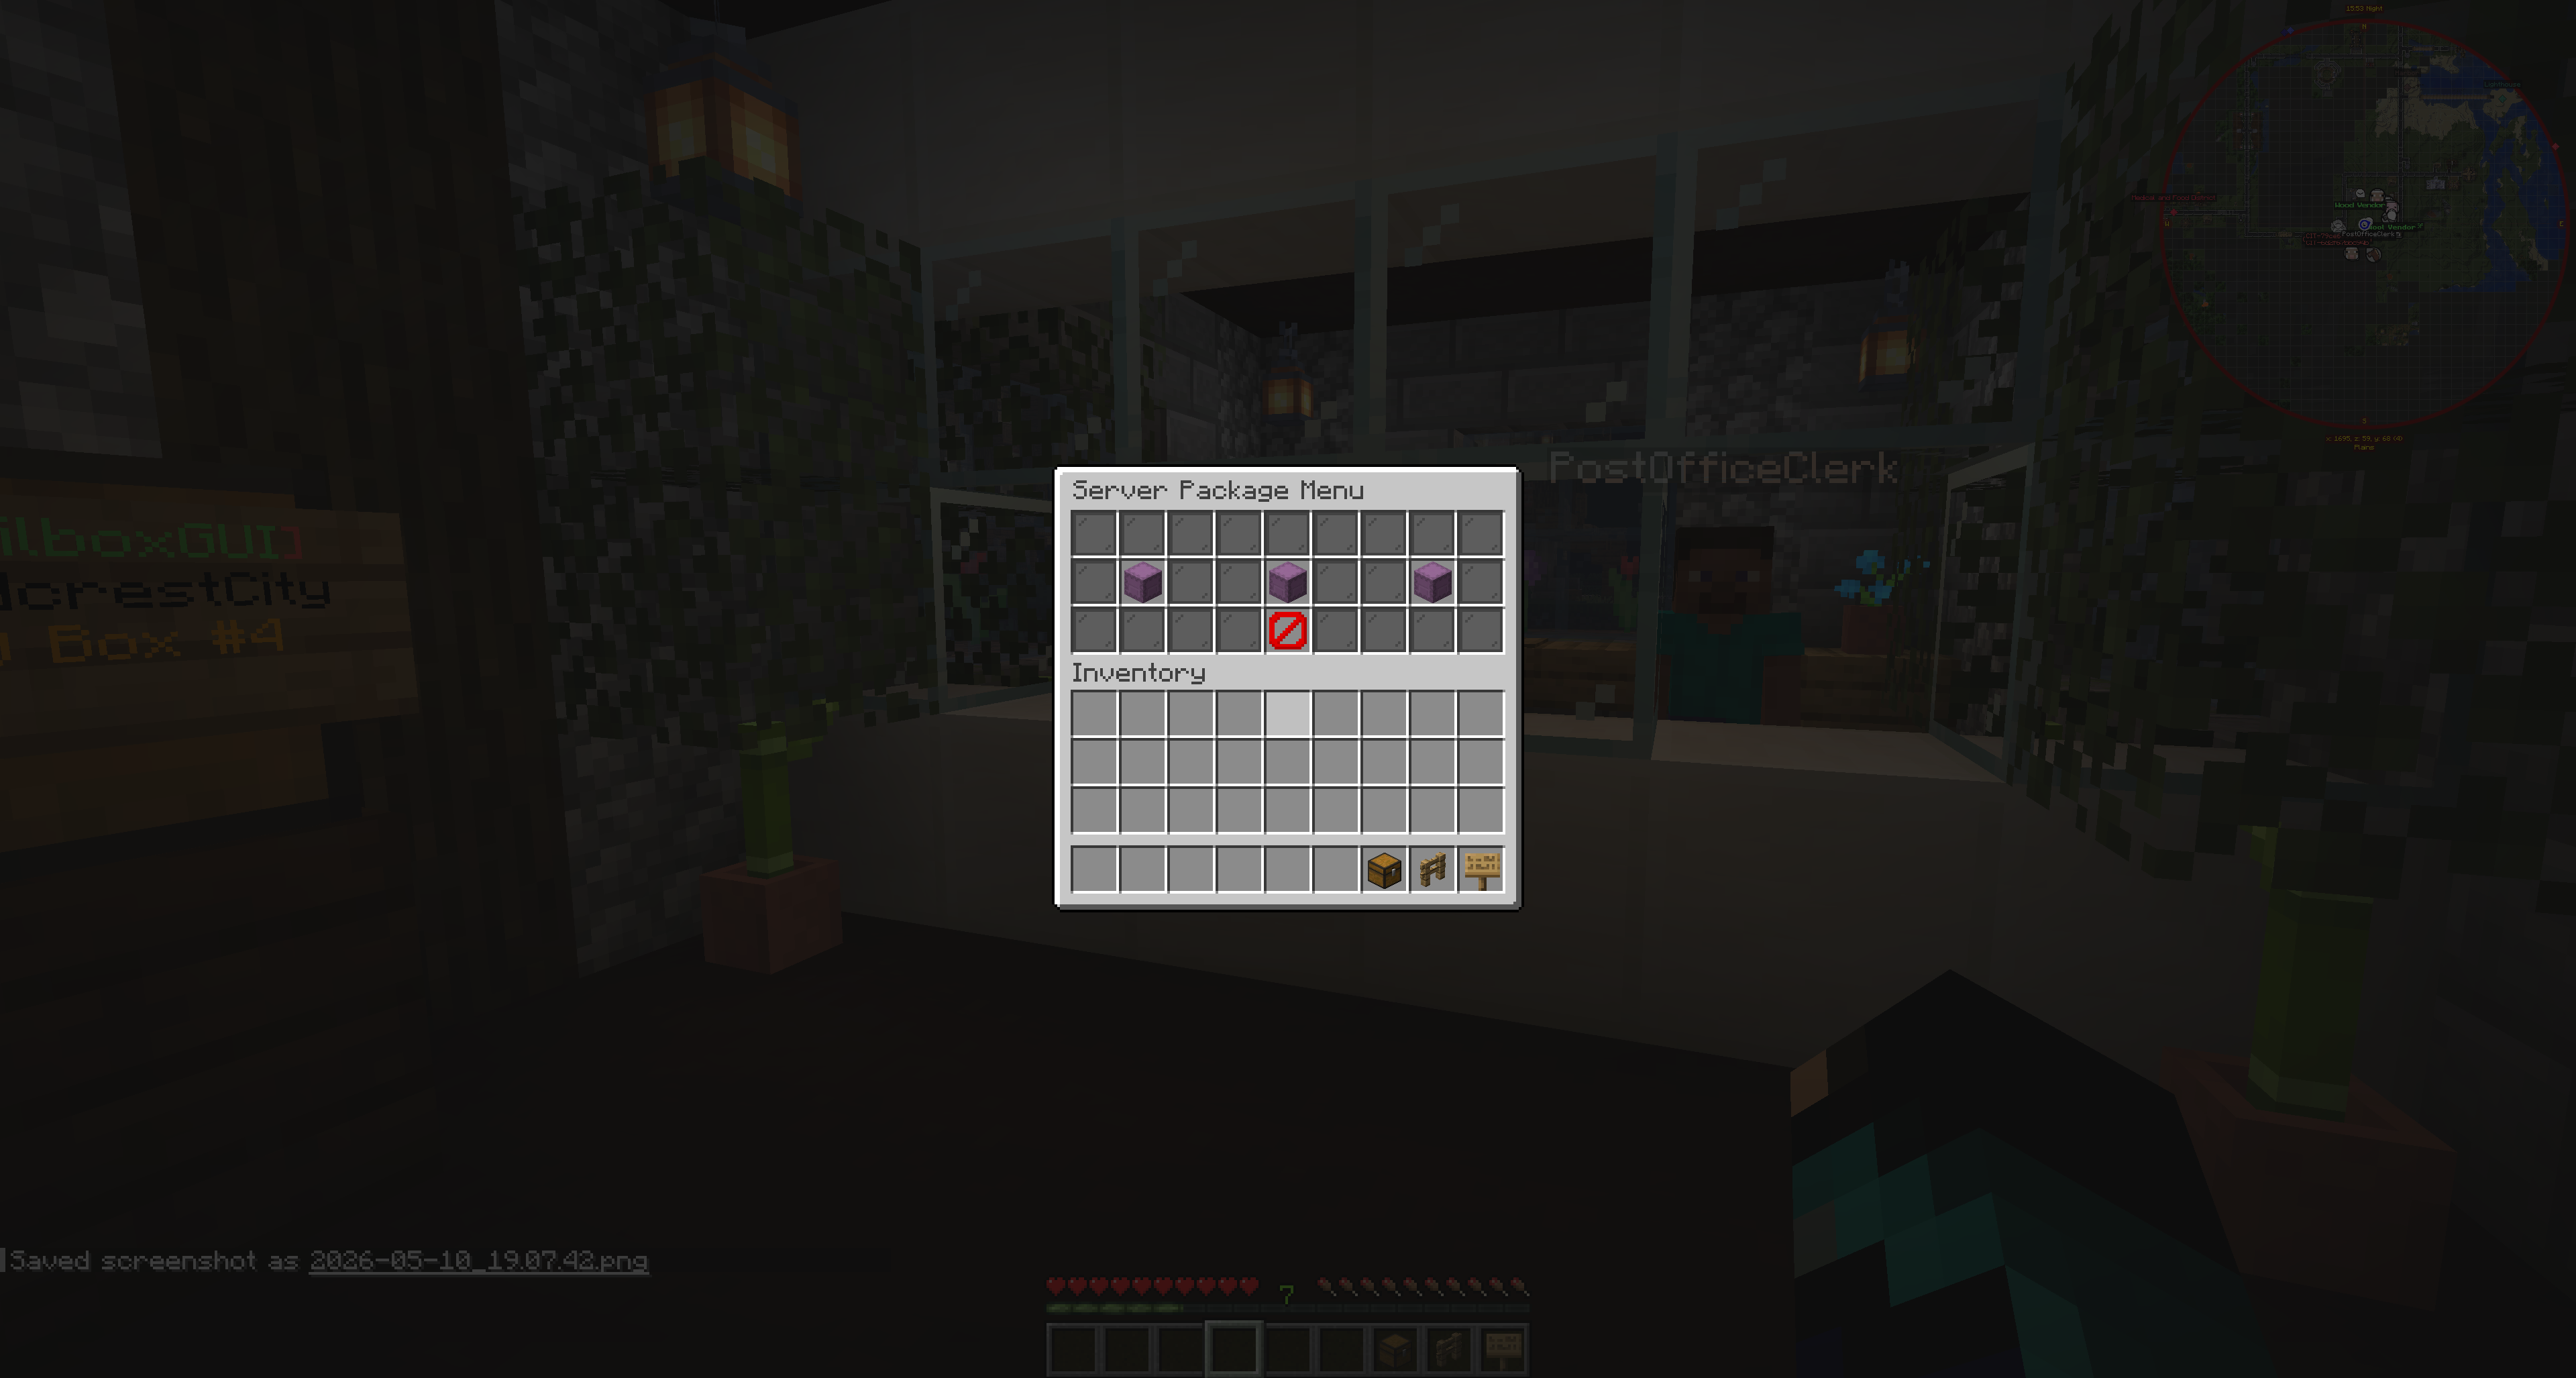
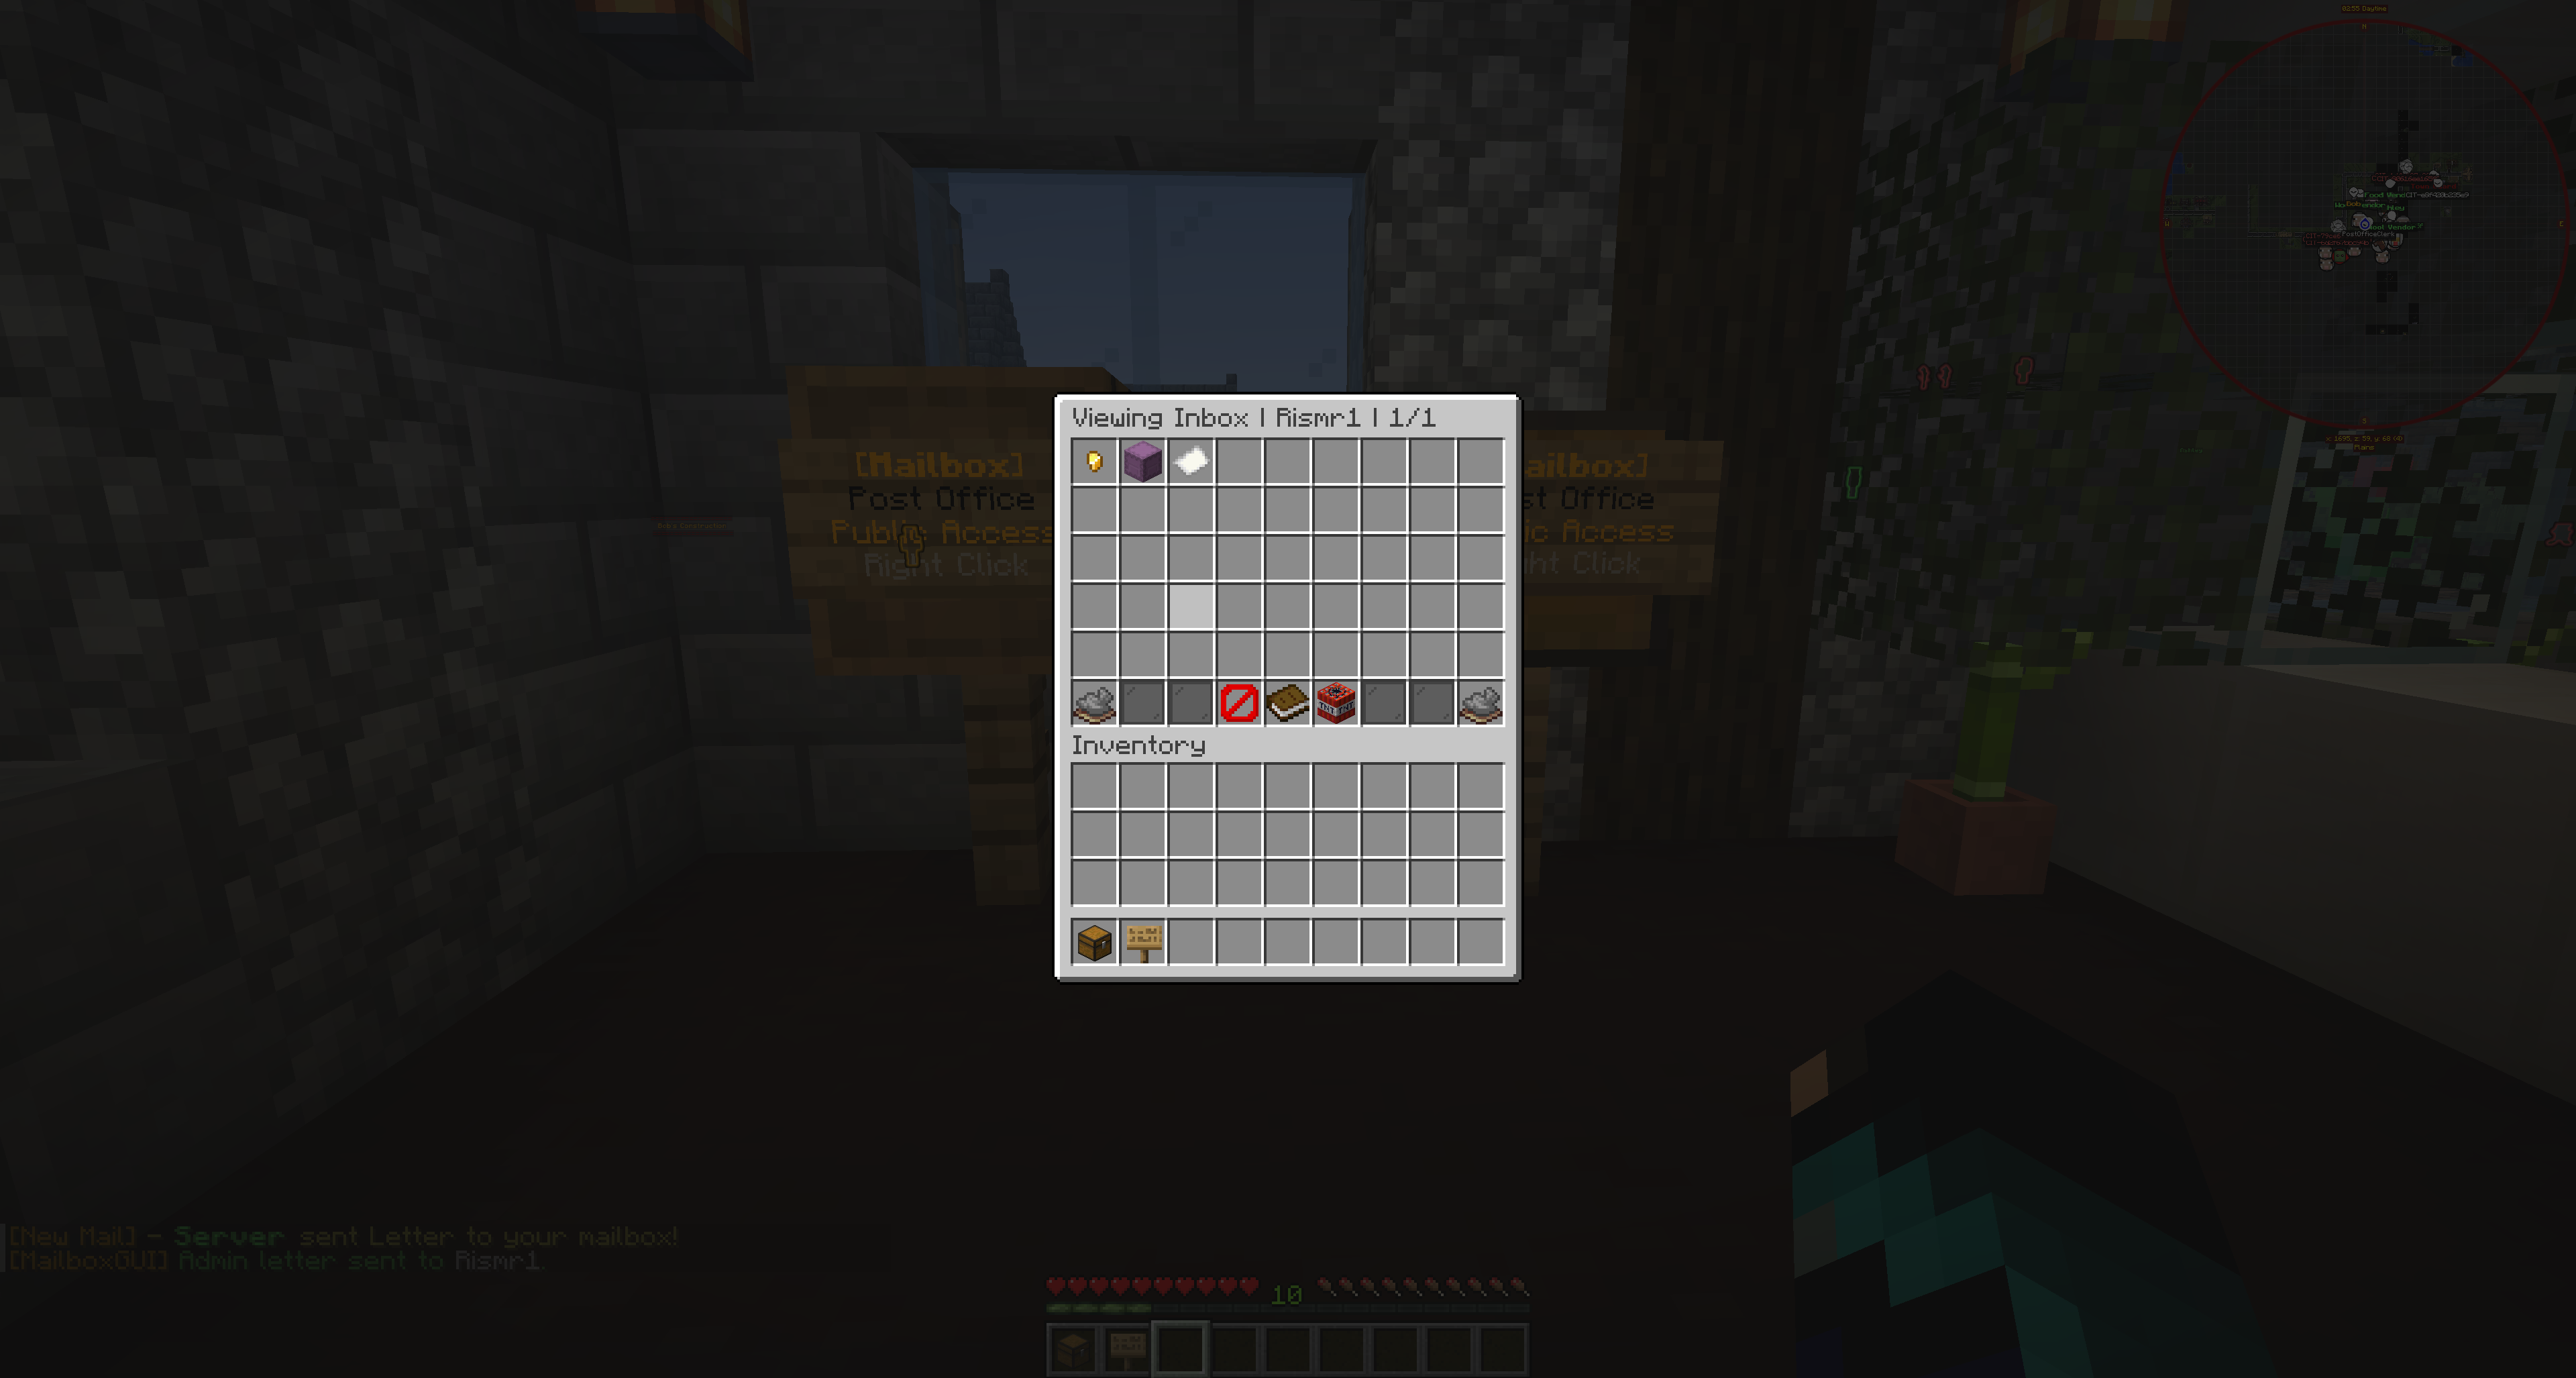
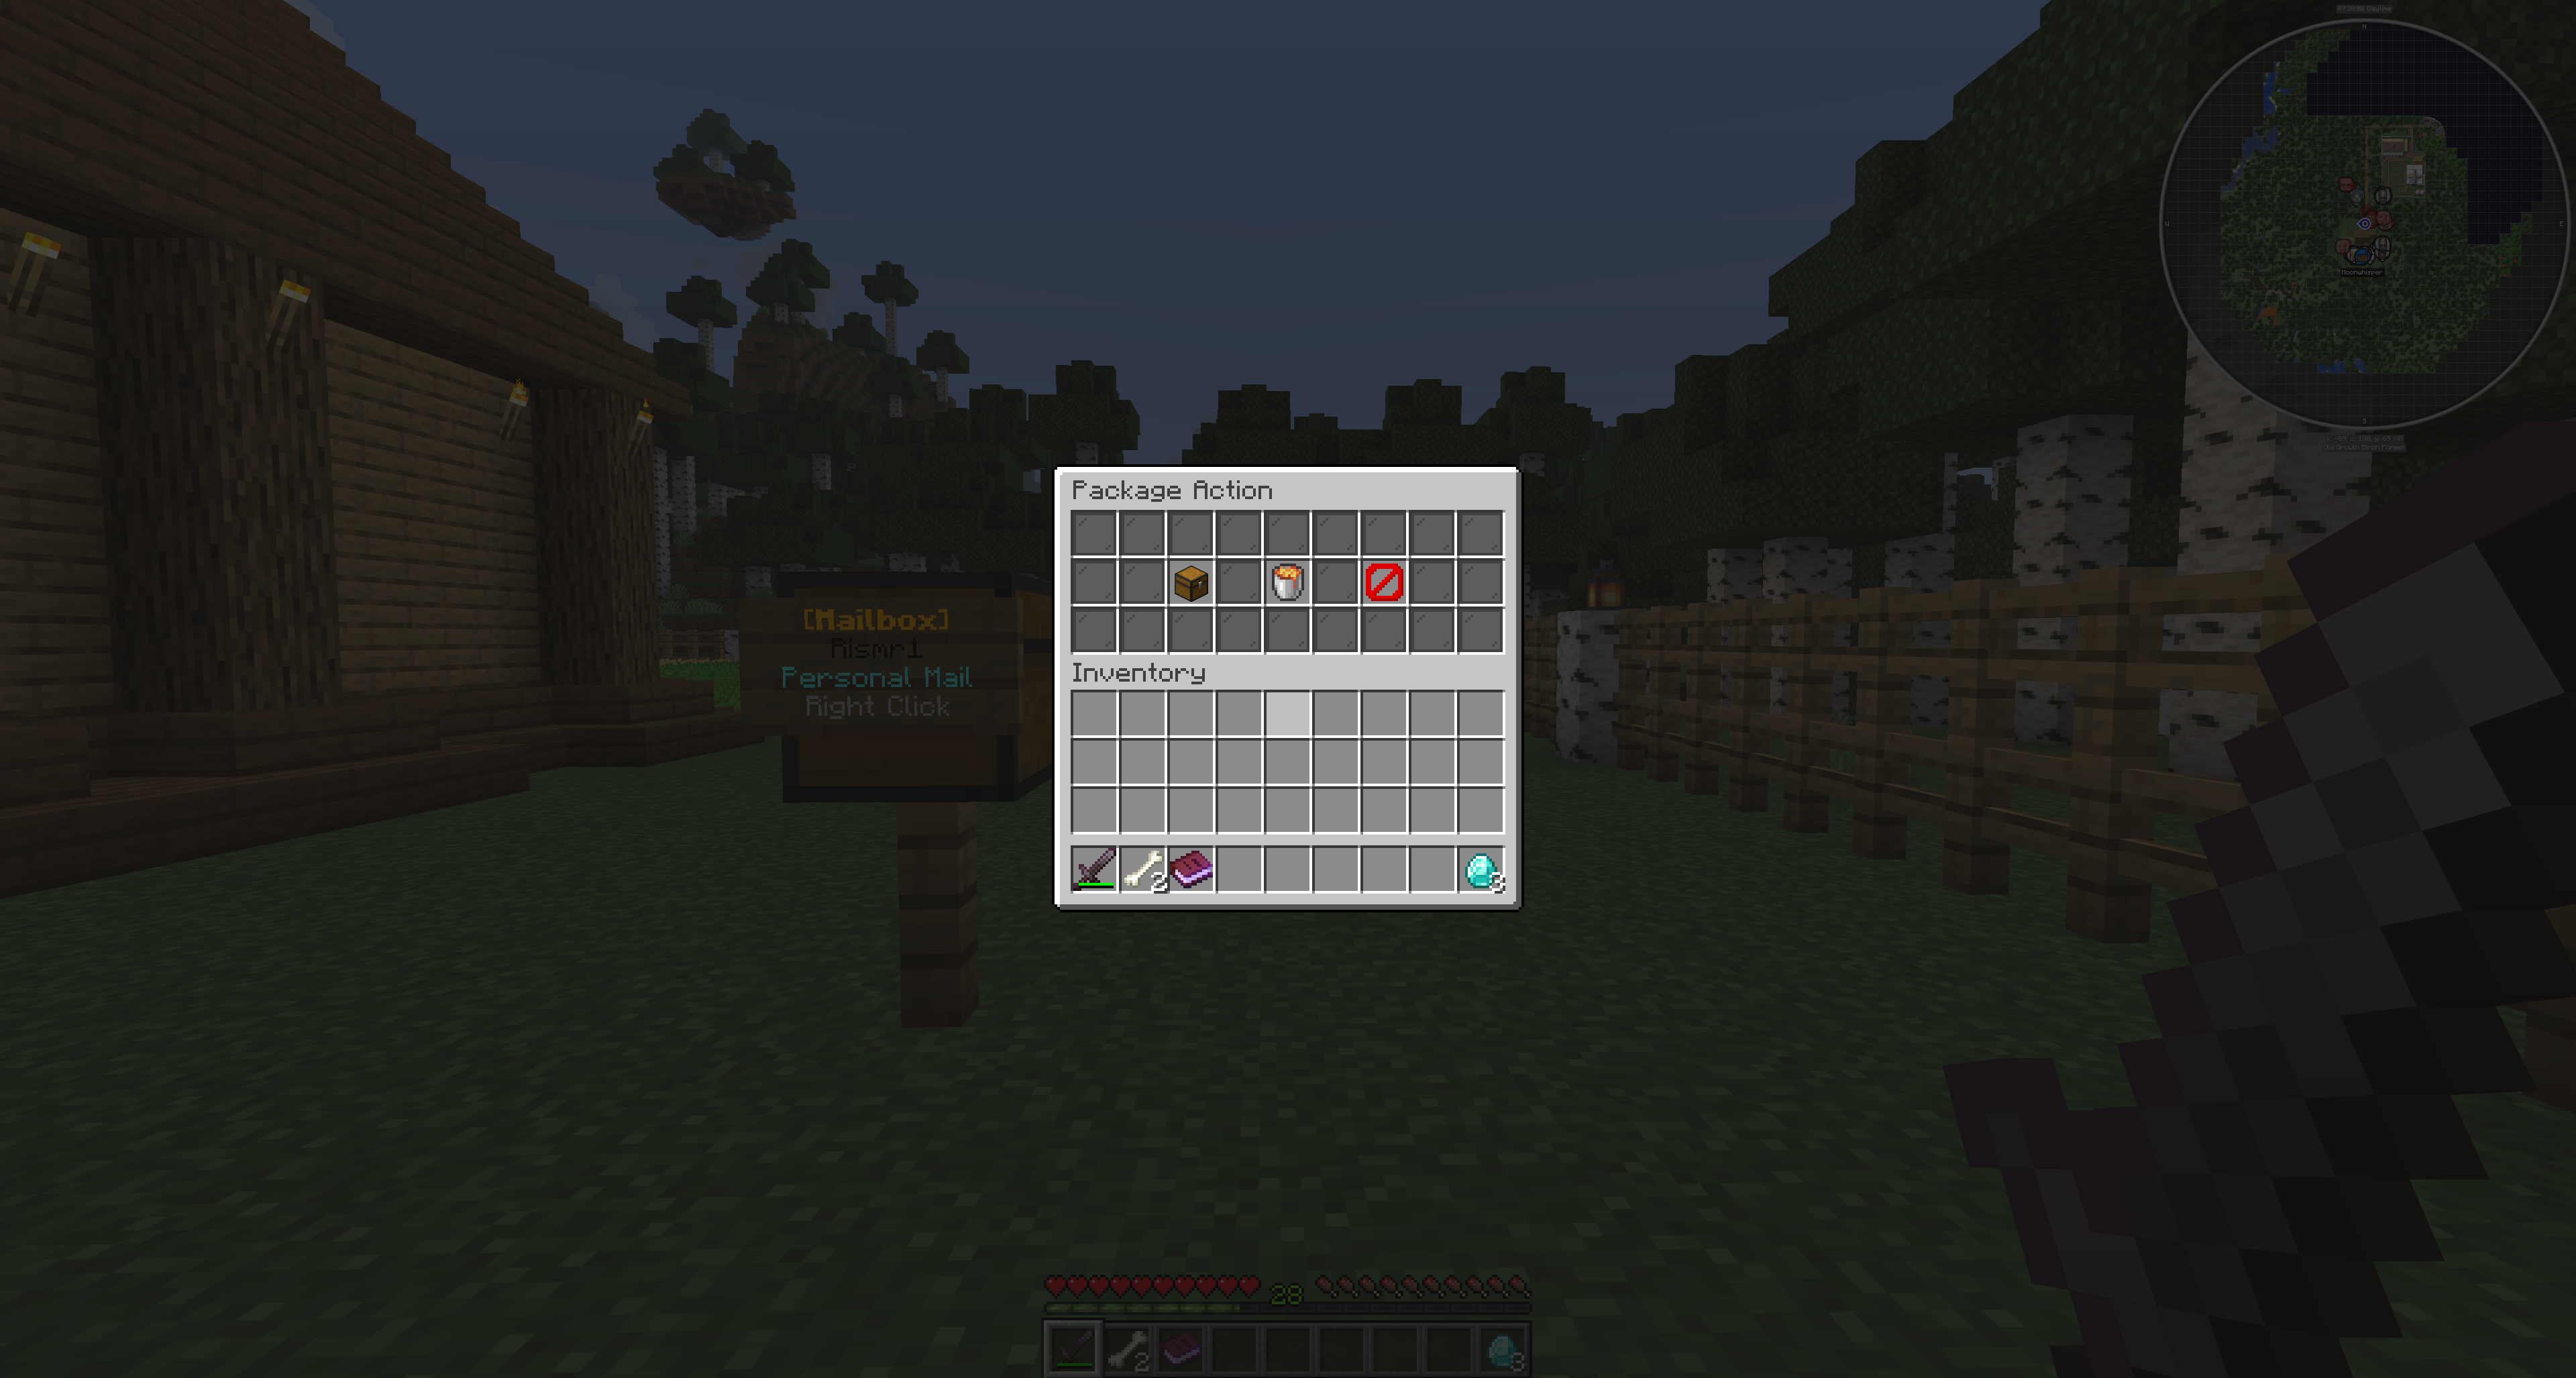
MailboxGUI adds a server mail system for Minecraft Spigot, Paper, and Purpur servers. Players can use mailboxes to send and receive letters, packages, money mail, and COD packages depending on the server settings.
Server owners can use MailboxGUI for player communication, roleplay, economy delivery, staff mail, rewards, and organized server systems that need more structure than chat or direct item handoffs.
MailboxGUI 5.1.1 keeps the single-server mailbox, classic letter, package, COD, money mail, Post Office, NPC, PlaceholderAPI, public API, and network workflows, and includes the 5.1.0 Book Letter and item-currency COD update plus Vault2.0 custom currency amount parsing and updated Chinese language files.
Network mode remains optional for multi-backend Velocity-style or BungeeCord-style
server networks. When network mode
is enabled, shared MySQL/MariaDB storage and Redis coordination are required for mail
data, presence, refreshes, locks, and cross-server updates. Single-server setups are
still fully supported and remain the default with network.enabled: false.
Redis is required for network server mode, but not for normal single-server installs.
MailboxGUI 5.1.1 targets Spigot/Paper/Purpur 1.18.2 through 1.21.11, plus 26.1.x
and 26.2.x. MailboxGUI 5.1.0 or newer is required for 26.2.x because 5.0.1 does not
support 26.2.x sign updating correctly. MailboxGUI 5.1.1 or newer is recommended for
Vault2.0 custom currency support. MailboxGUI 5.1.1 uses
config-version: 12, language file-version: 14, and mail data
version 5.
Before You Install
Download MailboxGUI from one of the official platforms. The download page on this website links to SpigotMC, Modrinth, CurseForge, Hangar, and GitHub Releases. Voxel.shop is listed as coming soon while it remains under review.
Confirm the server version is supported by the current plugin release before installing. When installing or updating, use a full server stop and start instead of relying only on plugin reloads.
Use this wiki for setup details and the linked support/download areas when checking the current release, troubleshooting, or preparing server updates.
Recommended Dependencies and Hooks
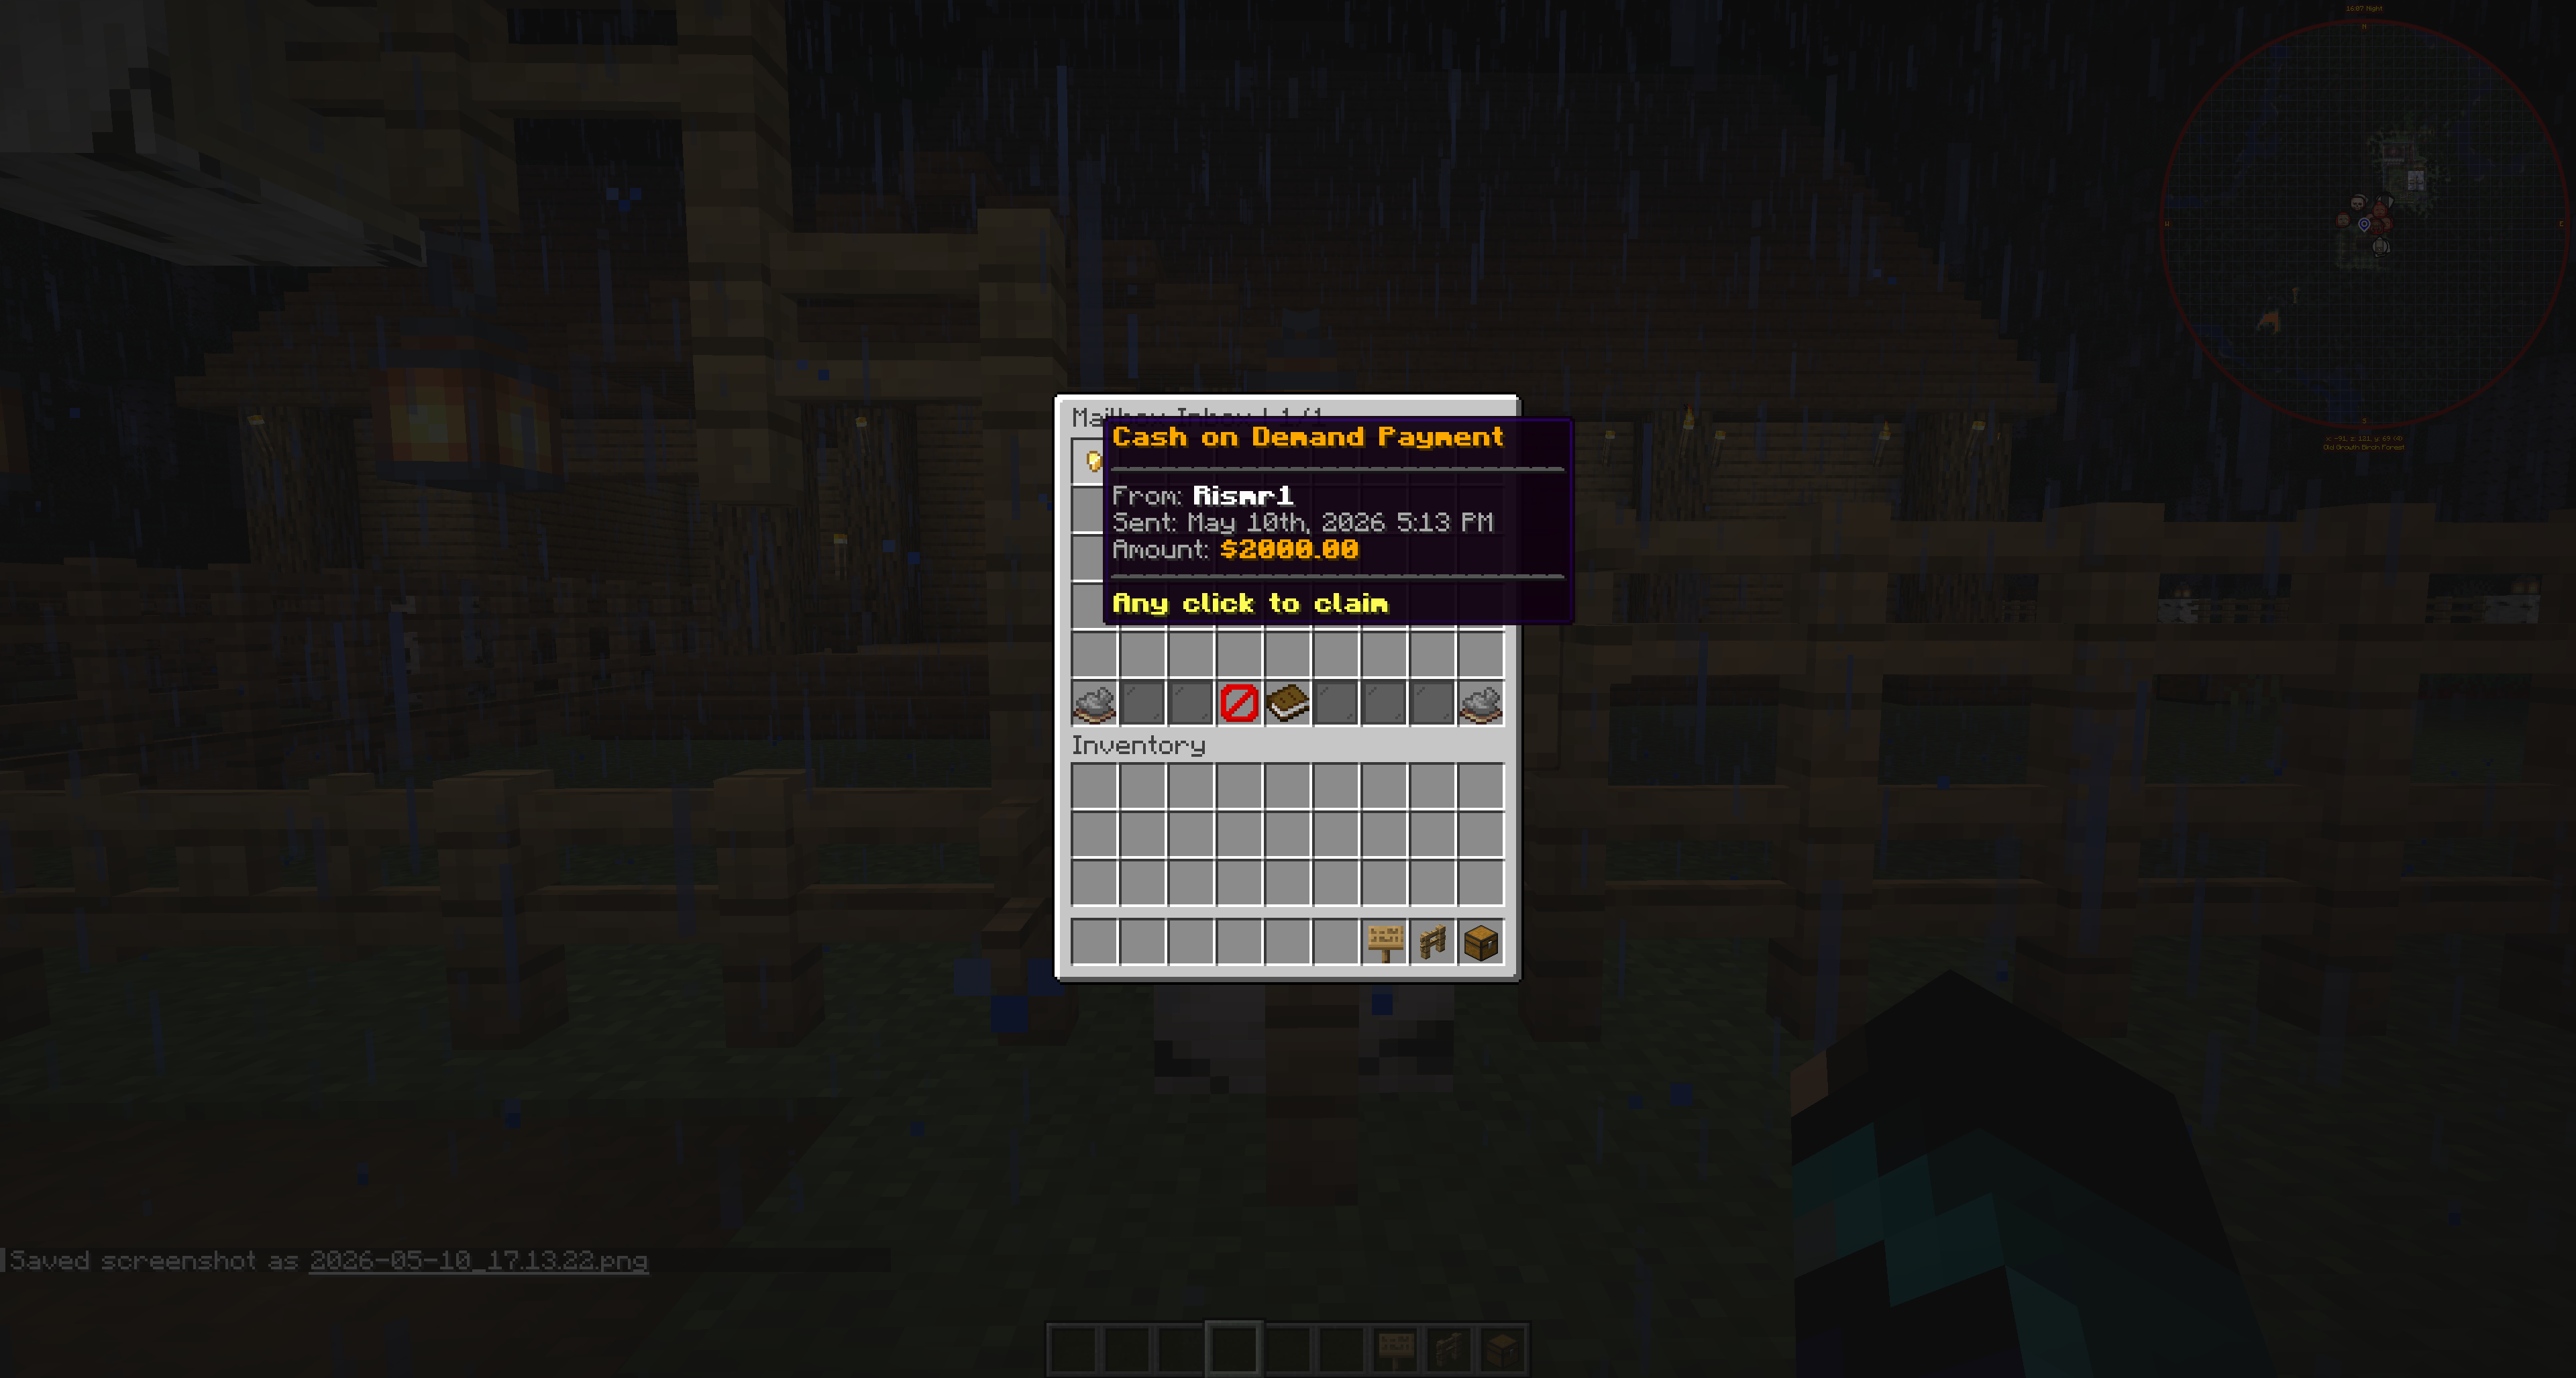
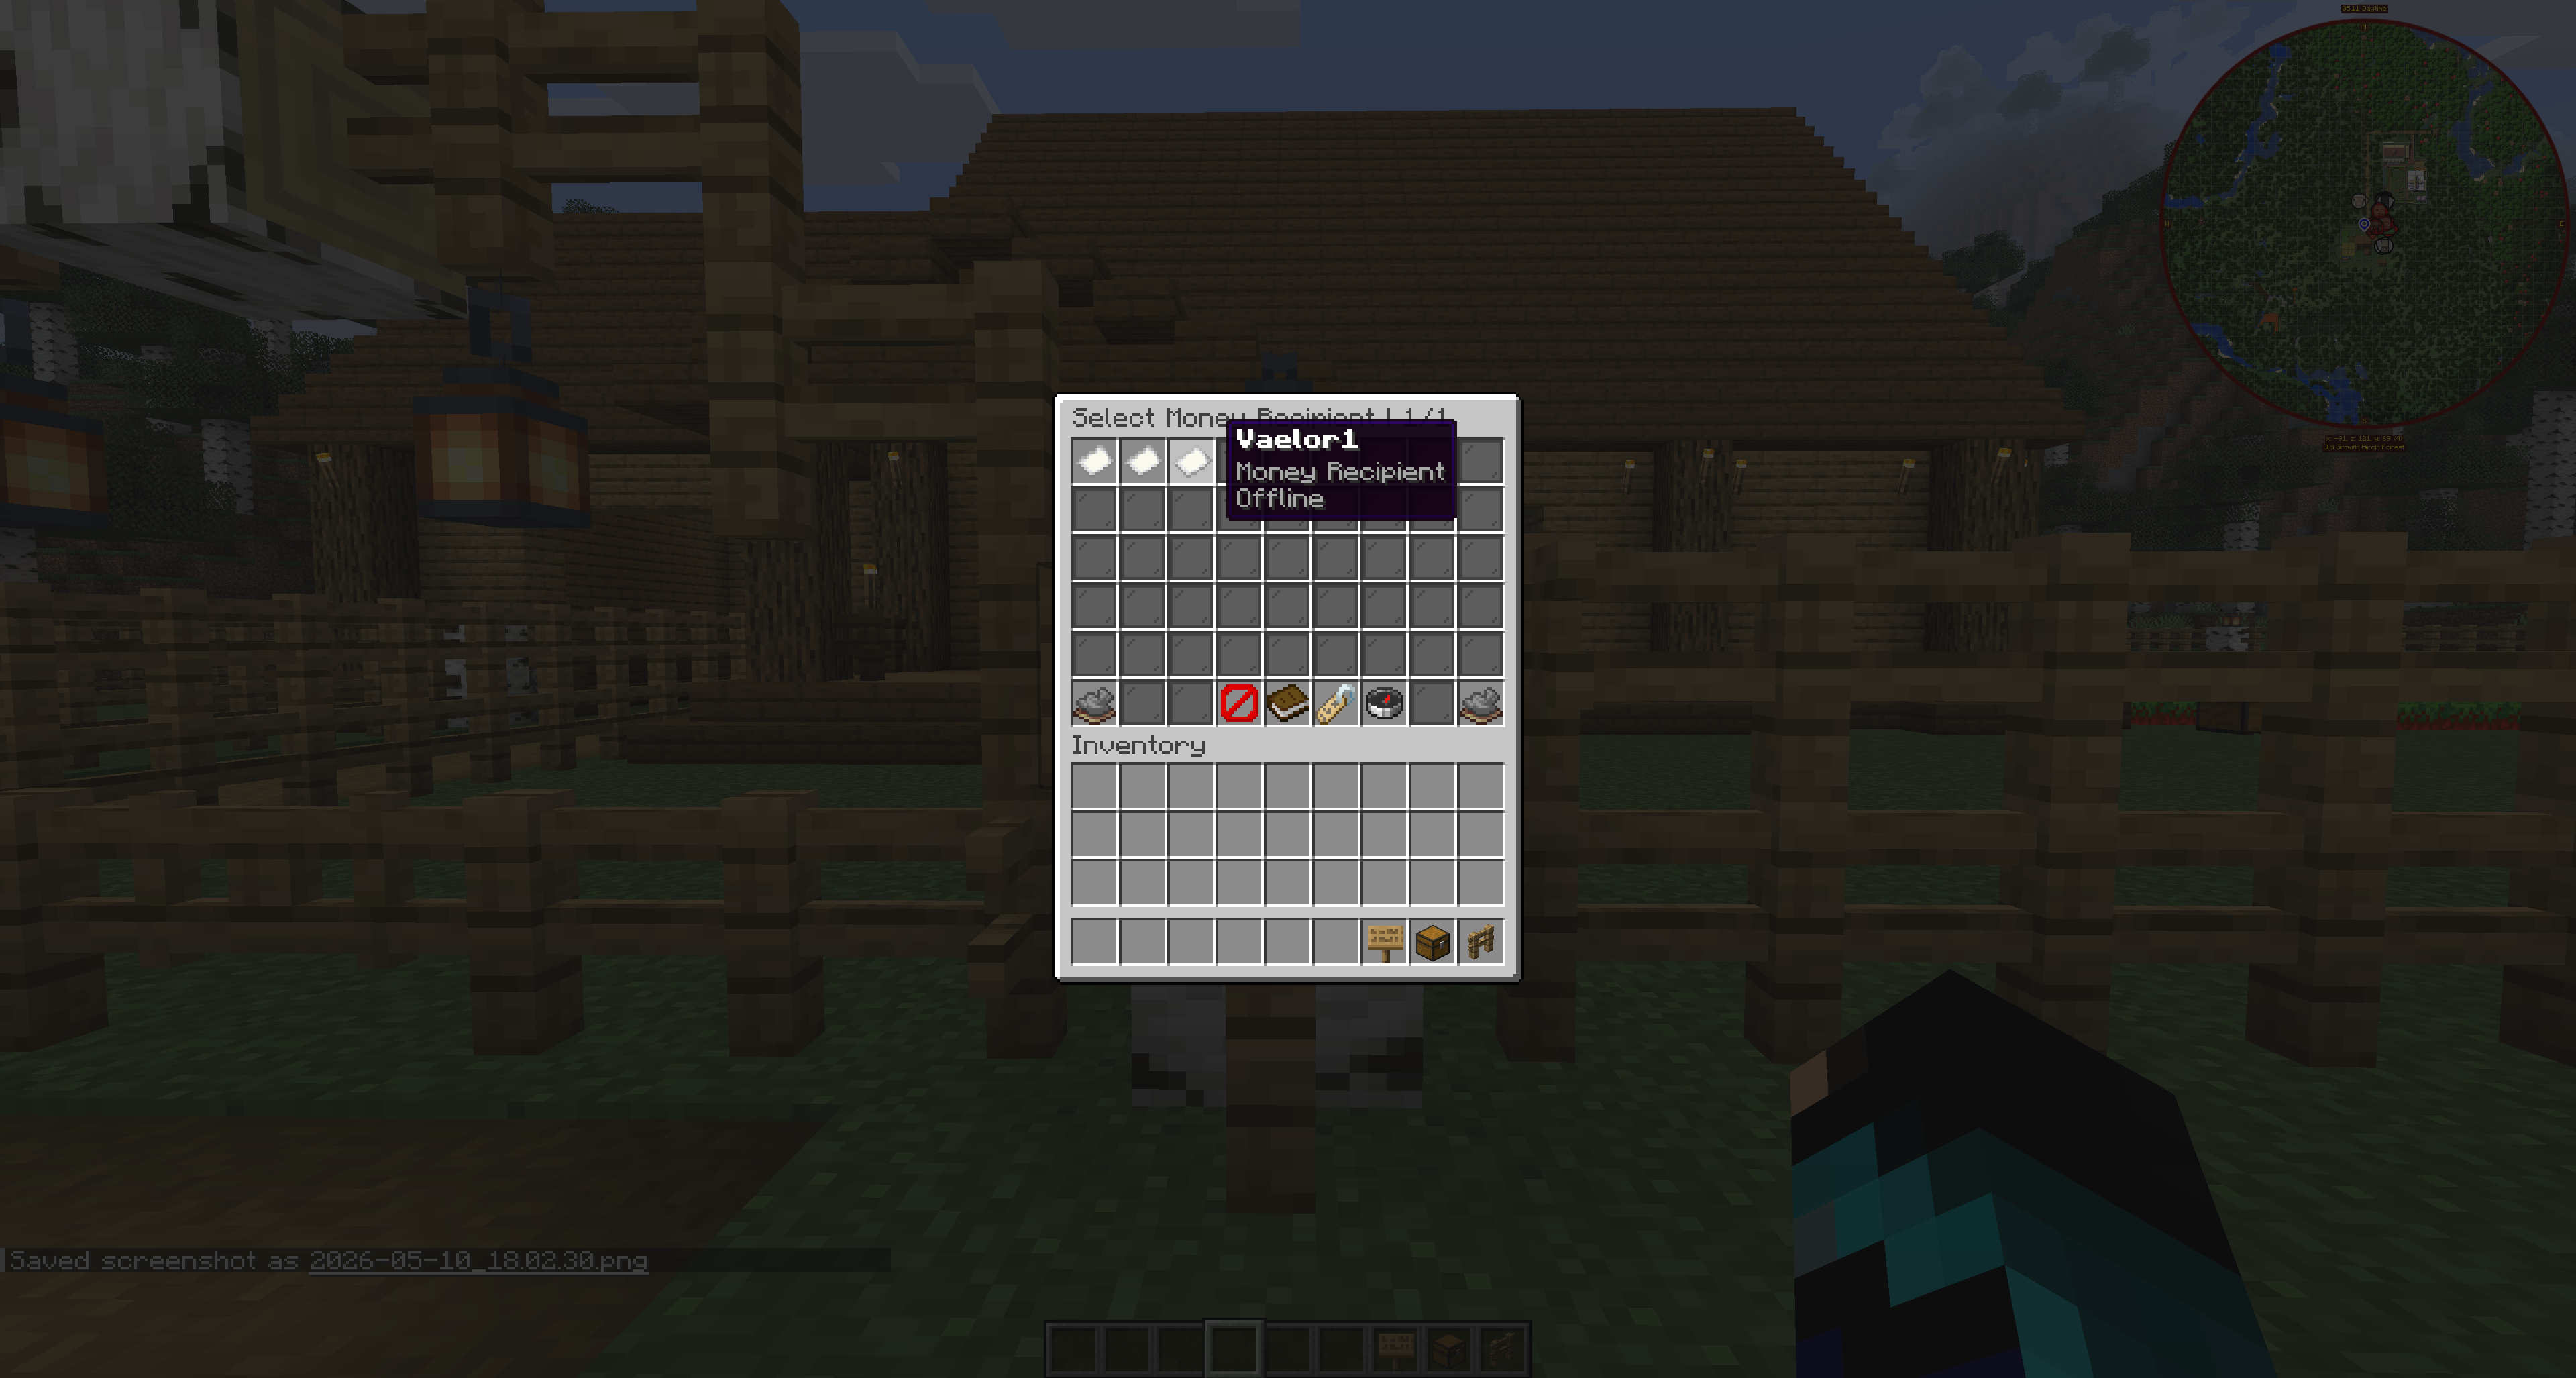
- Vault: needed for economy features such as money mail, Vault-money COD payments, and paid post office actions when enabled.
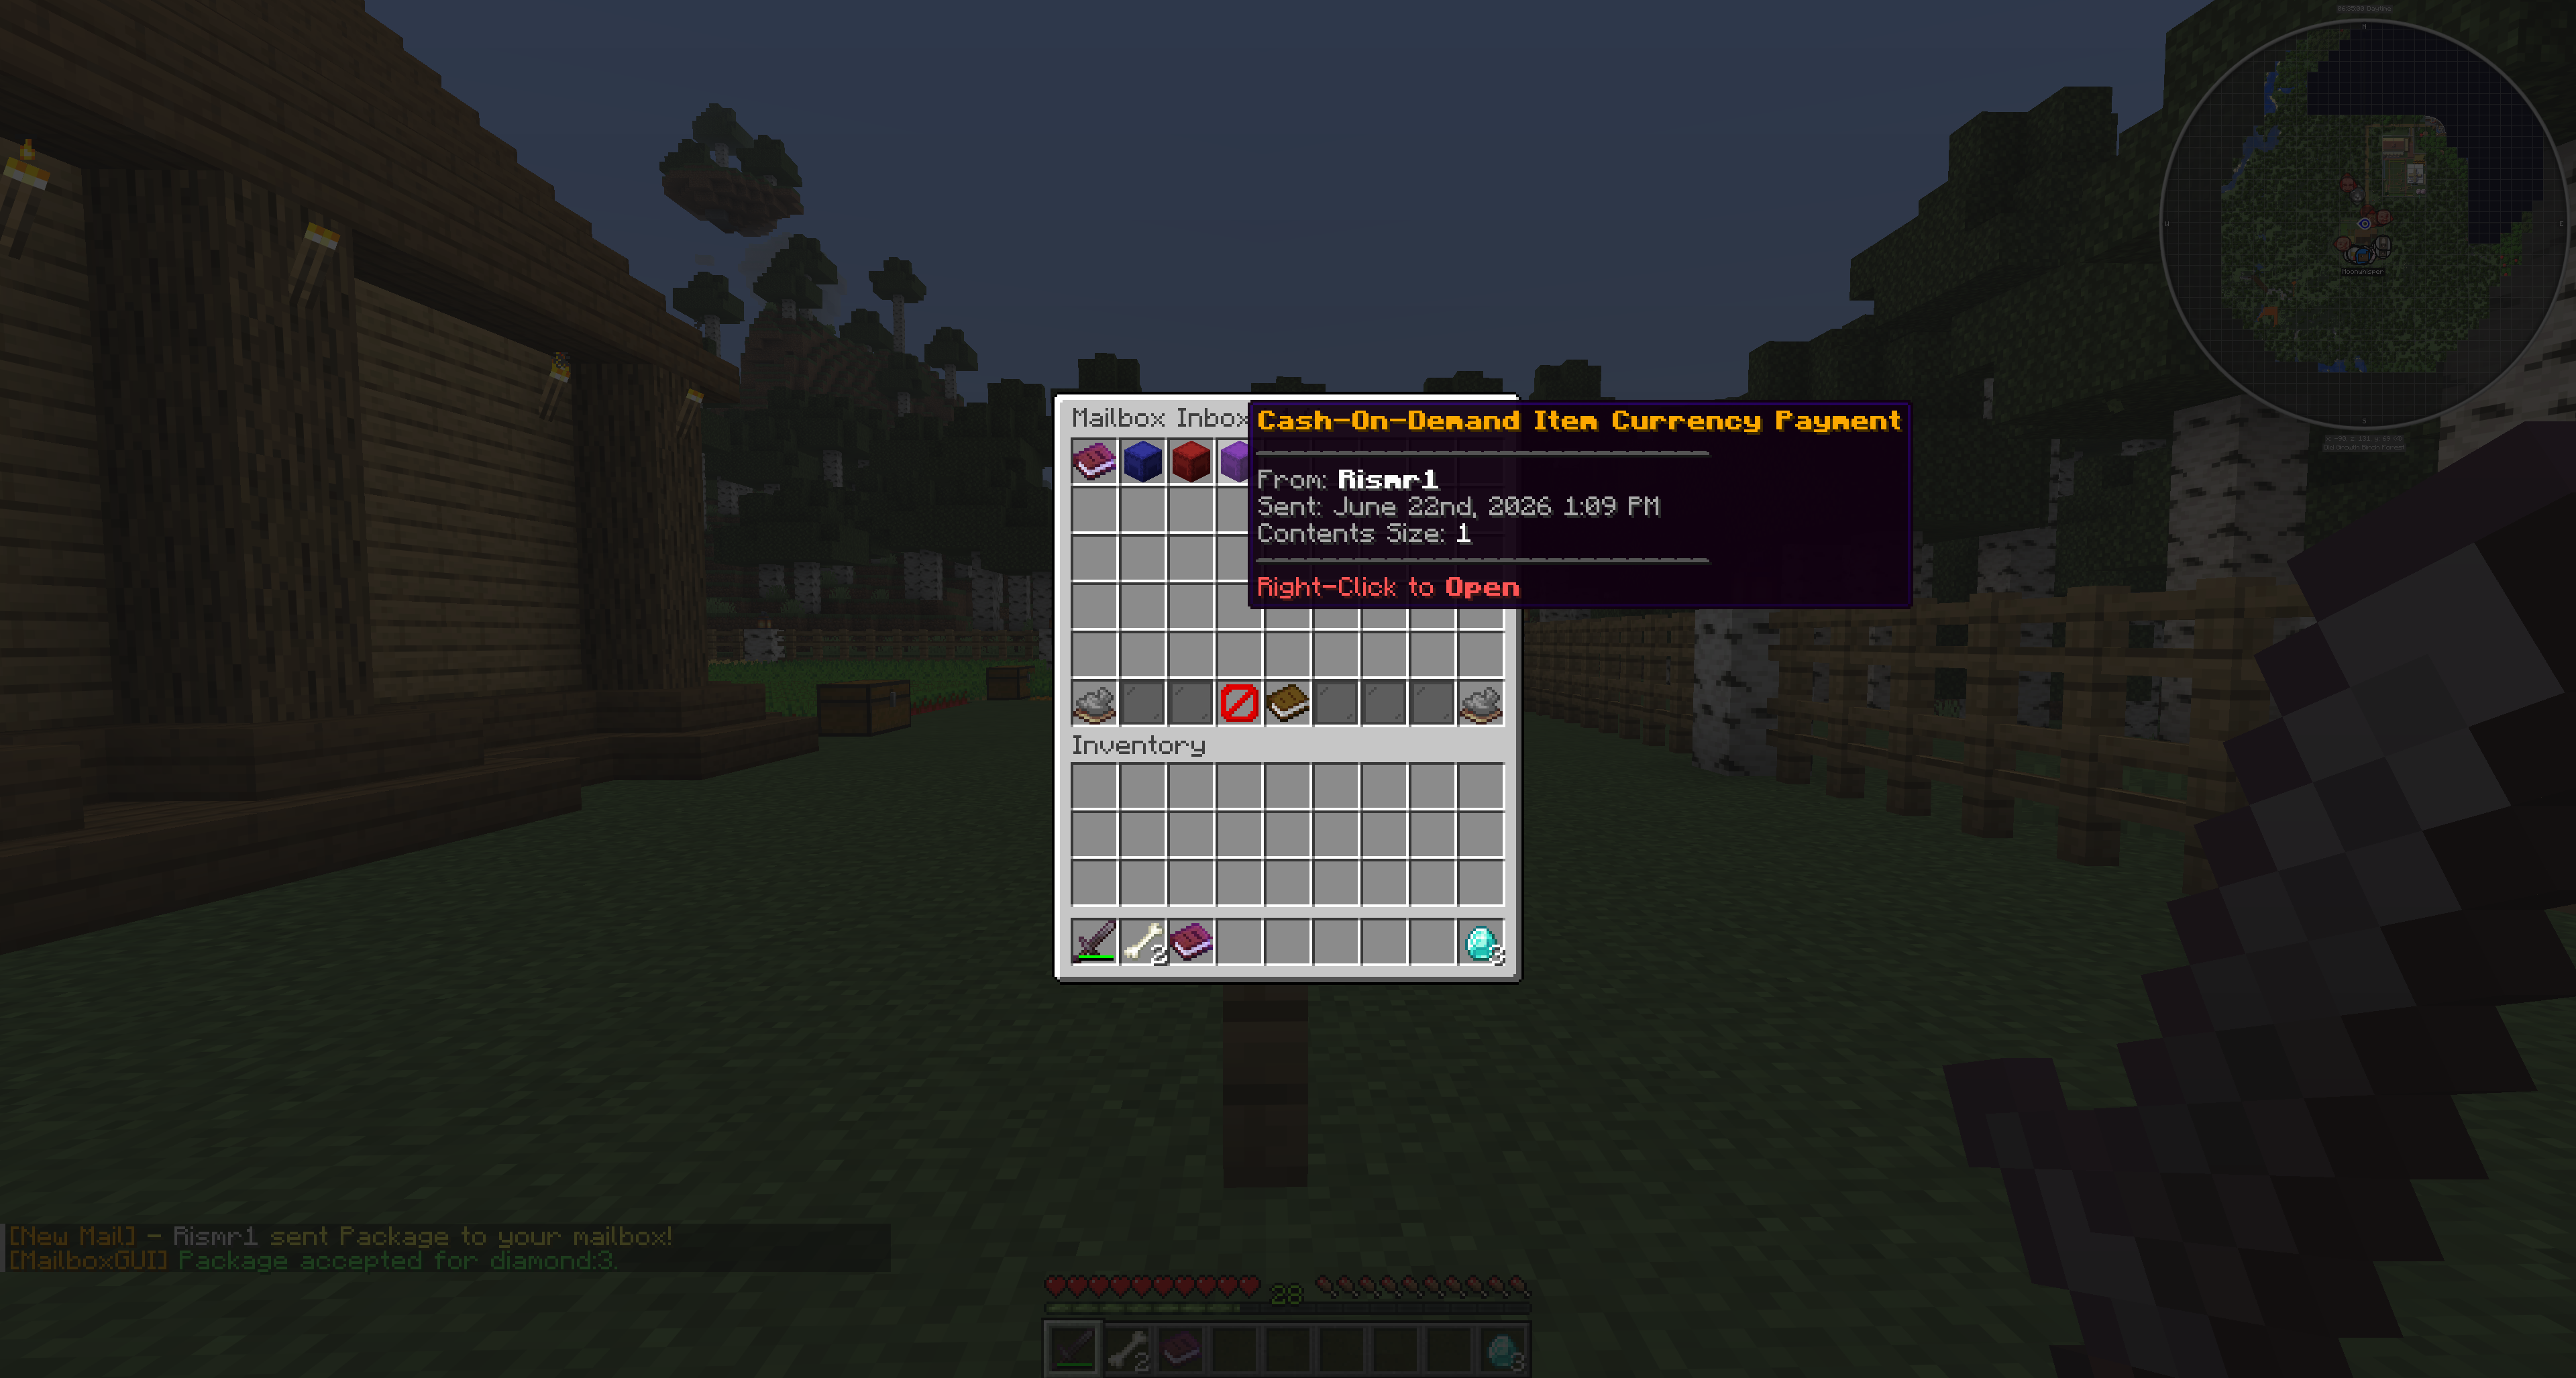
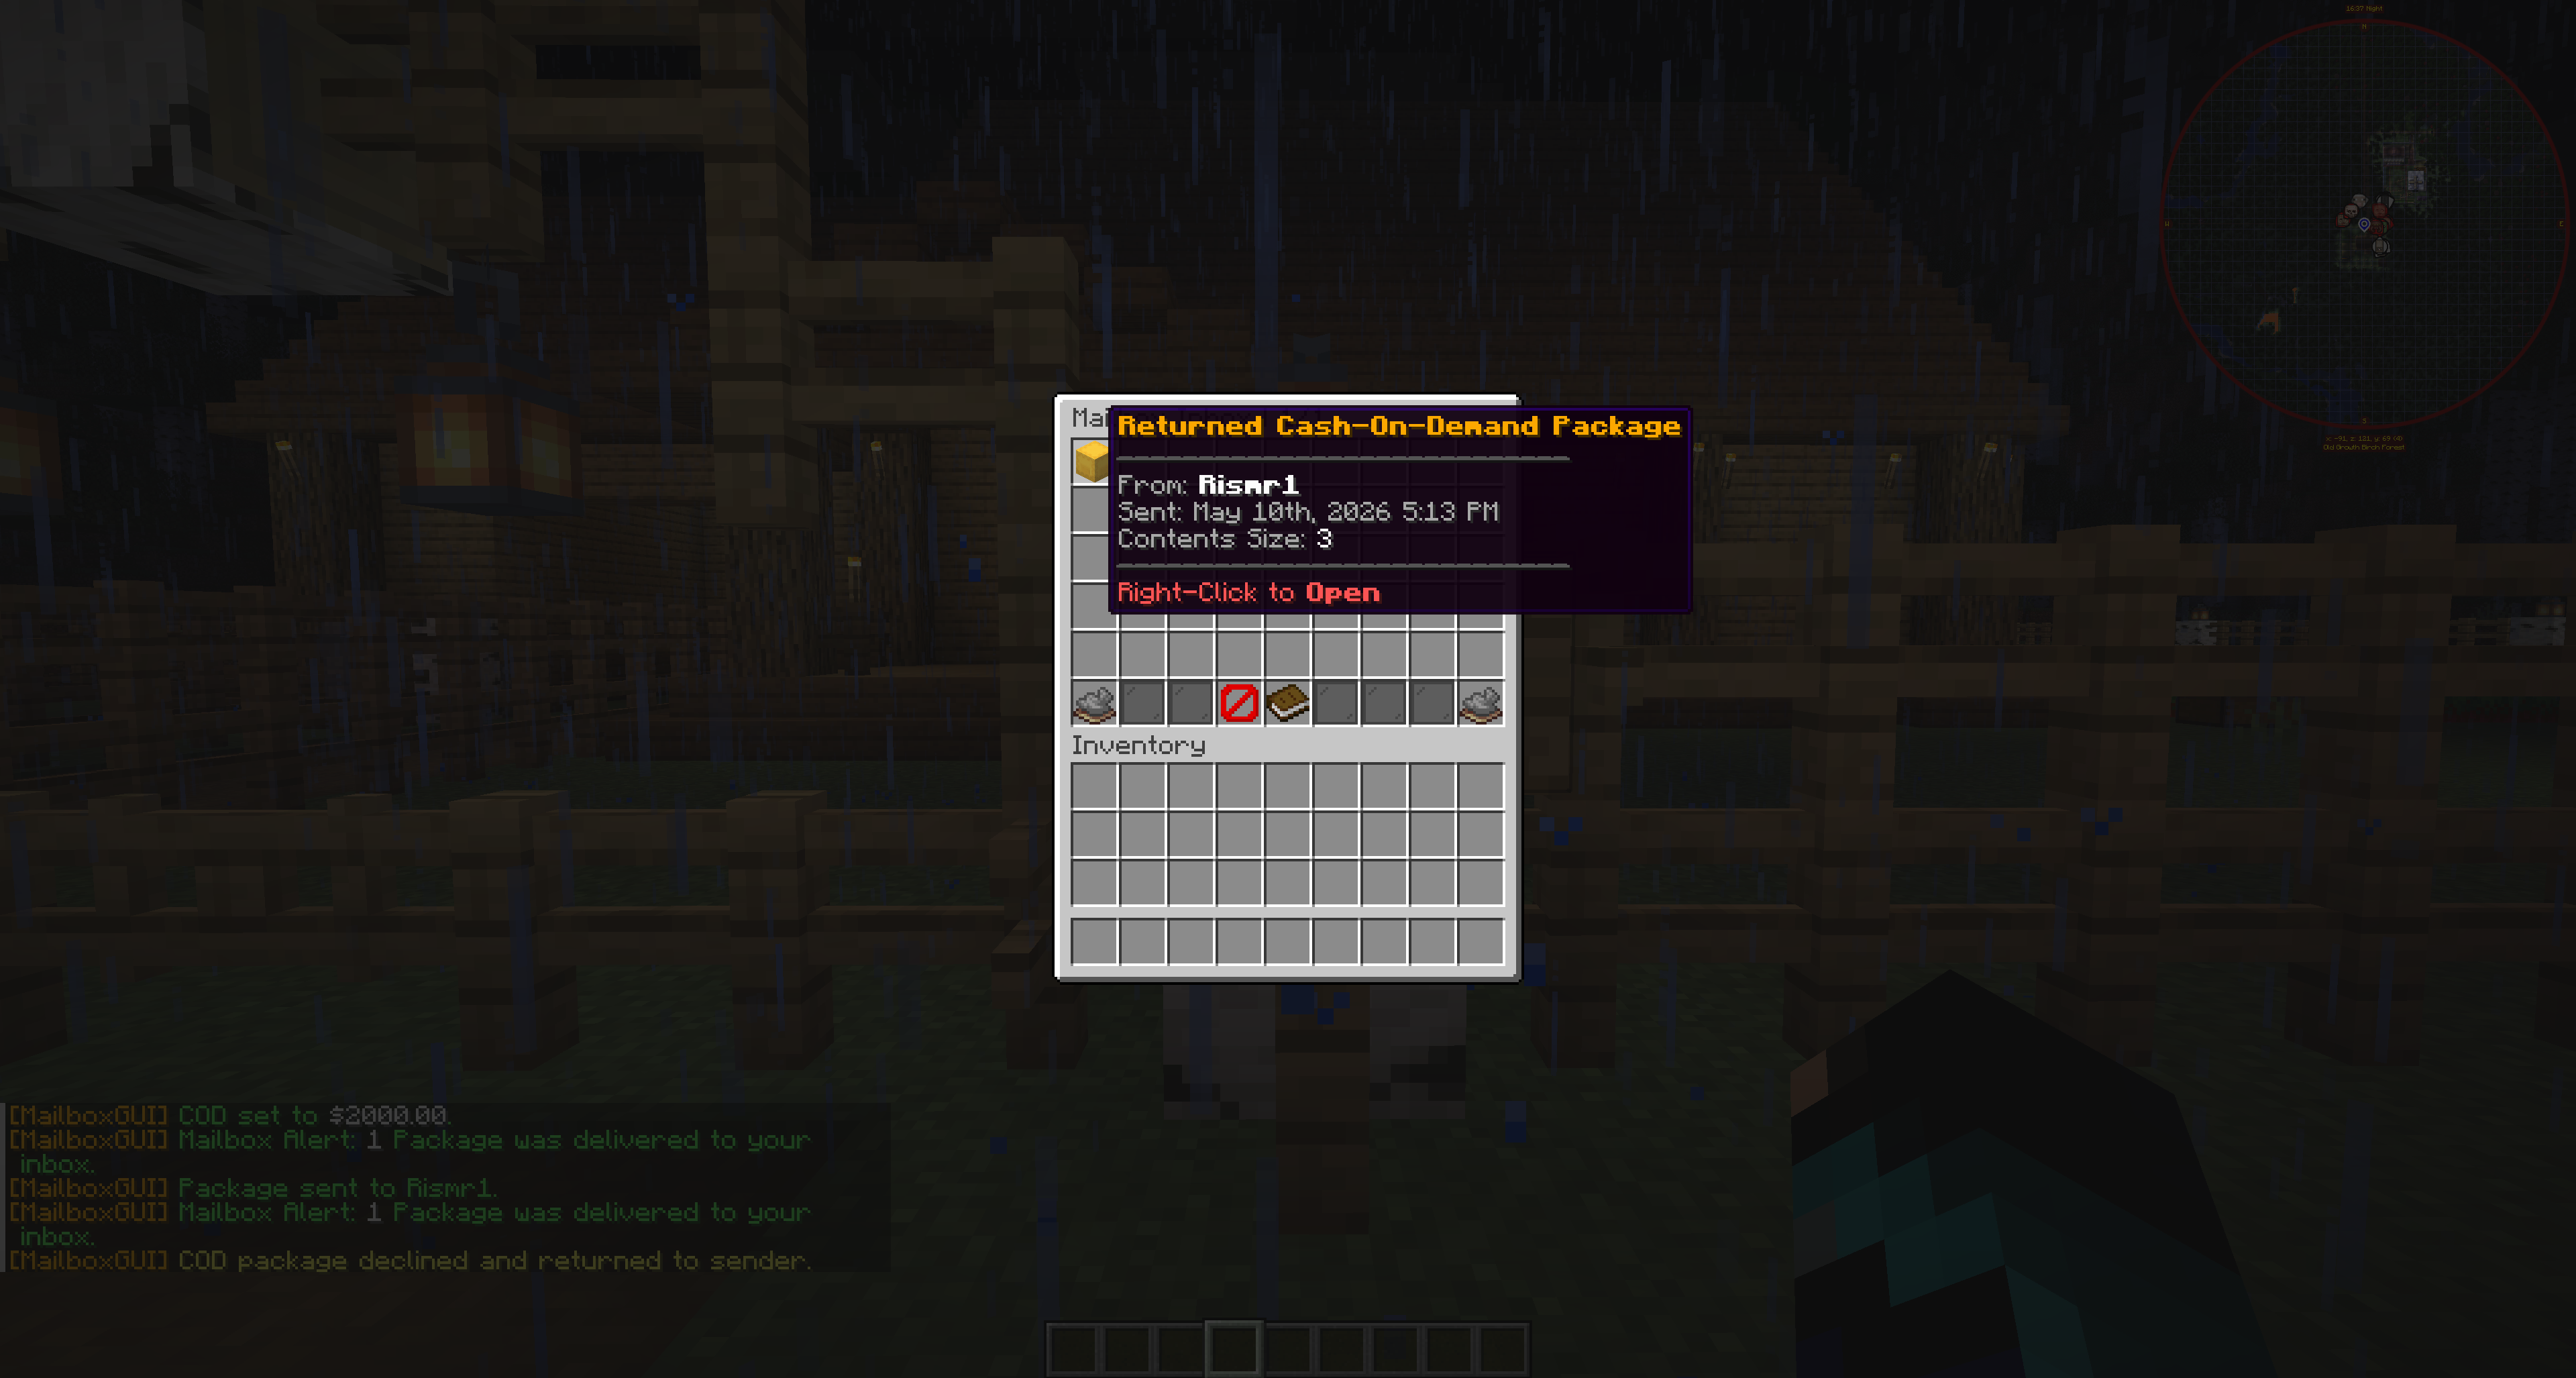
- Economy plugin: required alongside Vault if the server wants economy-based mail features. Item-currency COD can remain available when Vault-money COD is unavailable, if enabled.
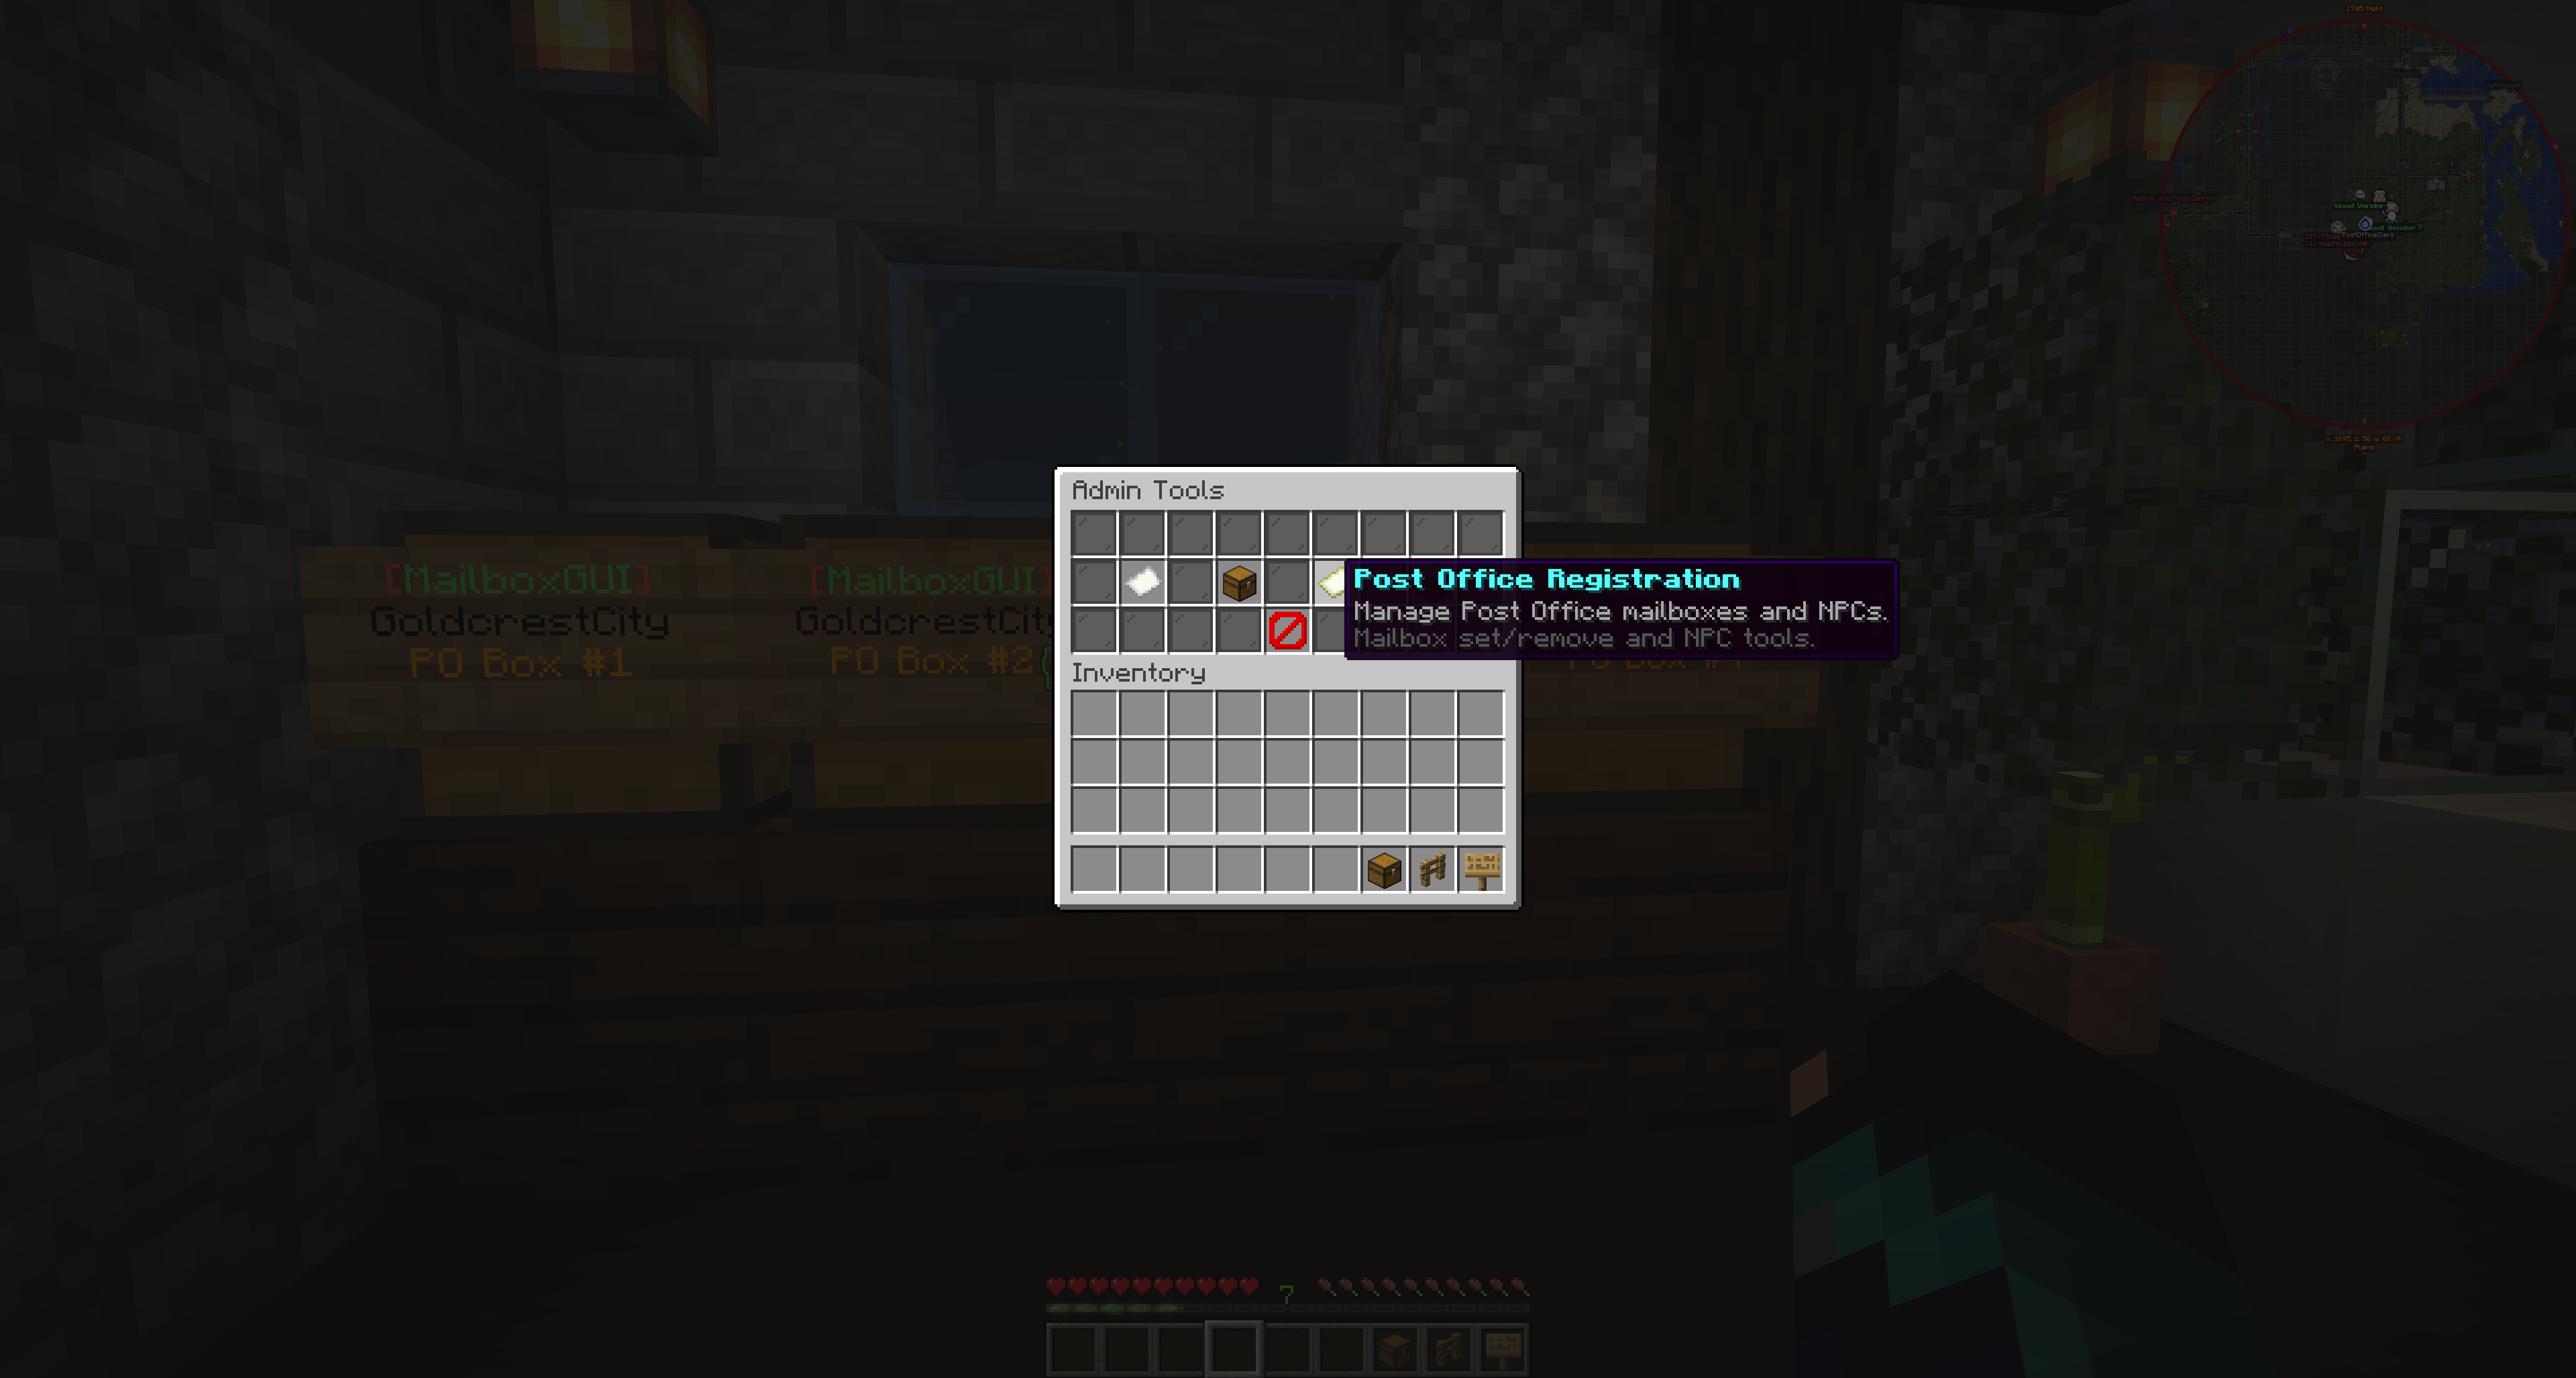
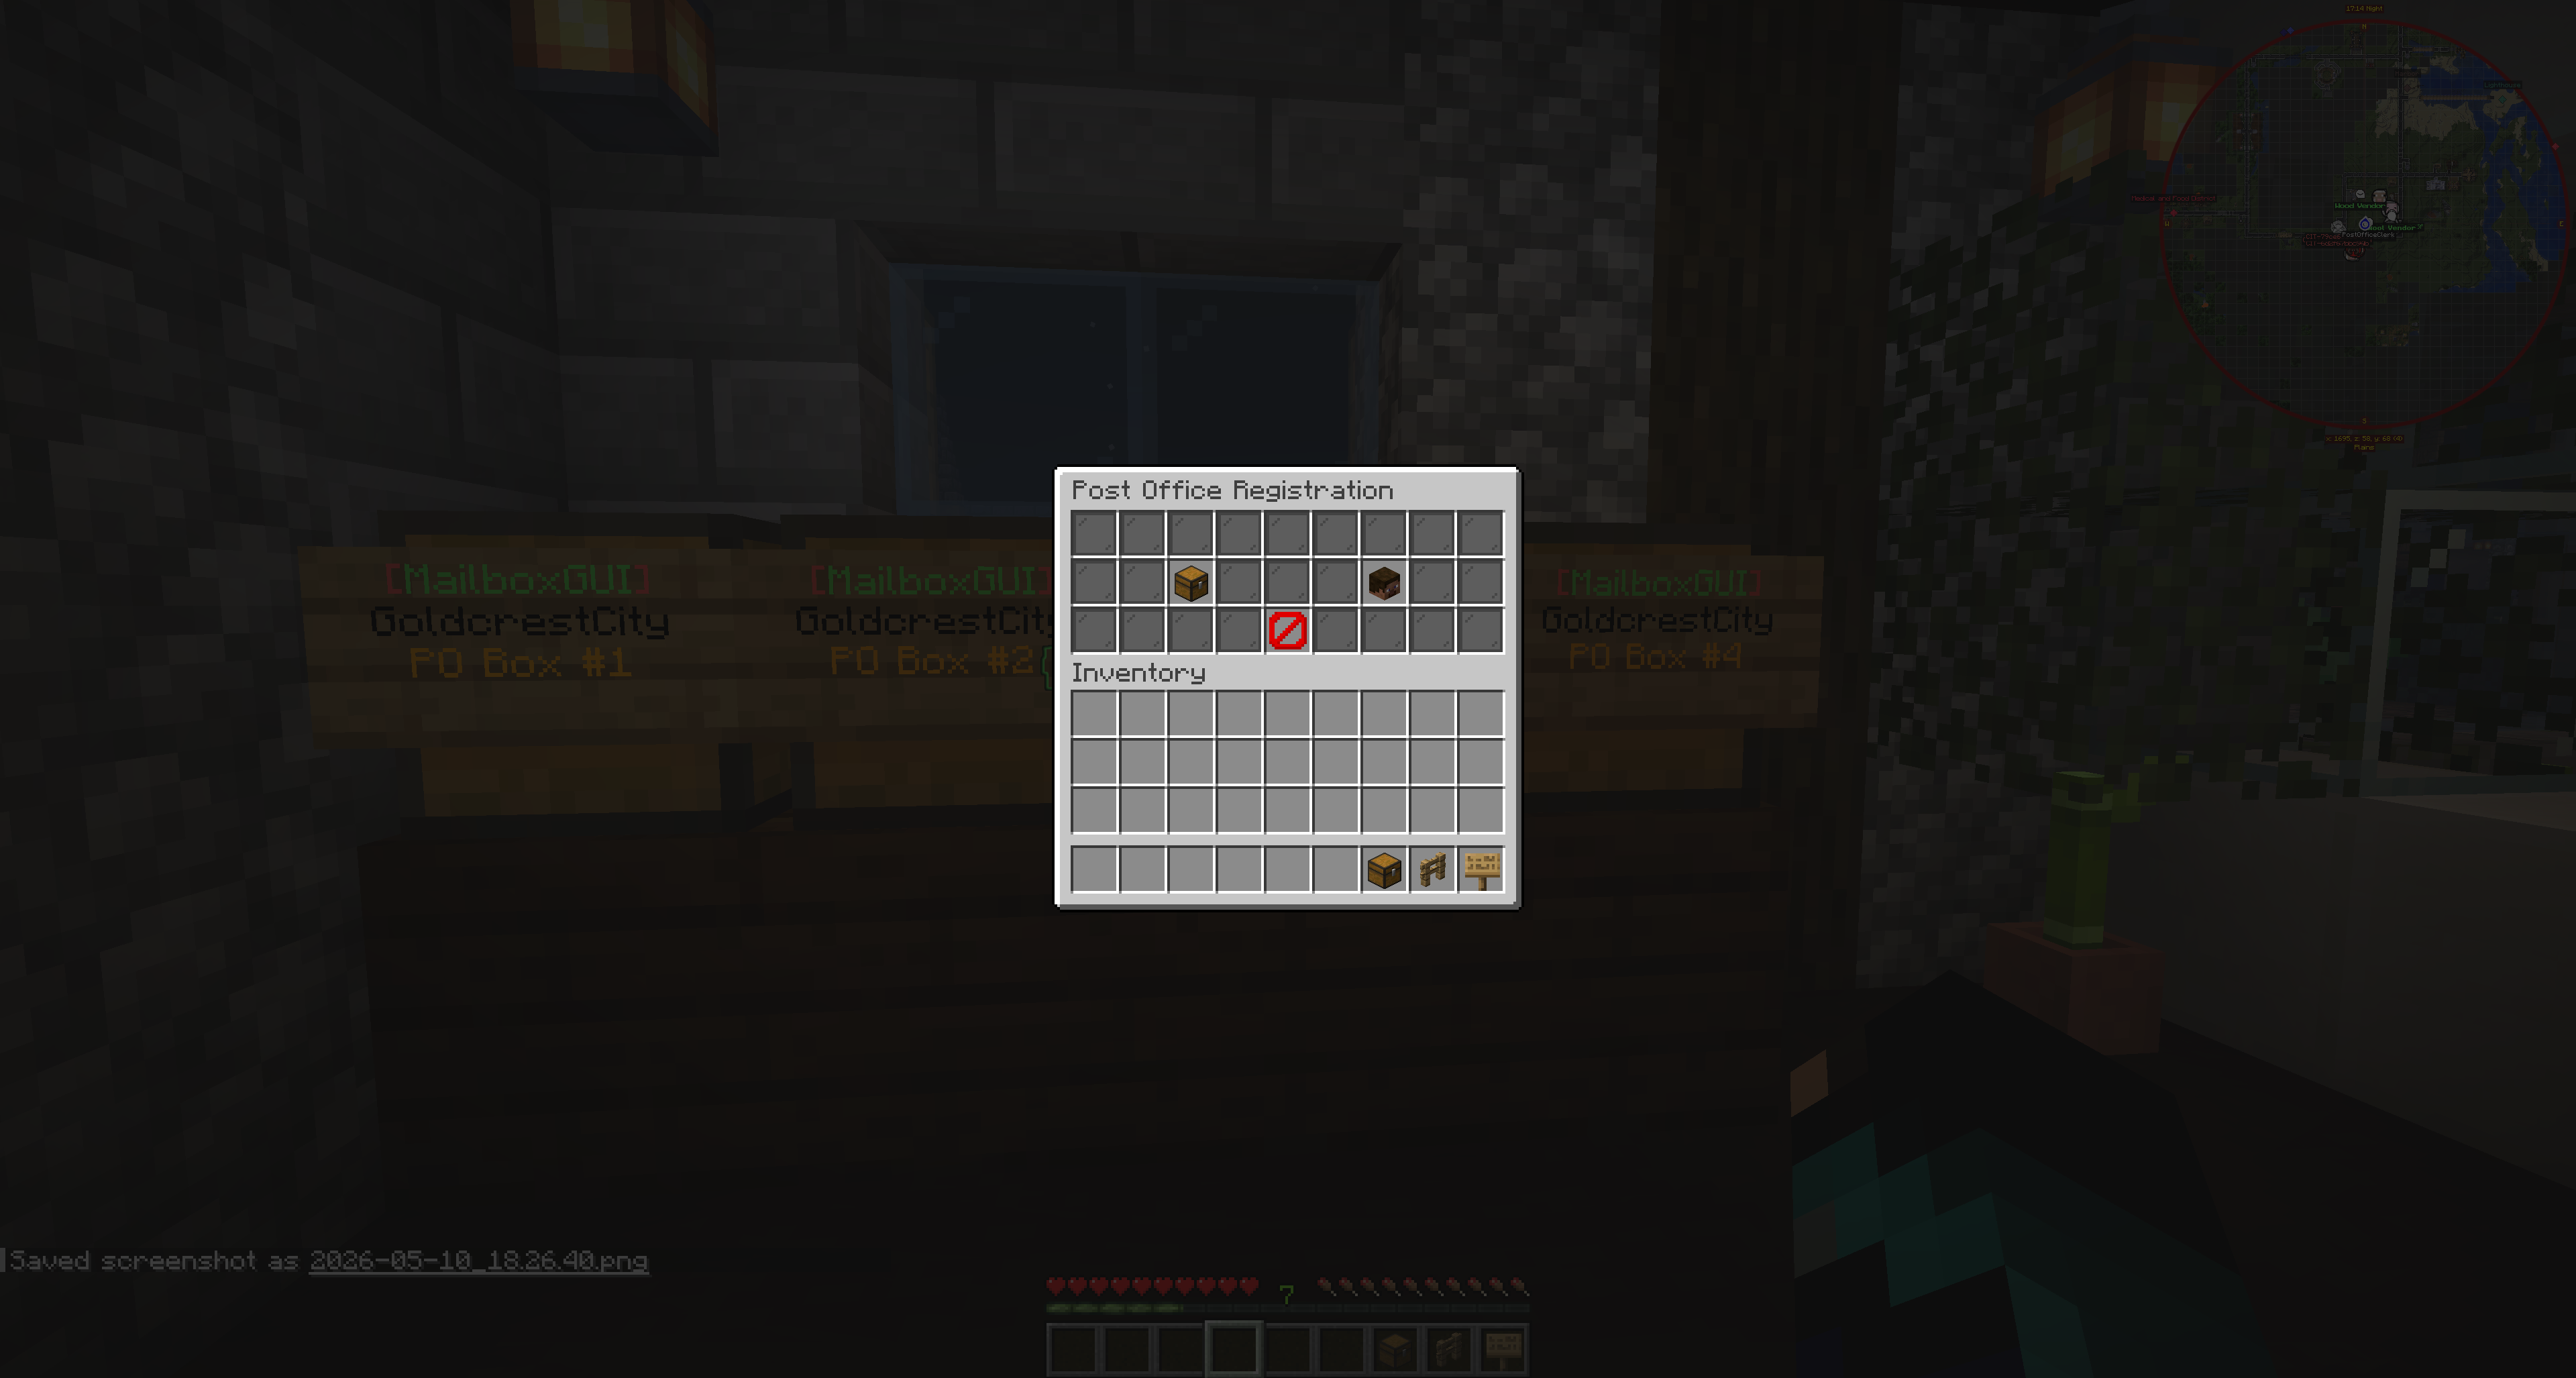
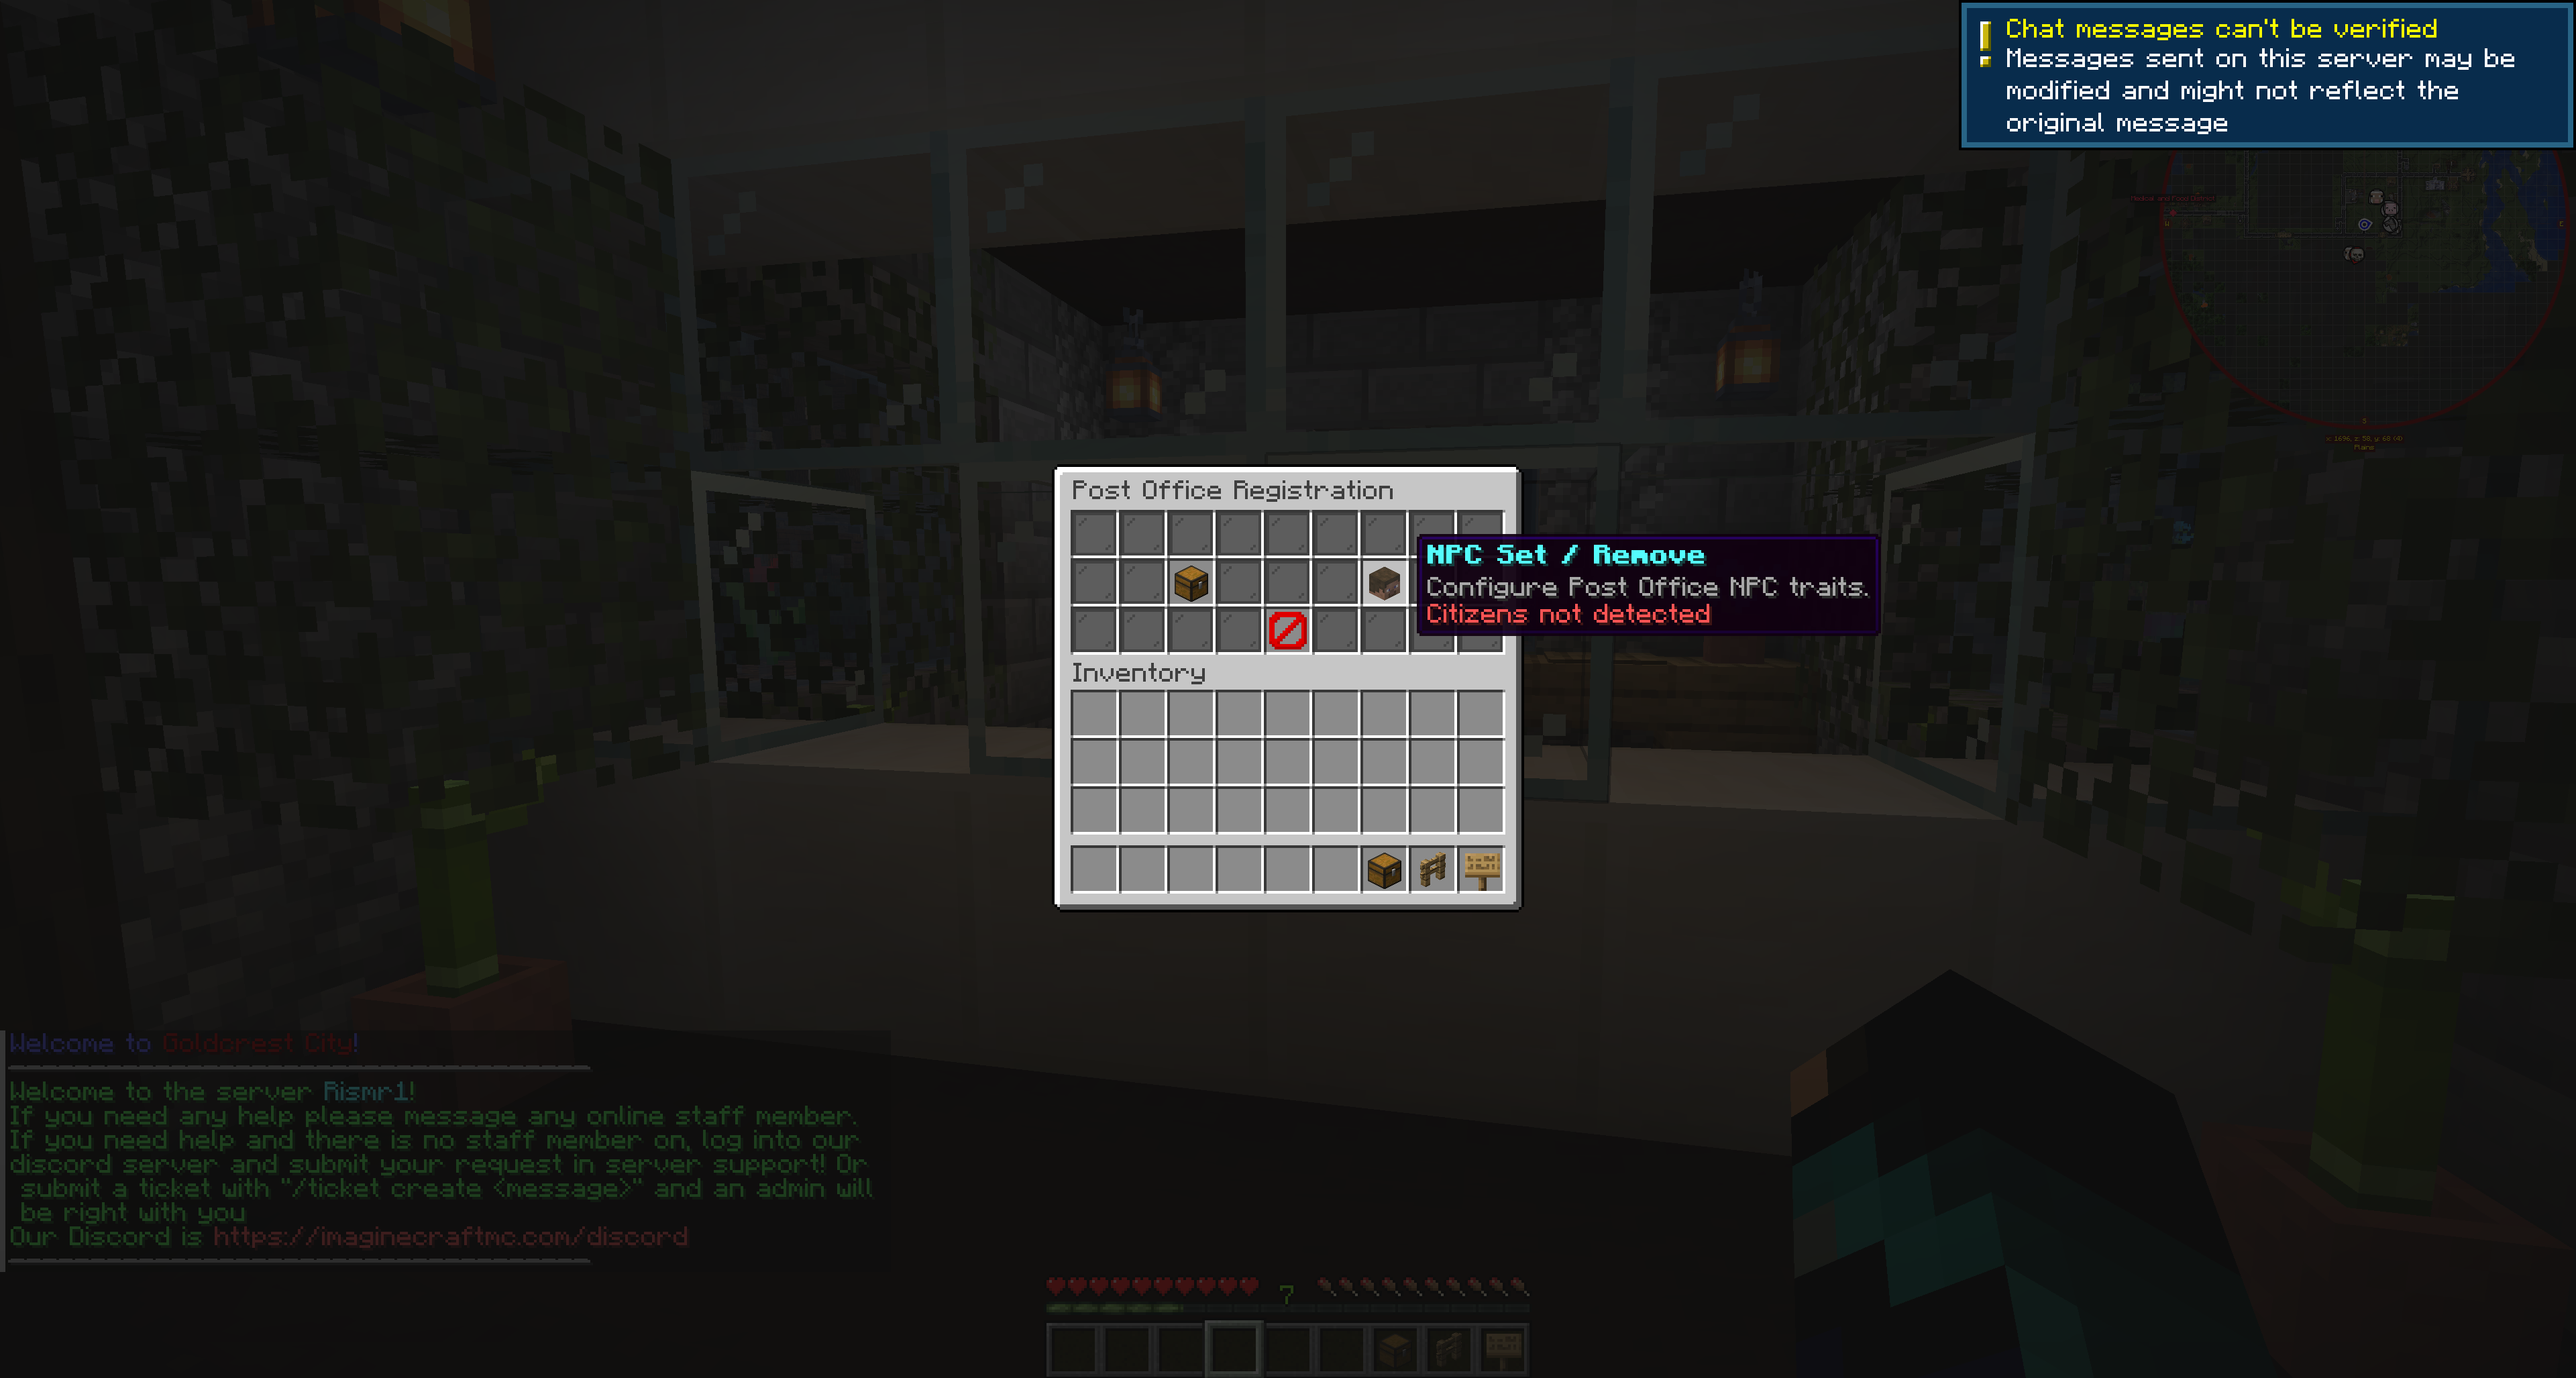
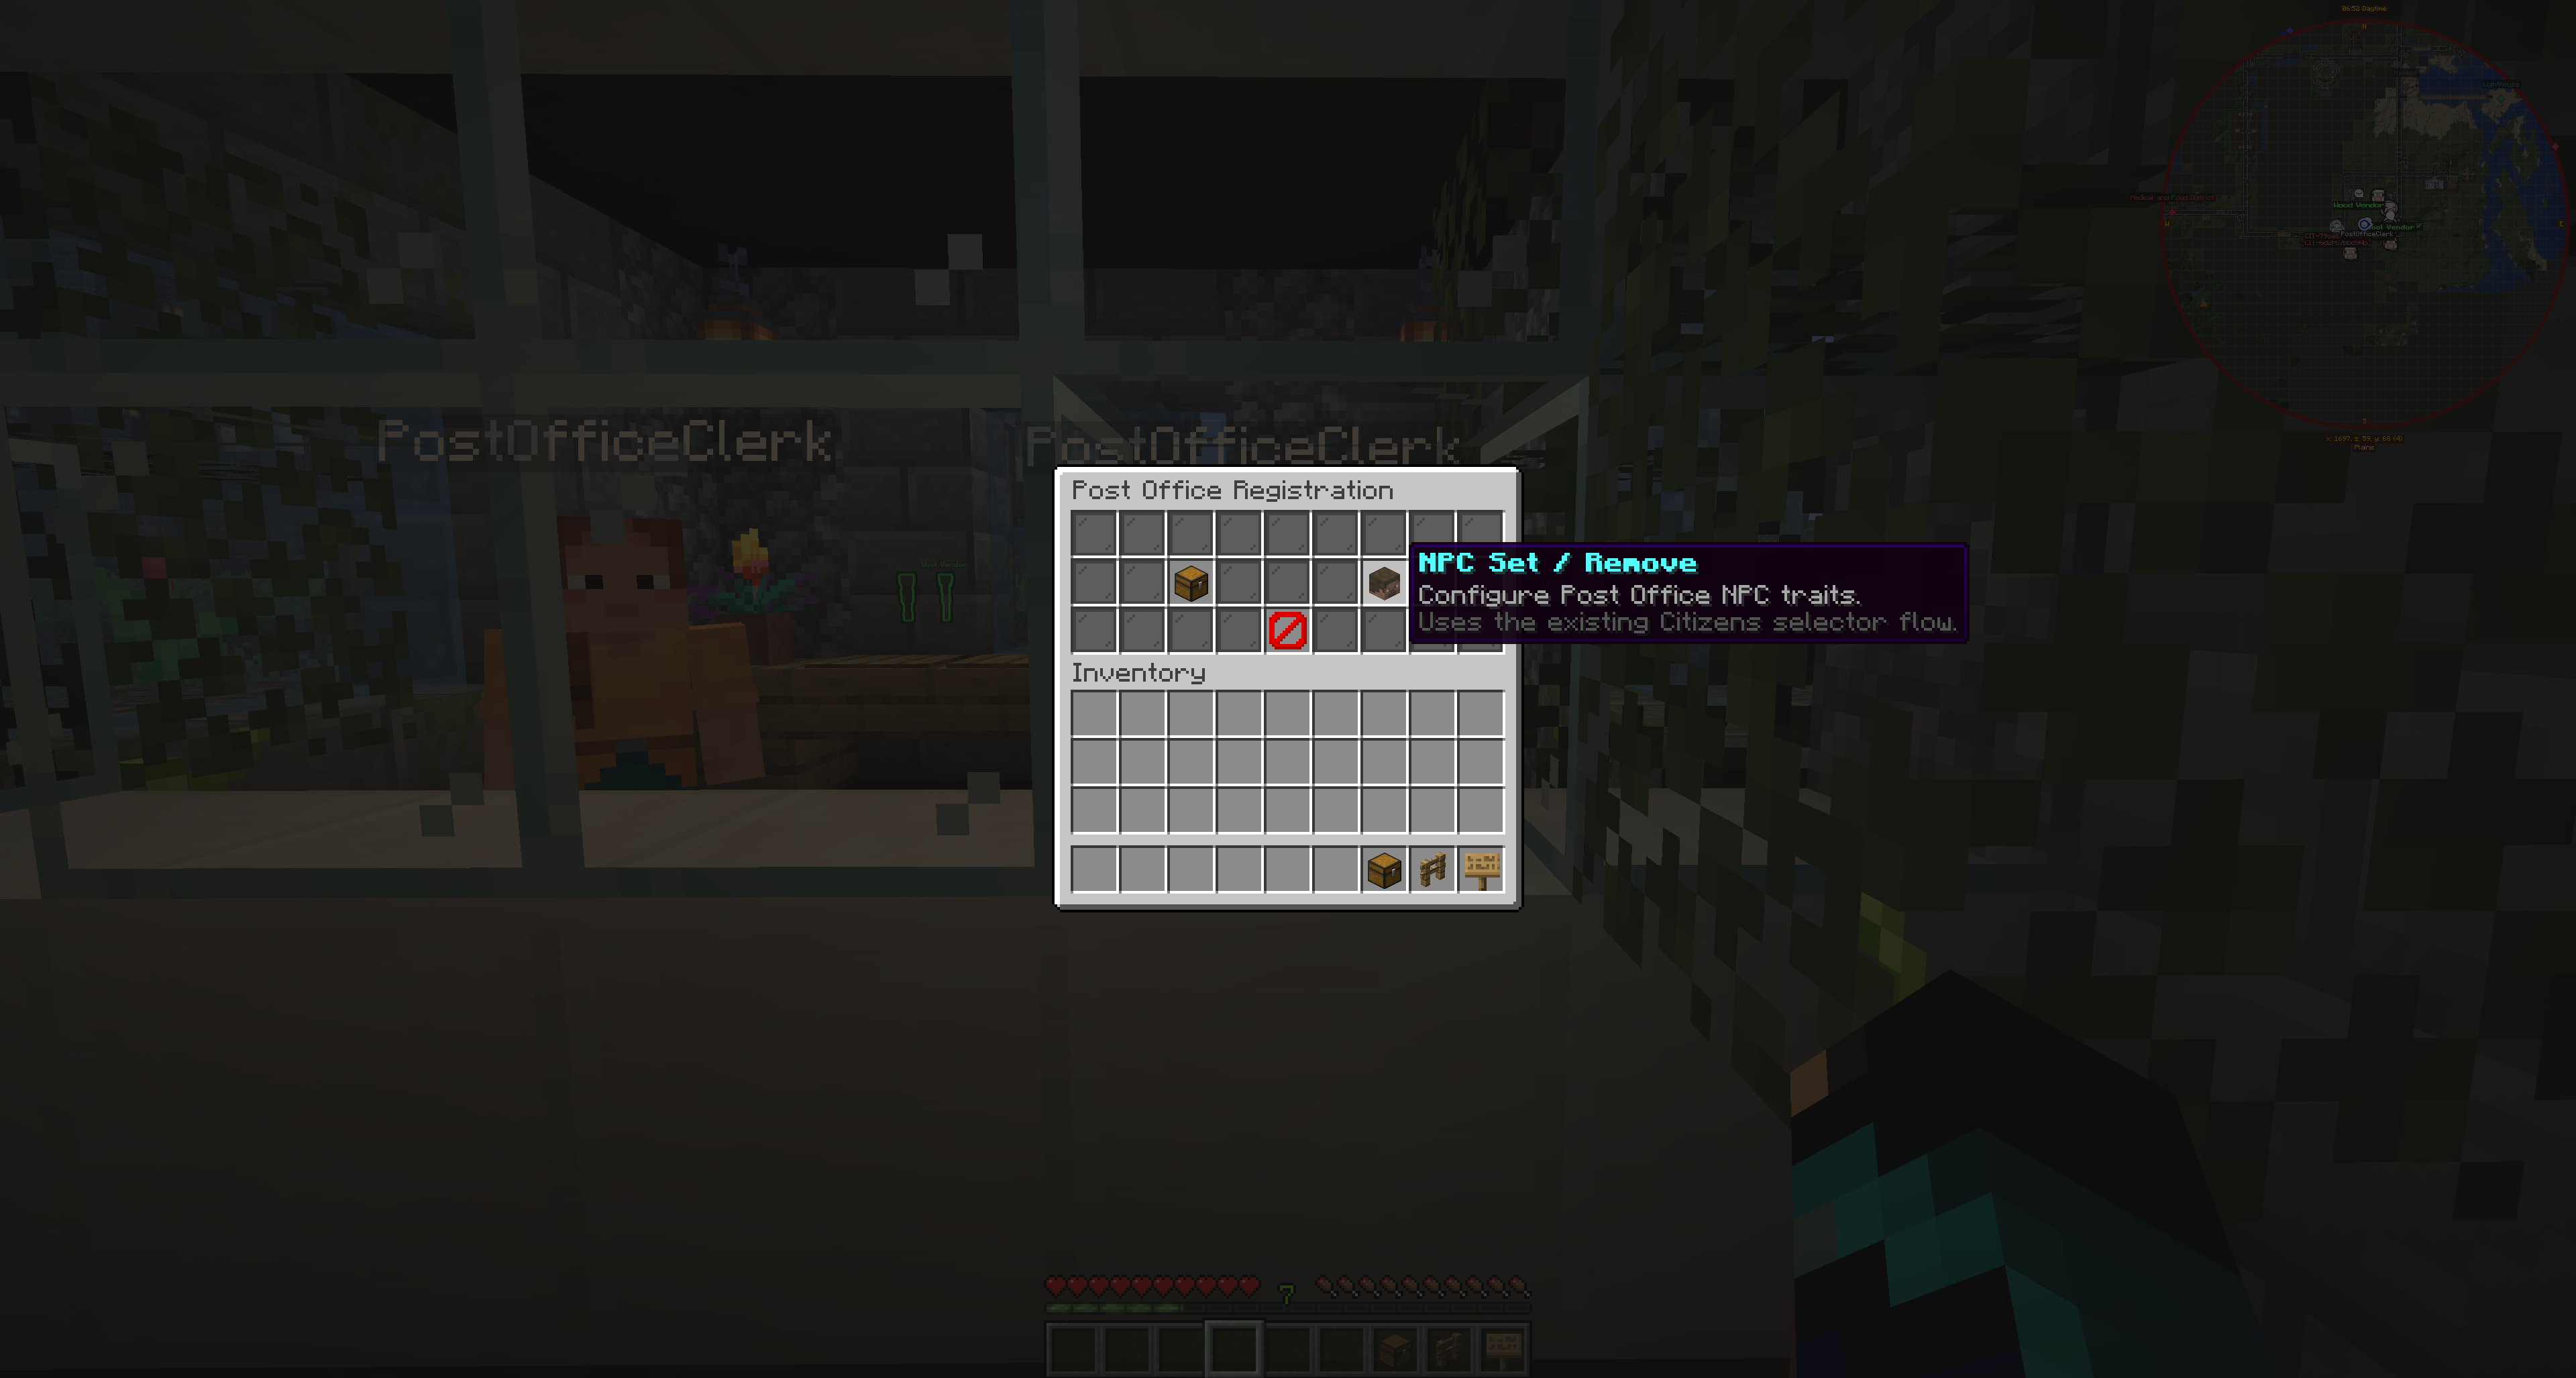
- Citizens: optional, used for NPC-based post office workflows if enabled.
- Dynmap: optional and can be used for map marker integration on supported server versions. Dynmap markers are not supported on 26.1.x or 26.2.x, but core MailboxGUI features still work.
- PlaceholderAPI: optional. Enables MailboxGUI's
%mailboxgui_*%placeholders for scoreboards, holograms, tab lists, chat plugins, menus, and other PlaceholderAPI-compatible plugins. MailboxGUI runs normally without PlaceholderAPI, but placeholders are only registered when PlaceholderAPI is installed and enabled. - MailboxGUI-DiscBridge: optional separate addon for DiscordSRV notifications. Use MailboxGUI-DiscBridge 1.1.1 or newer with MailboxGUI 5.1.1 for the updated
zh_cnand newzh_hklanguage files. MailboxGUI-DiscBridge 1.1.0 or newer remains required for the MailboxGUI 5.1.0 Book Letter and COD payload updates. - Storage: fresh single-server installs are designed around SQLite by default, while existing legacy YAML installs can remain on YAML safely during upgrade. MySQL/MariaDB is available for database-backed storage and is required for network mode.
- Redis: required only when MailboxGUI network mode is enabled.
Basic Install Flow
- Stop the Minecraft server.
- Place the MailboxGUI jar in the server plugins folder.
- Start the server.
- Let MailboxGUI generate its config, language, and data files.
- Stop the server again before making larger config changes.
- Configure storage, economy features, permissions, post offices, and language settings as needed.
- Start the server again and test with a small group before public release.
First Things to Check
- Confirm the plugin enabled successfully in console.
- Confirm the MailboxGUI folder generated under plugins.
- Confirm the correct storage mode is being used.
- Confirm Vault and economy hooks if using money mail or Vault-money COD.
- Confirm players and admins have the permissions they need.
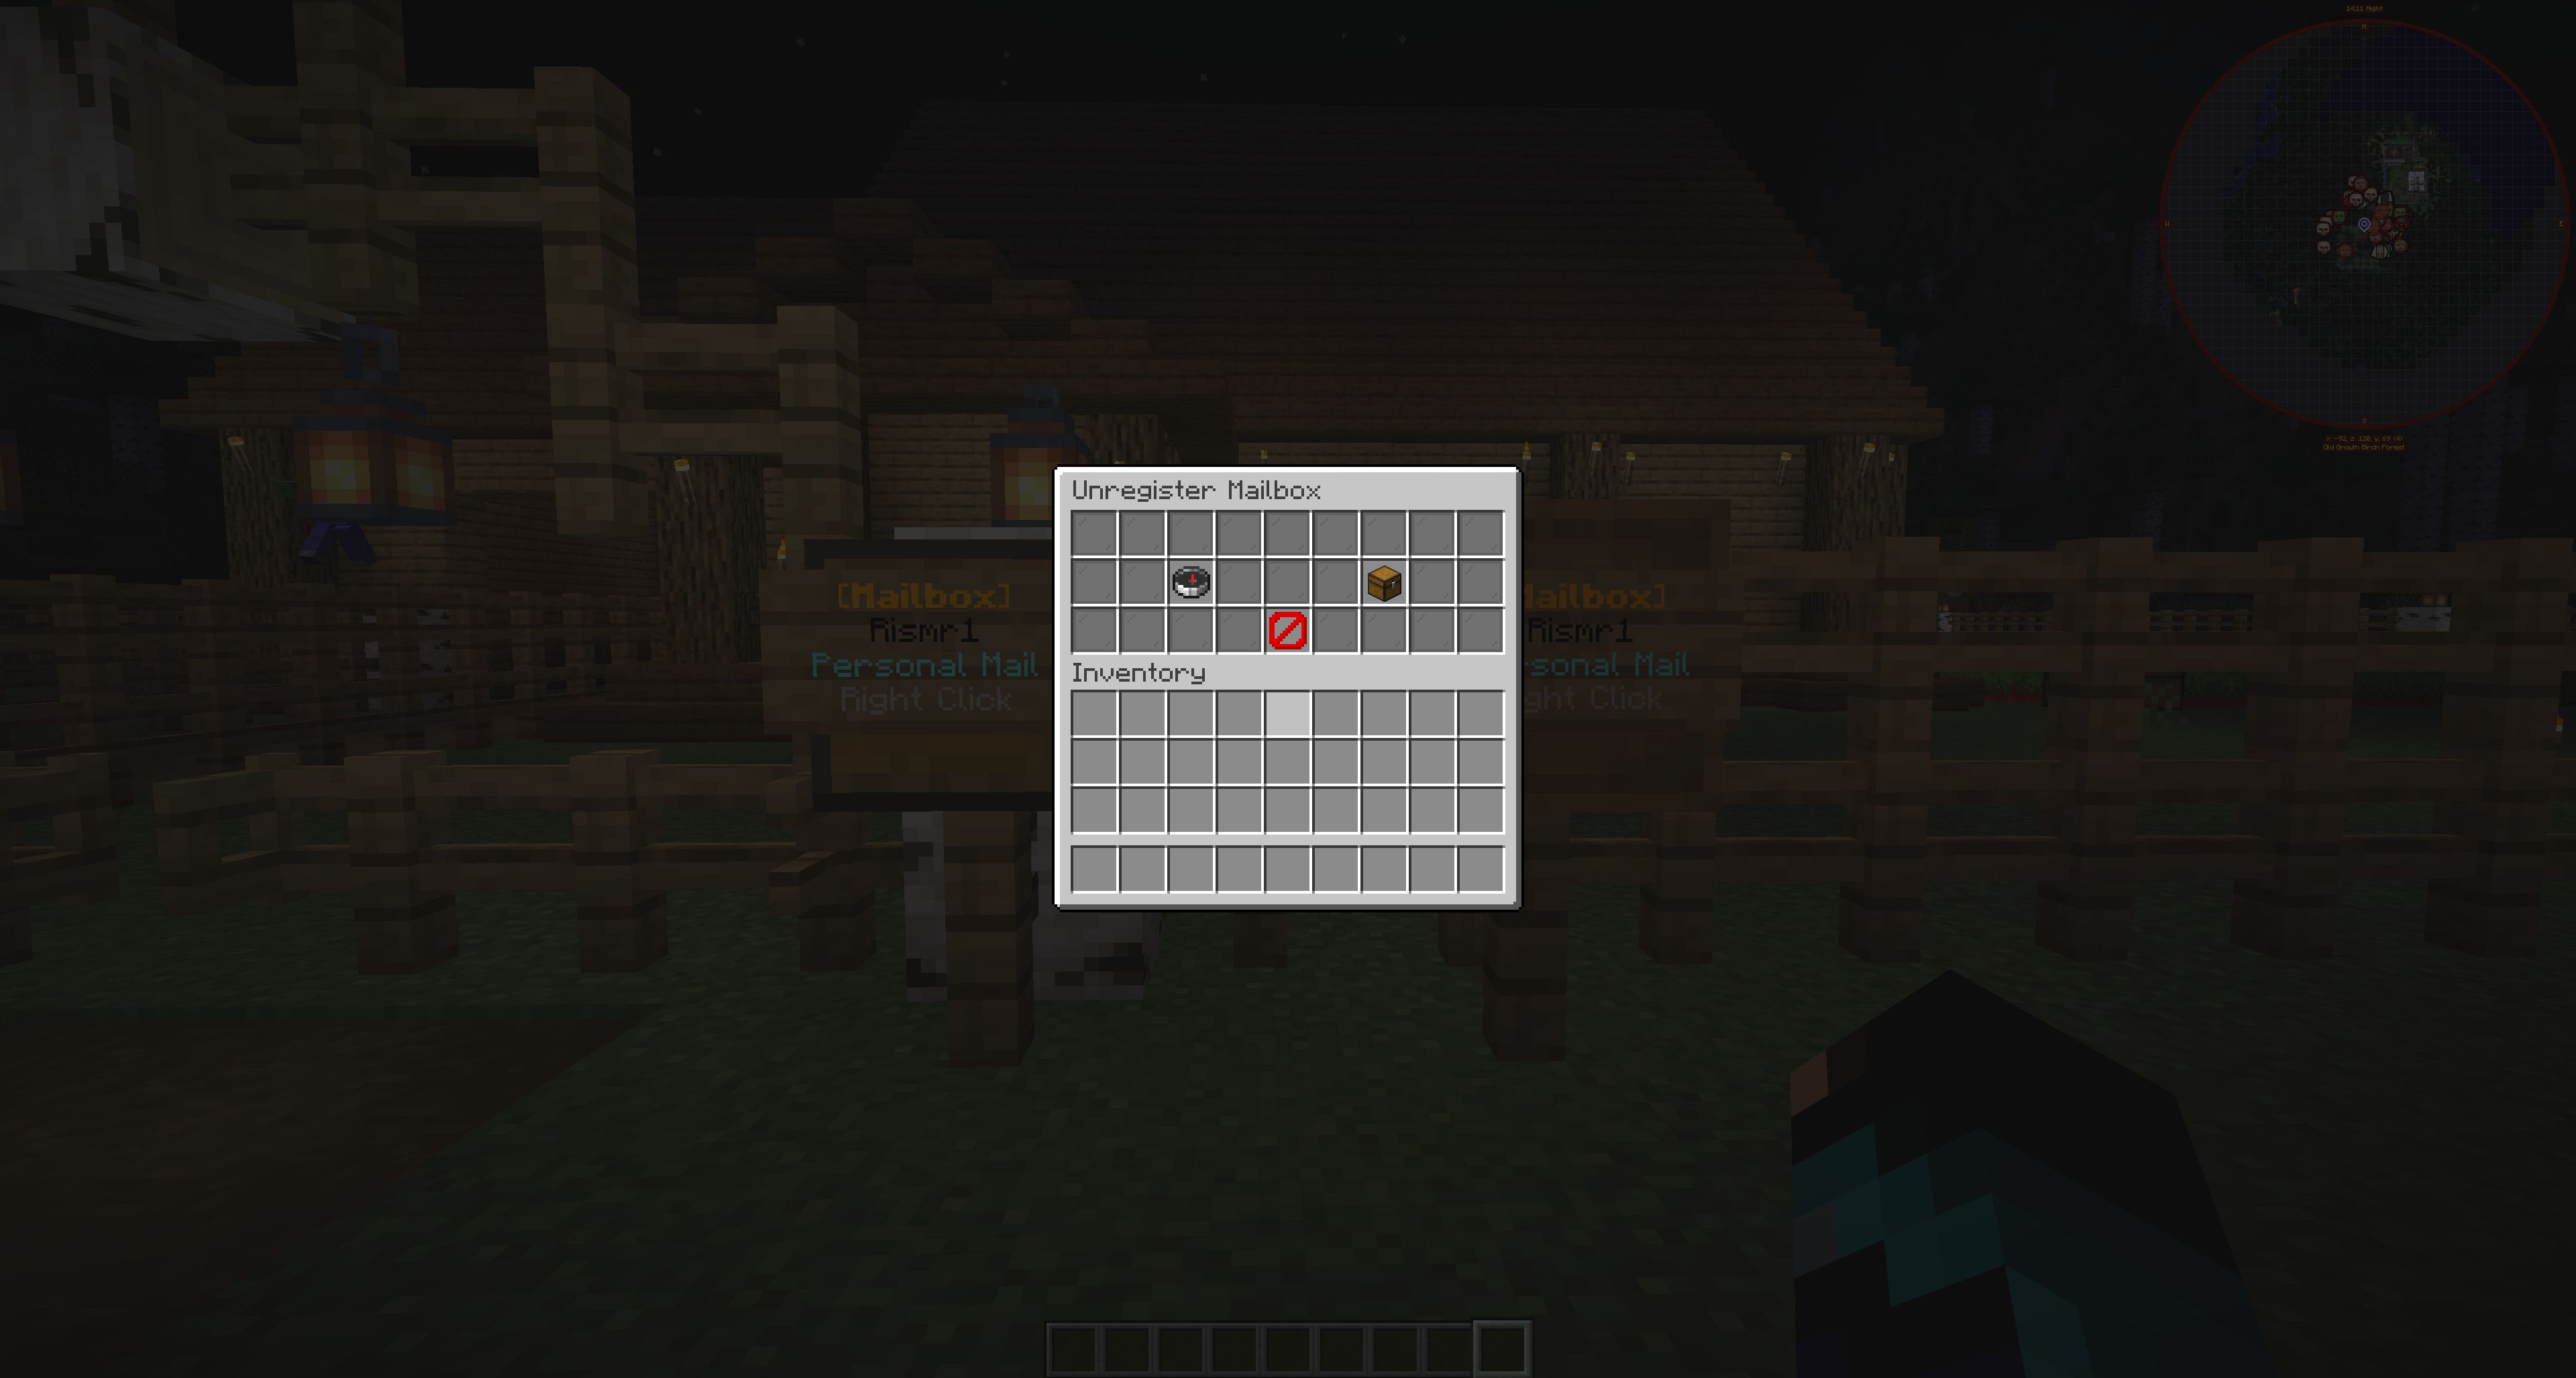
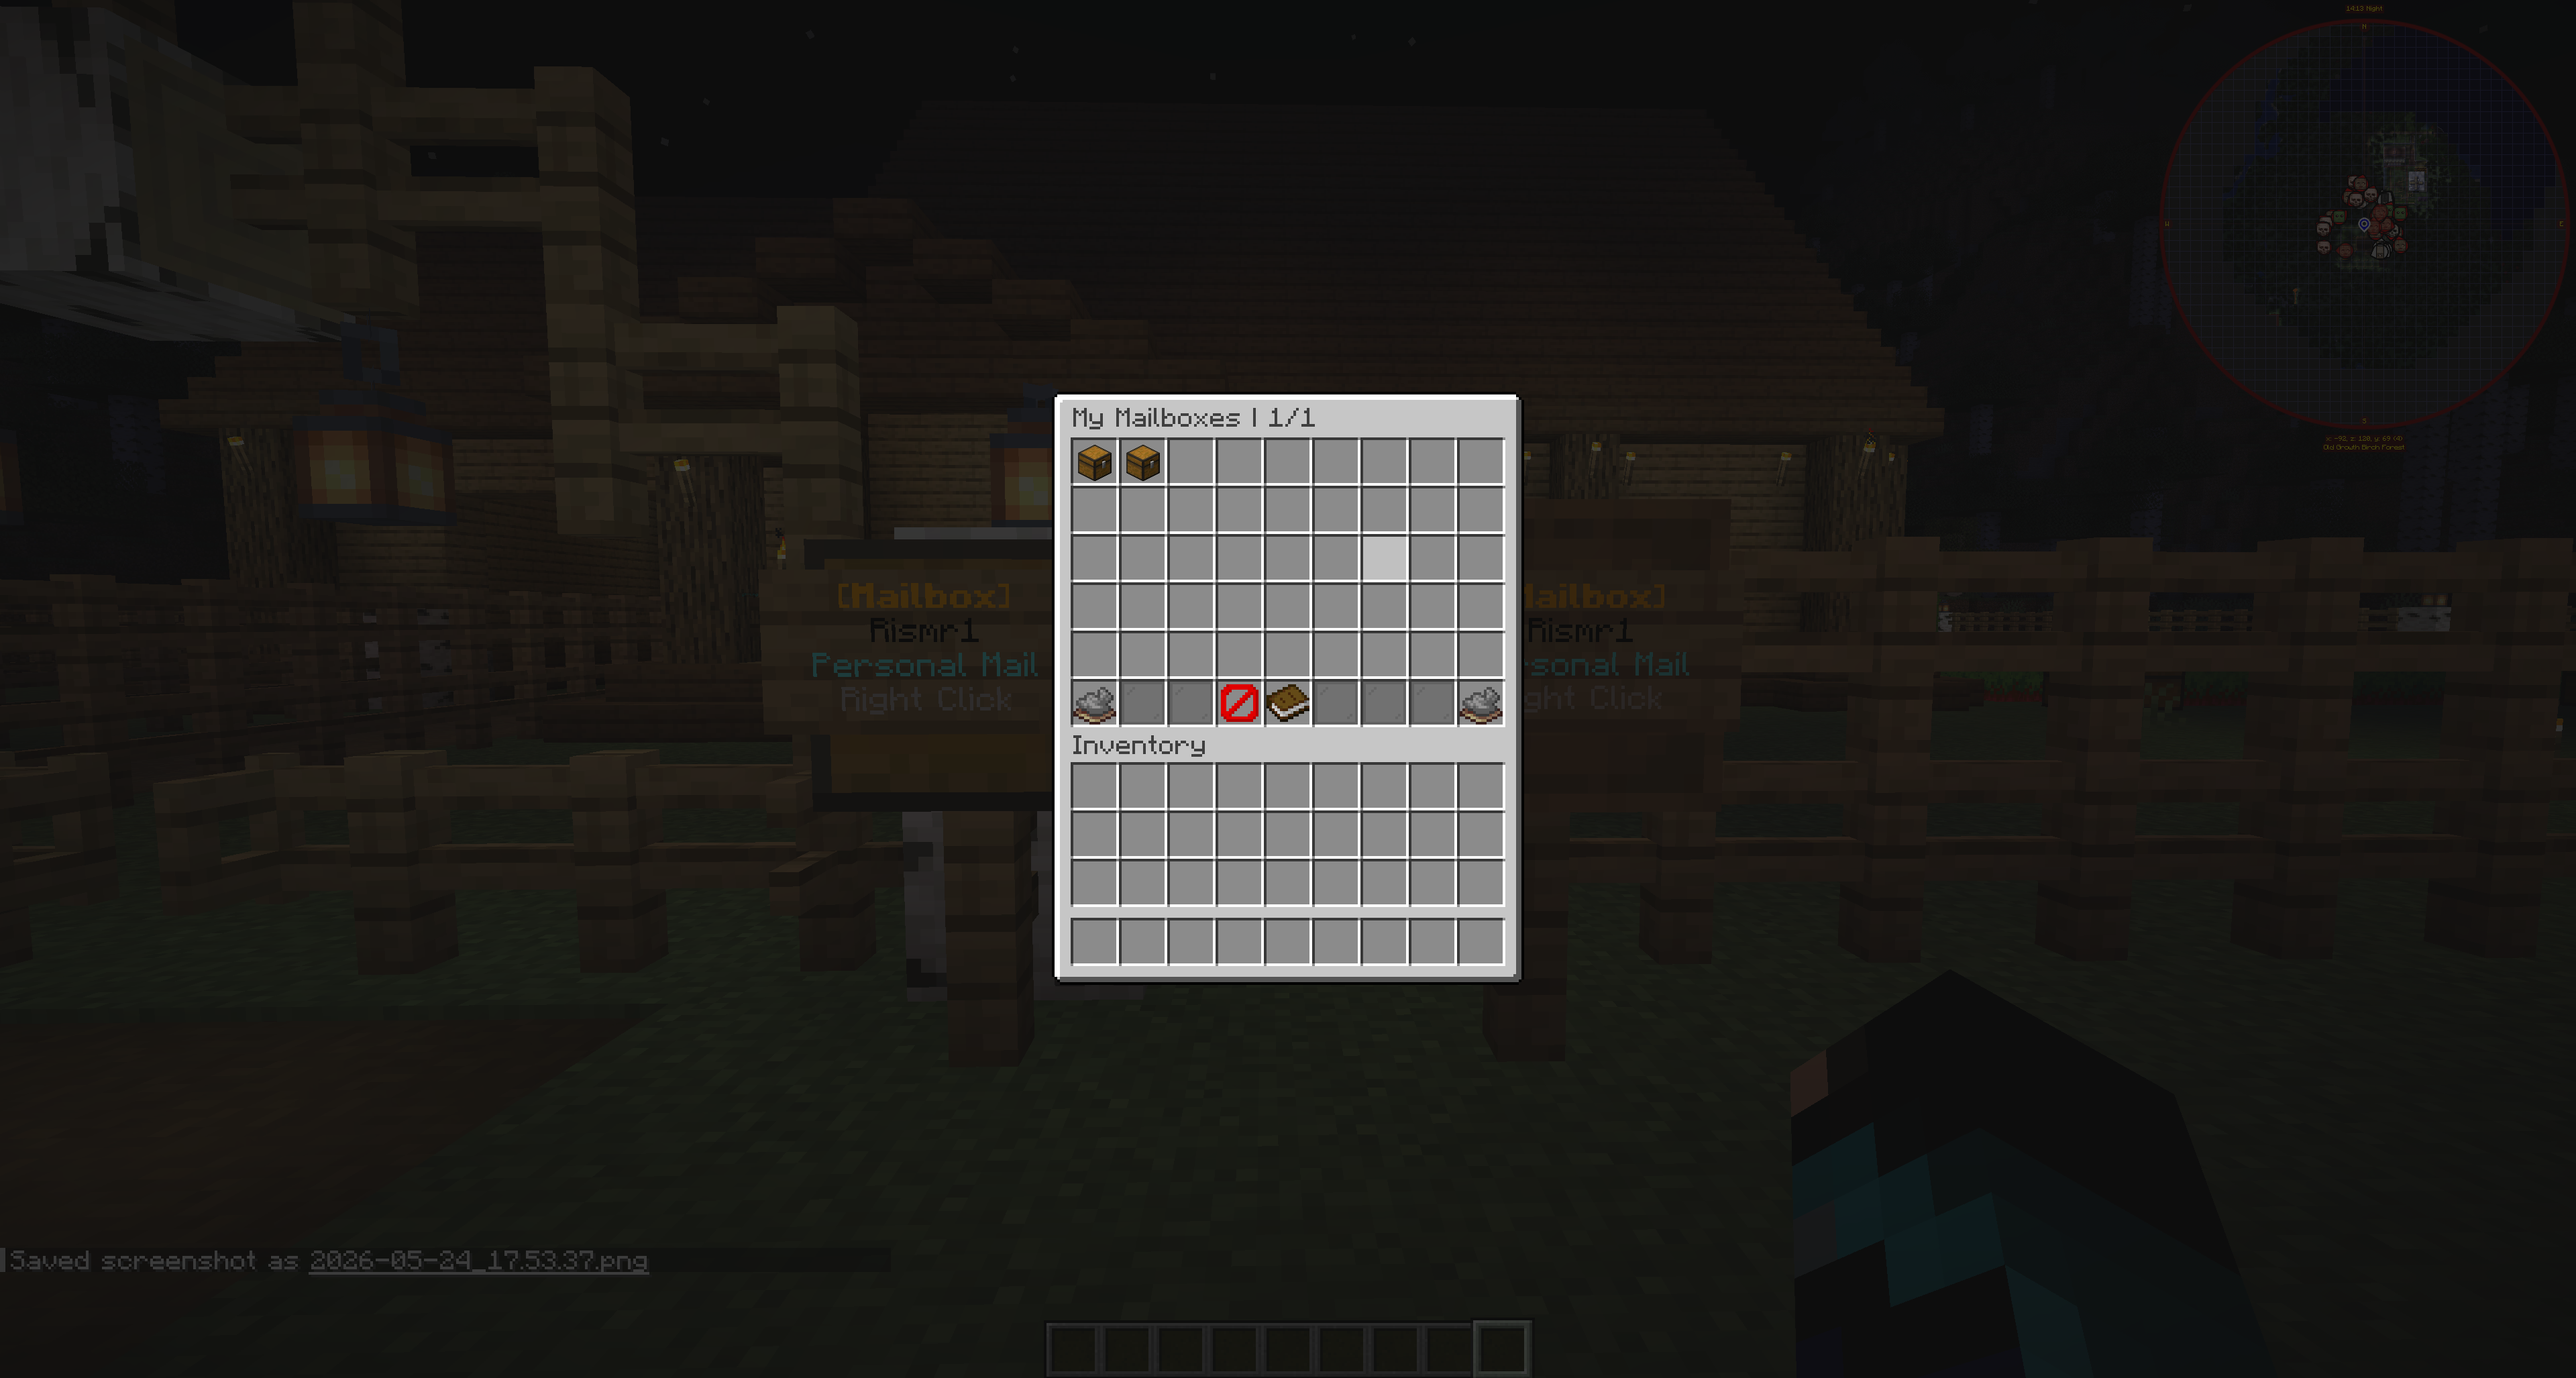
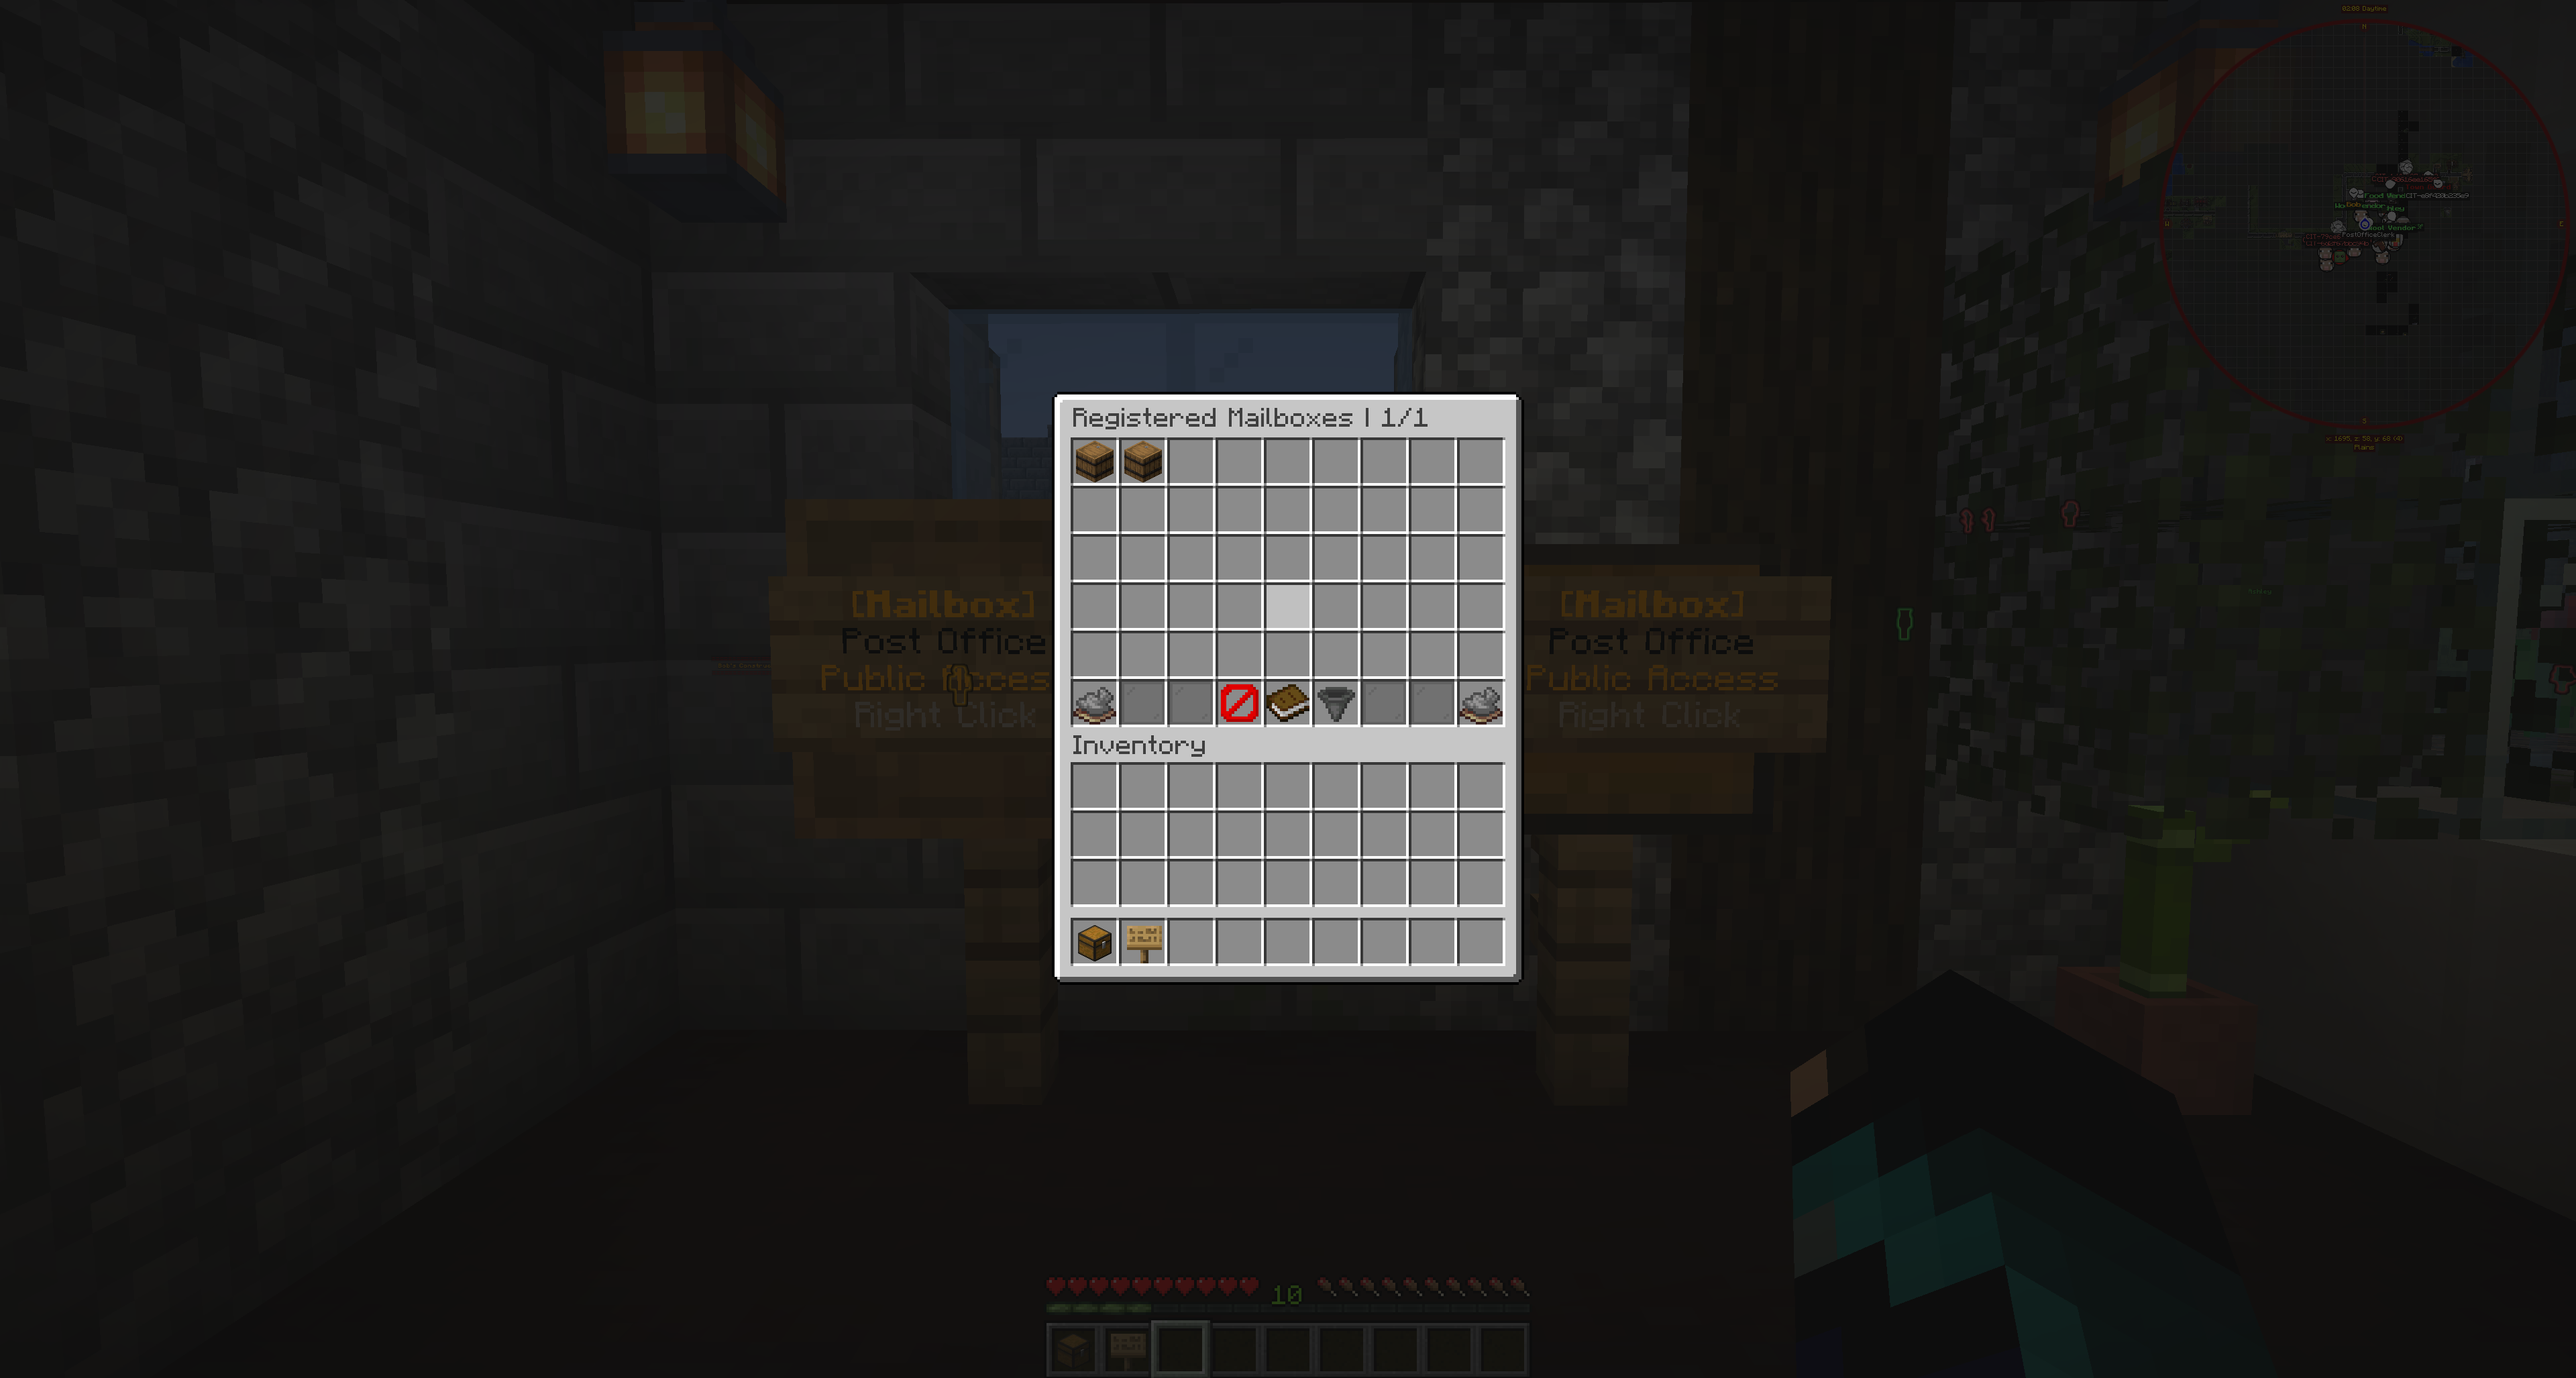
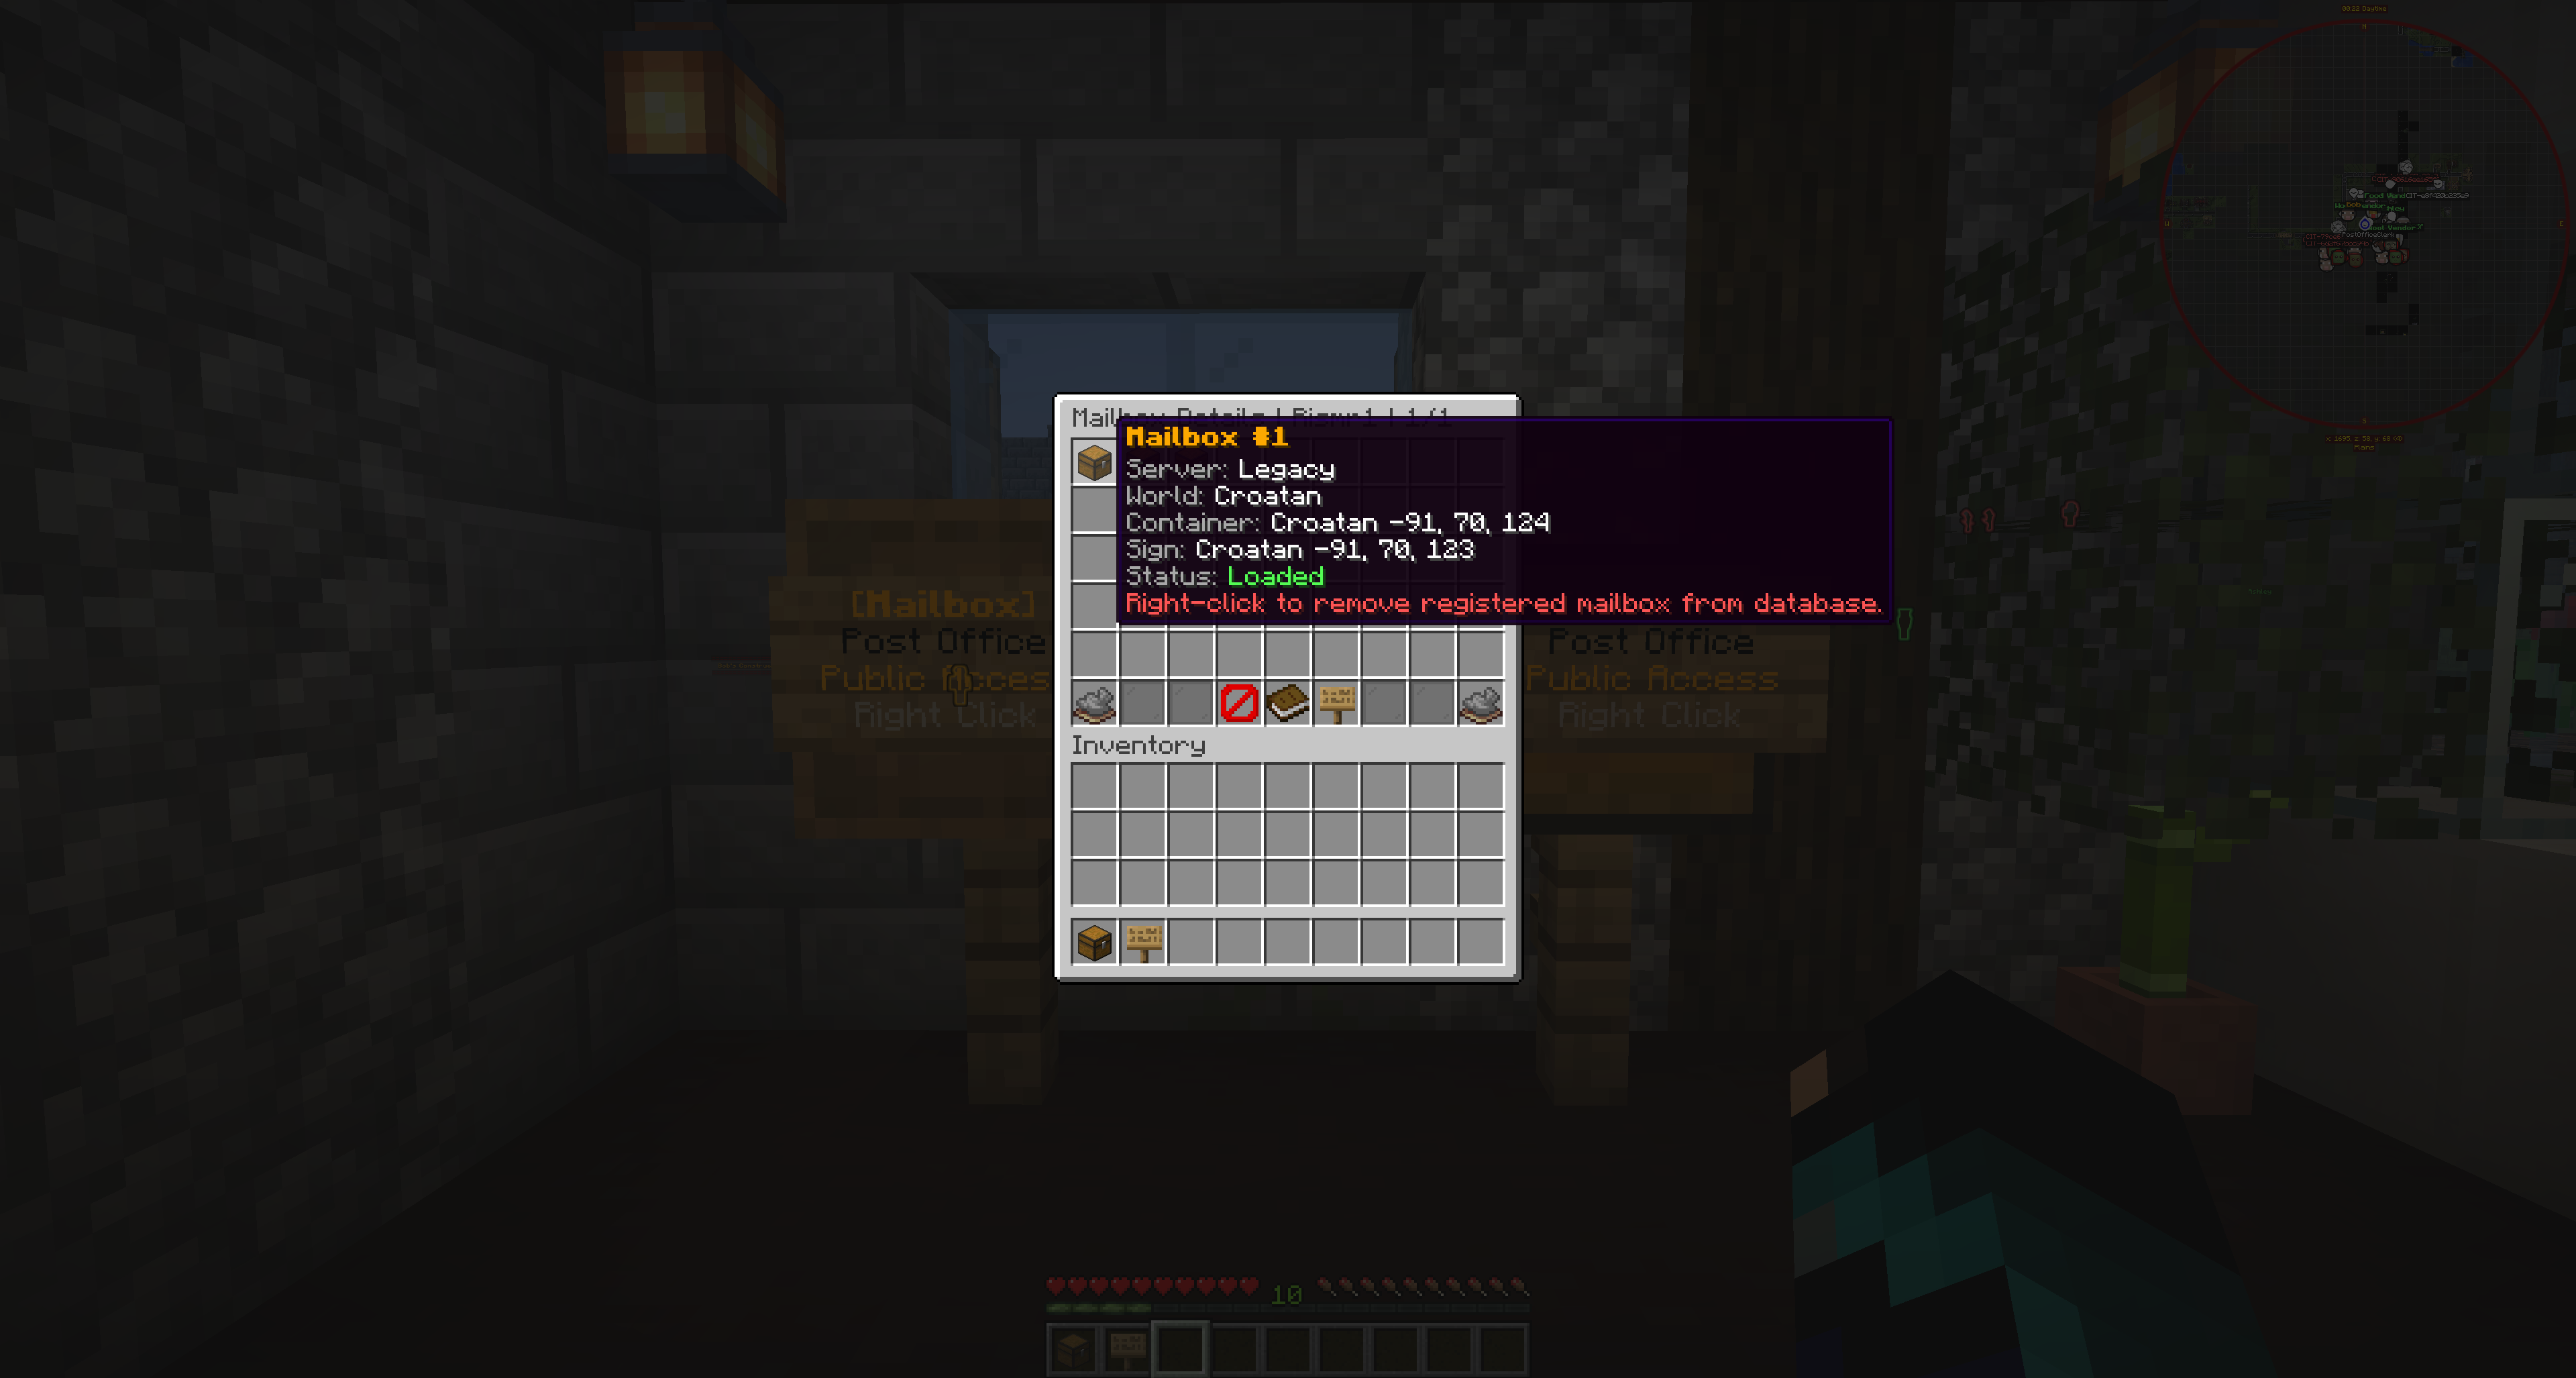
- Confirm physical mailbox setup works before announcing it to players.
Upgrading to 5.1.1
Back up the server before upgrading, but upgrading to 5.1.1 should not require
deleting MailboxGUI data, config, or language files. MailboxGUI 5.1.1 uses
config-version: 12, language file-version: 14, and mail data
version 5.
The 5.1.0 mail data upgrade refreshes 5.0.1-and-older package mail so package, COD, XP, and item-currency package inbox items use the current preview and admin management lore.
The 5.1.1 language upgrade can update old default zh_cn text to the new
contributed translation while preserving server-owner custom edits. It also adds the
Hong Kong Traditional Chinese file messages_zh_hk.yml.
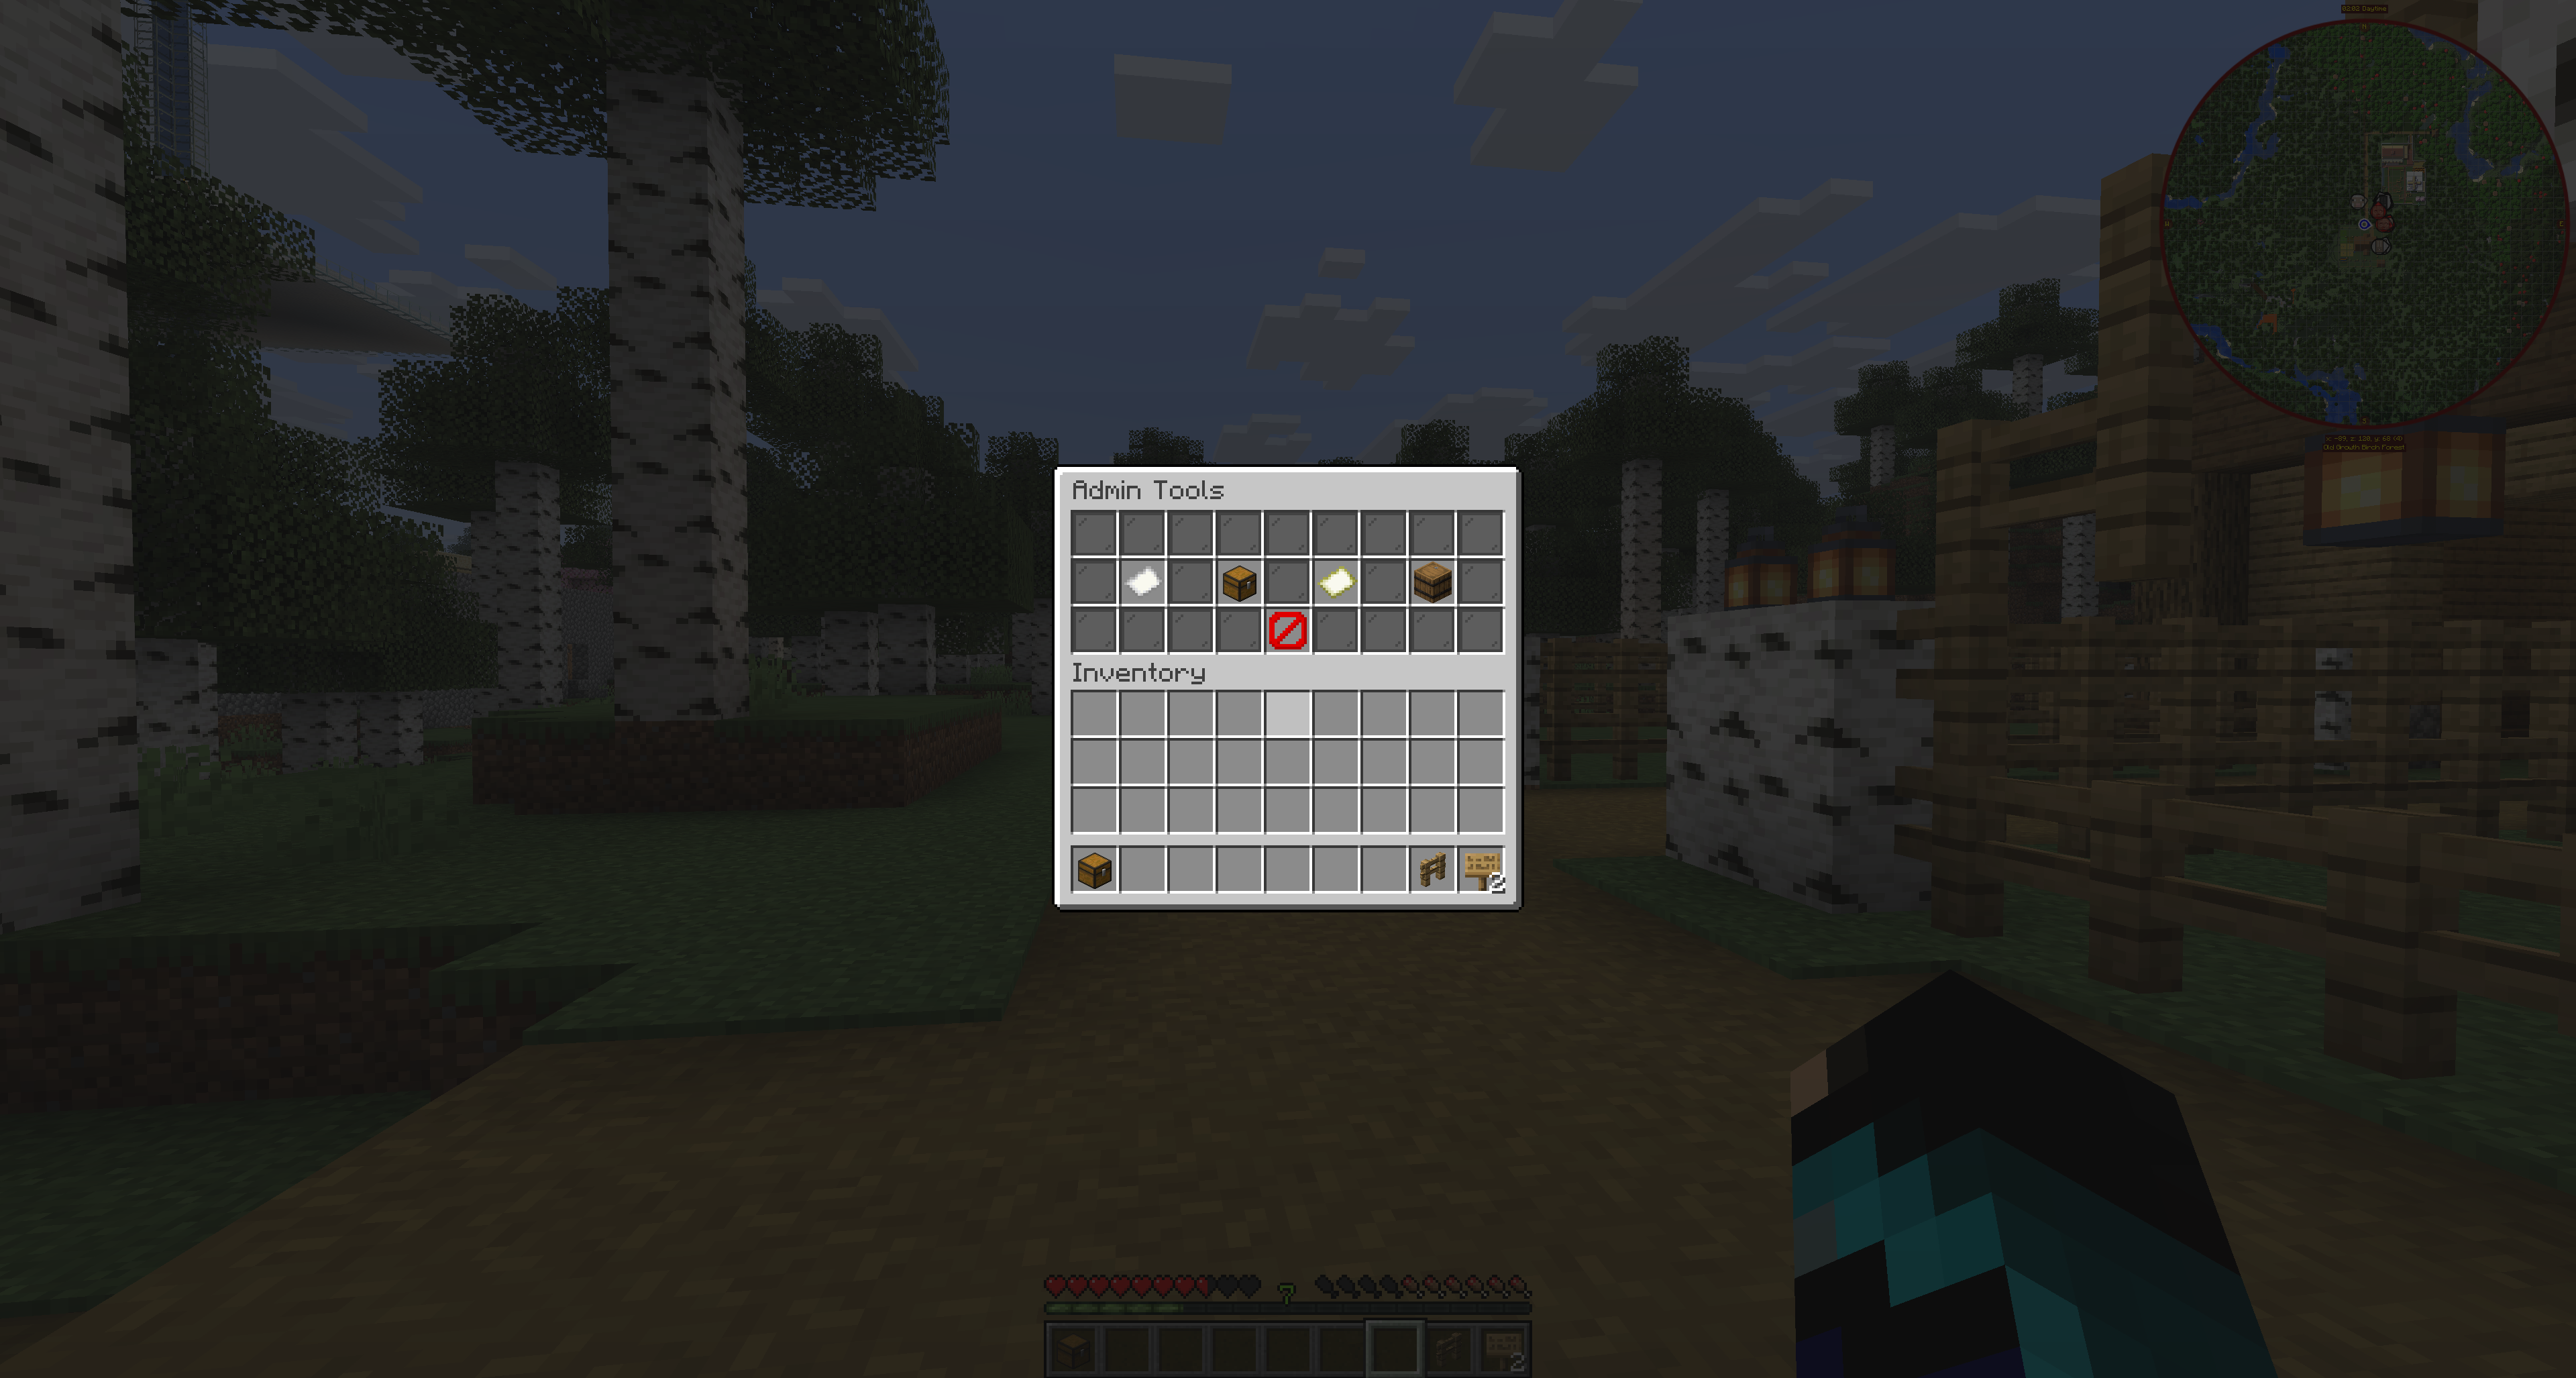
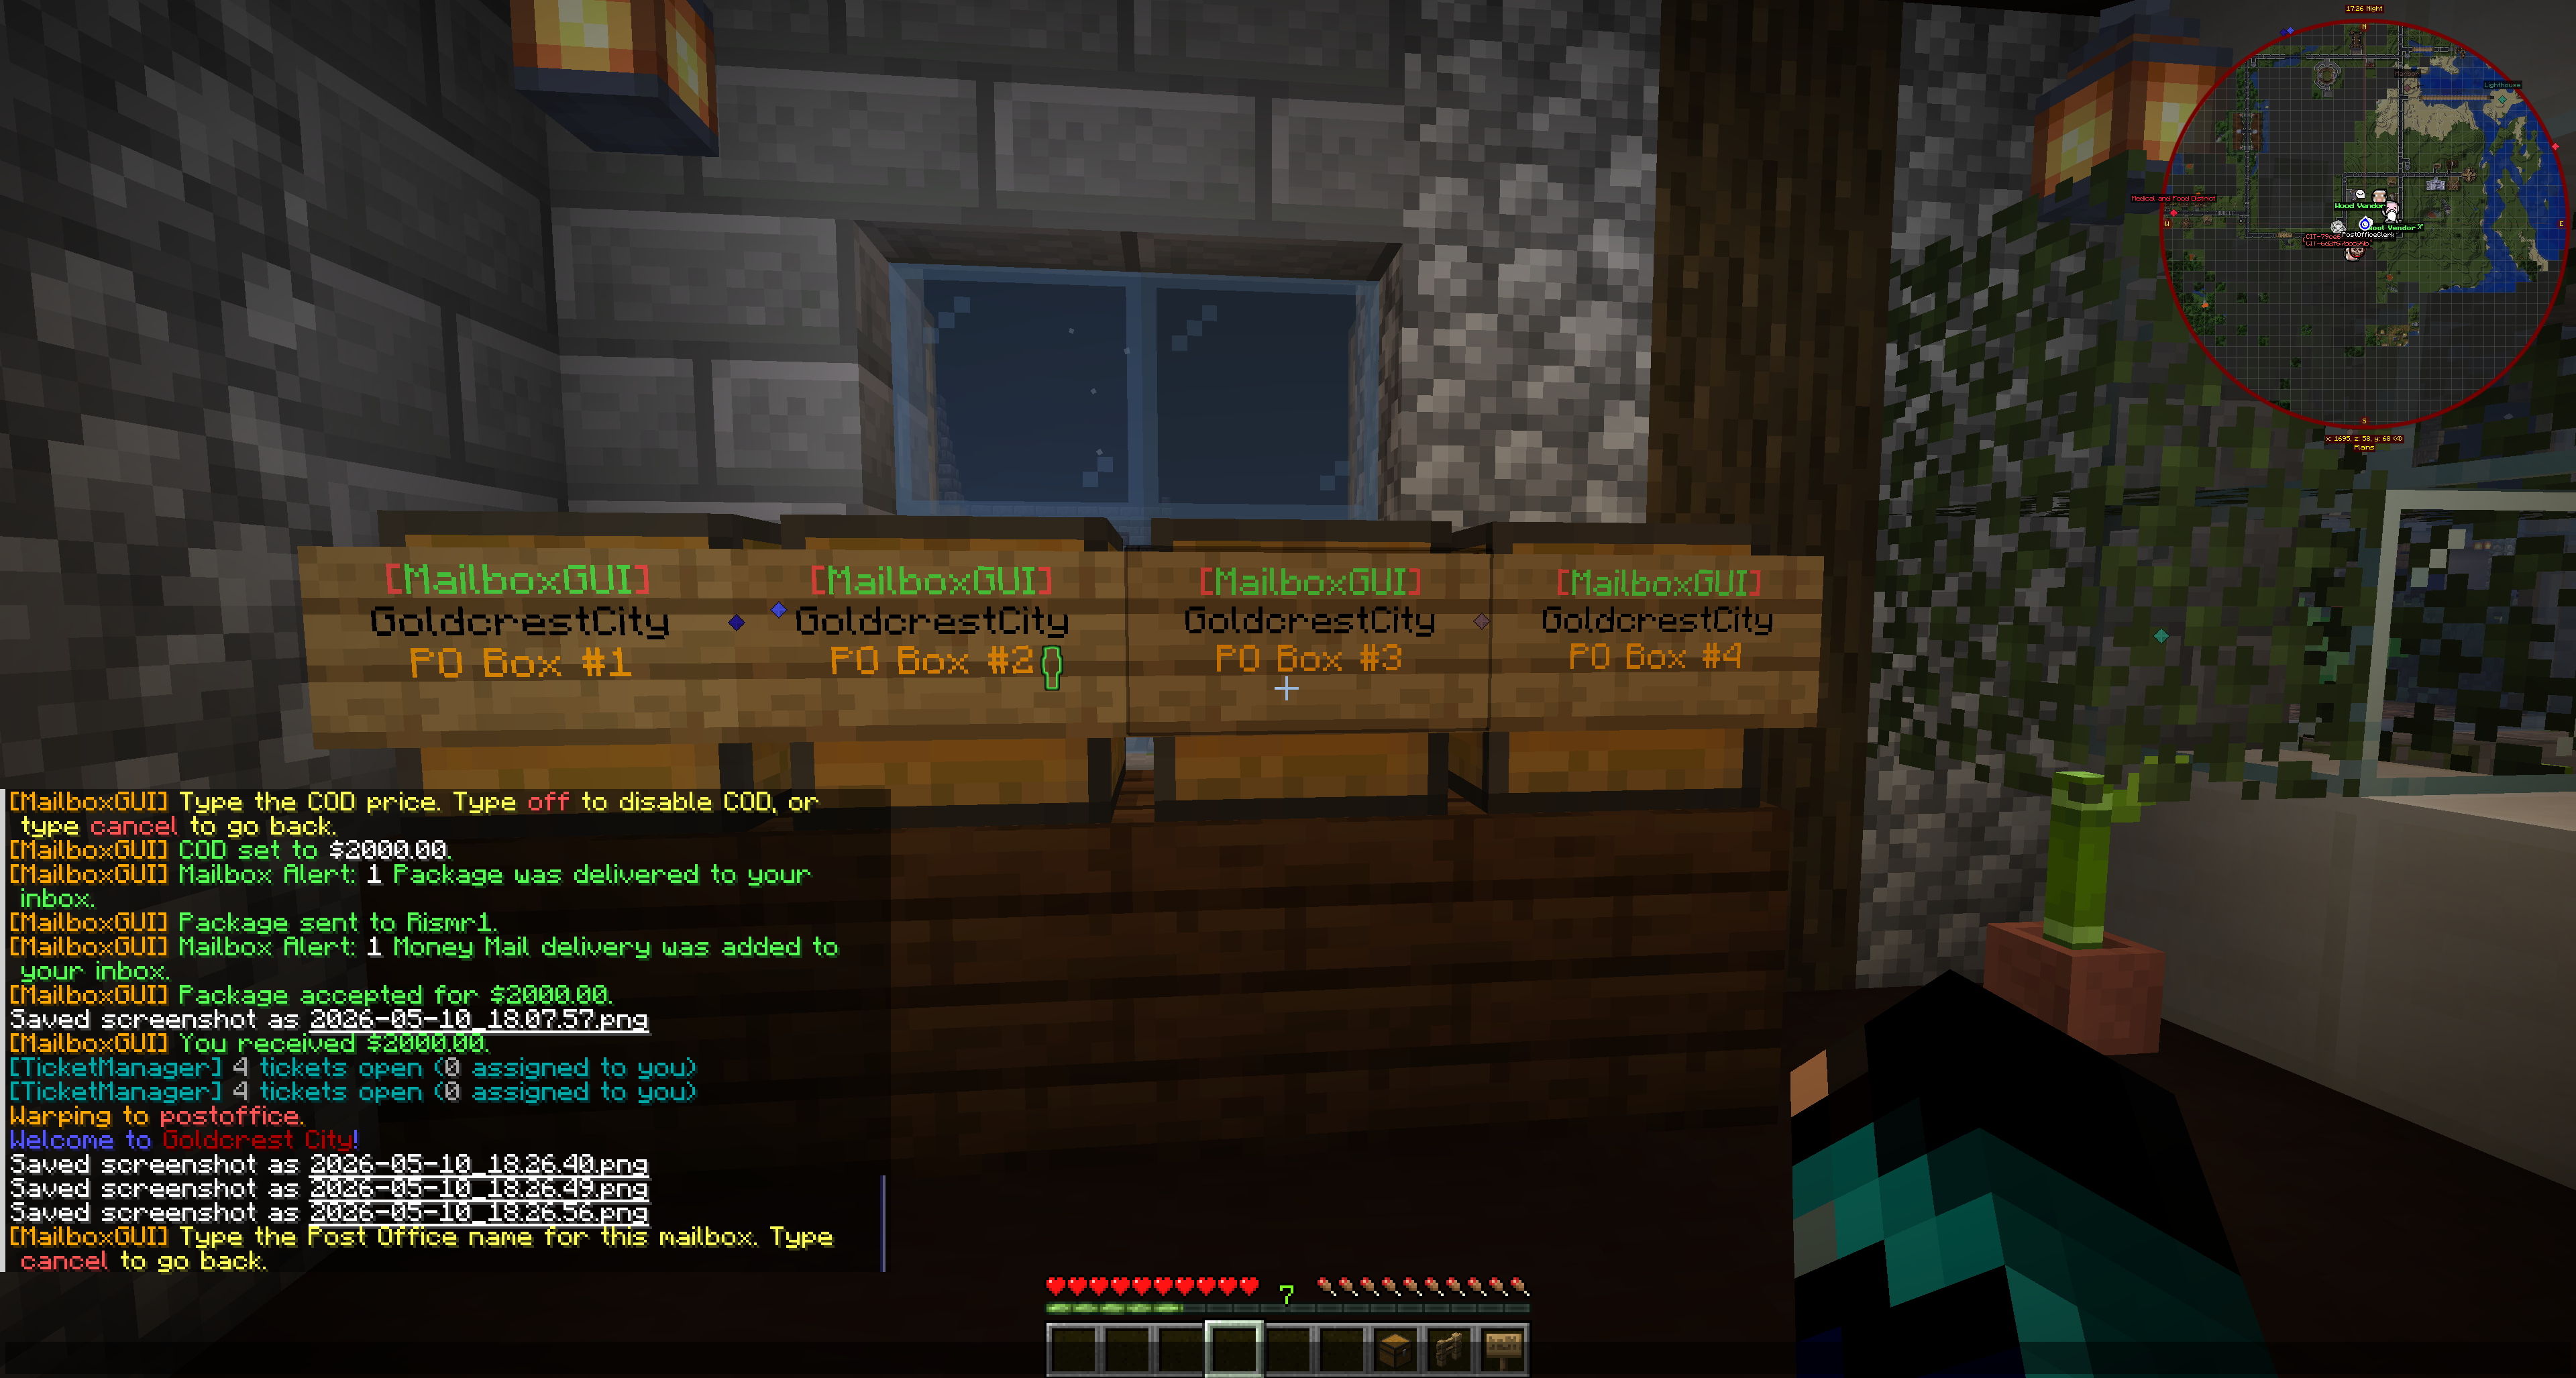
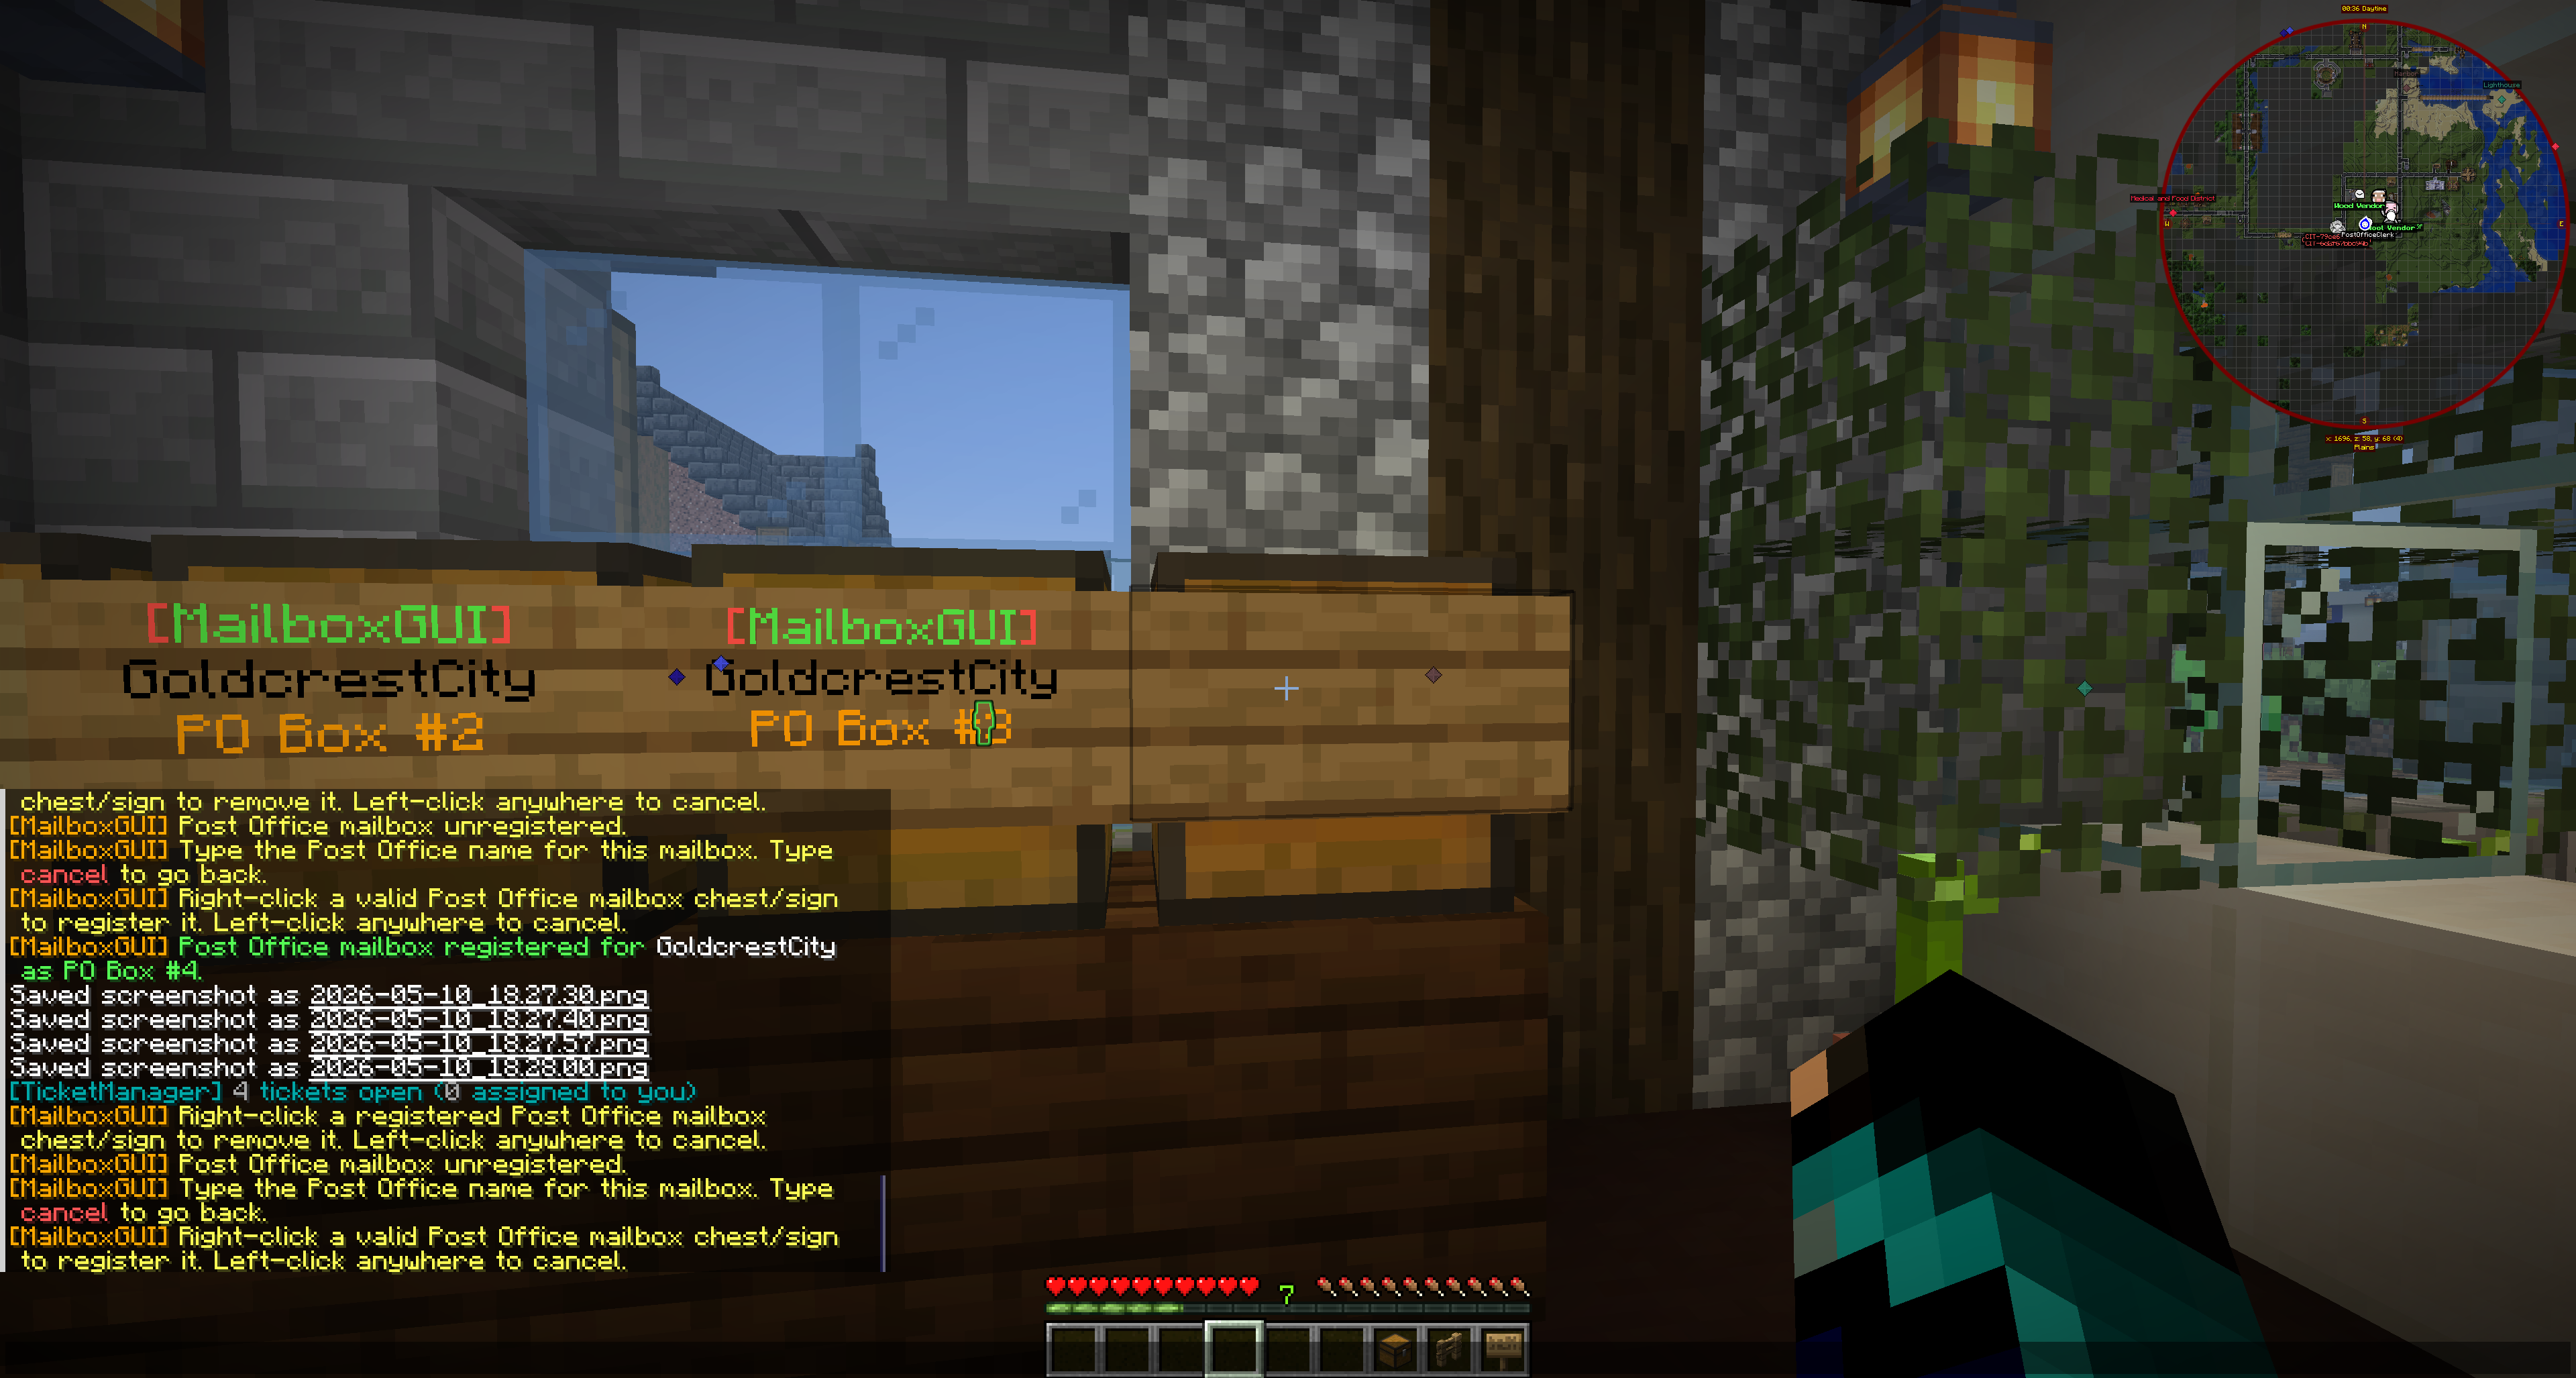
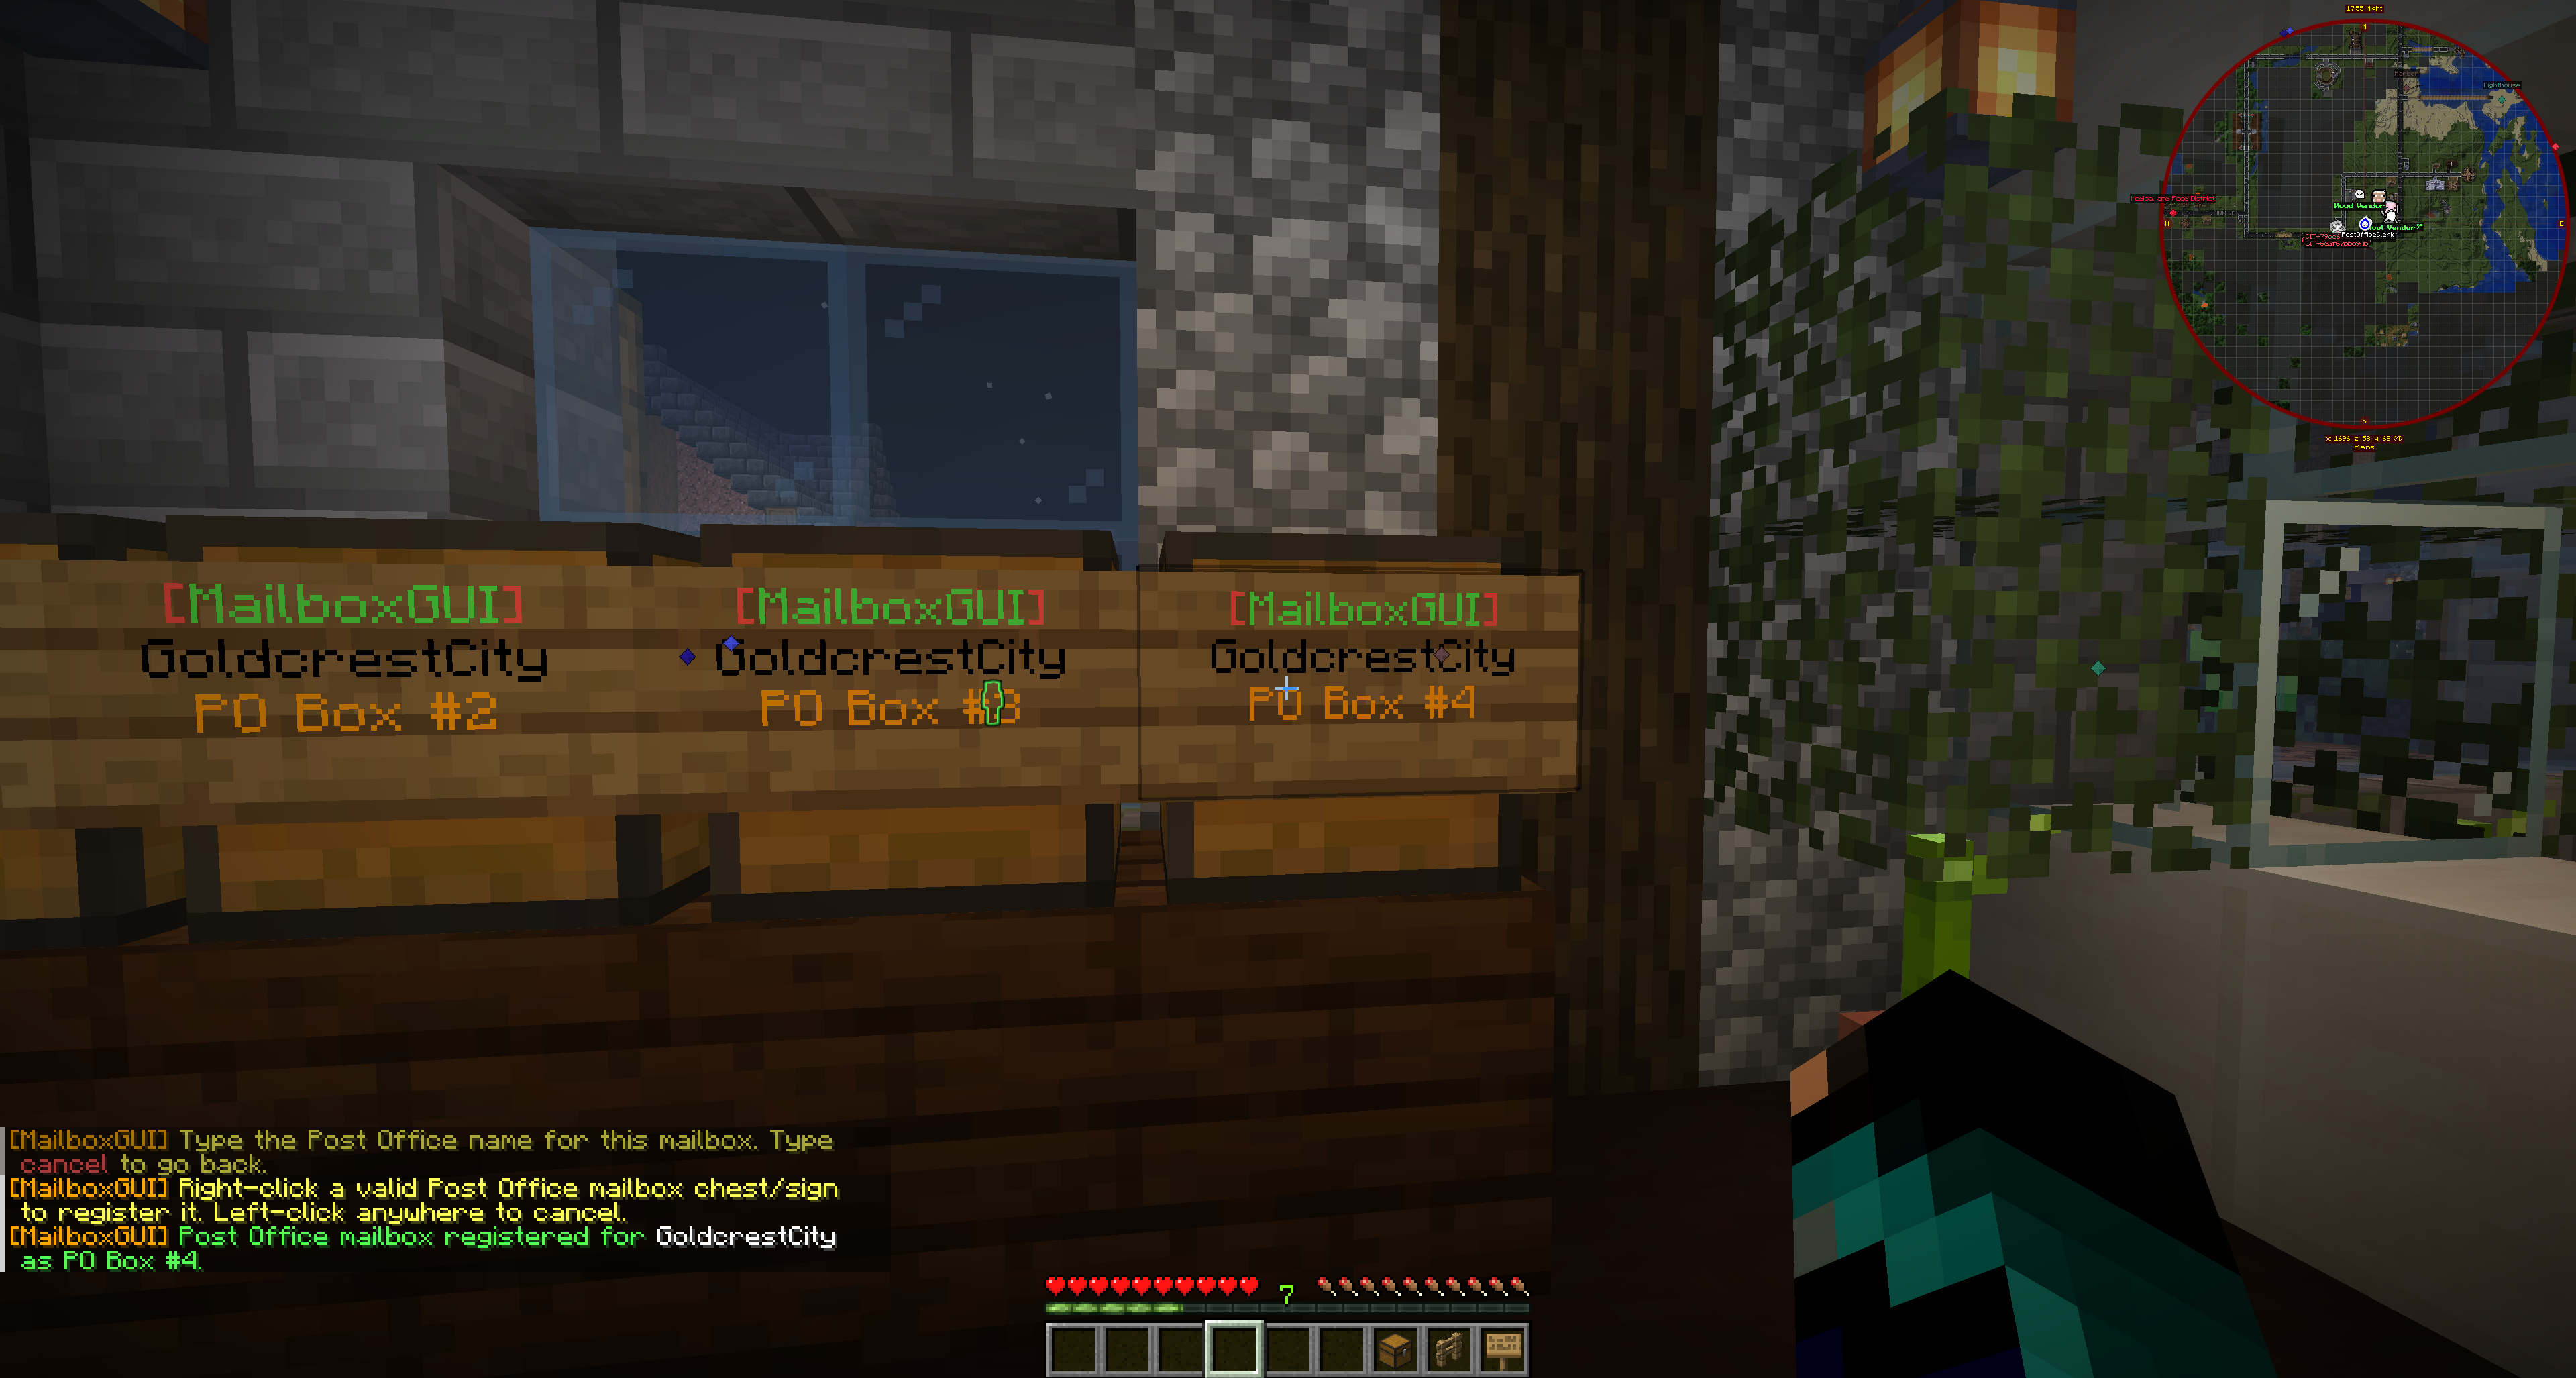
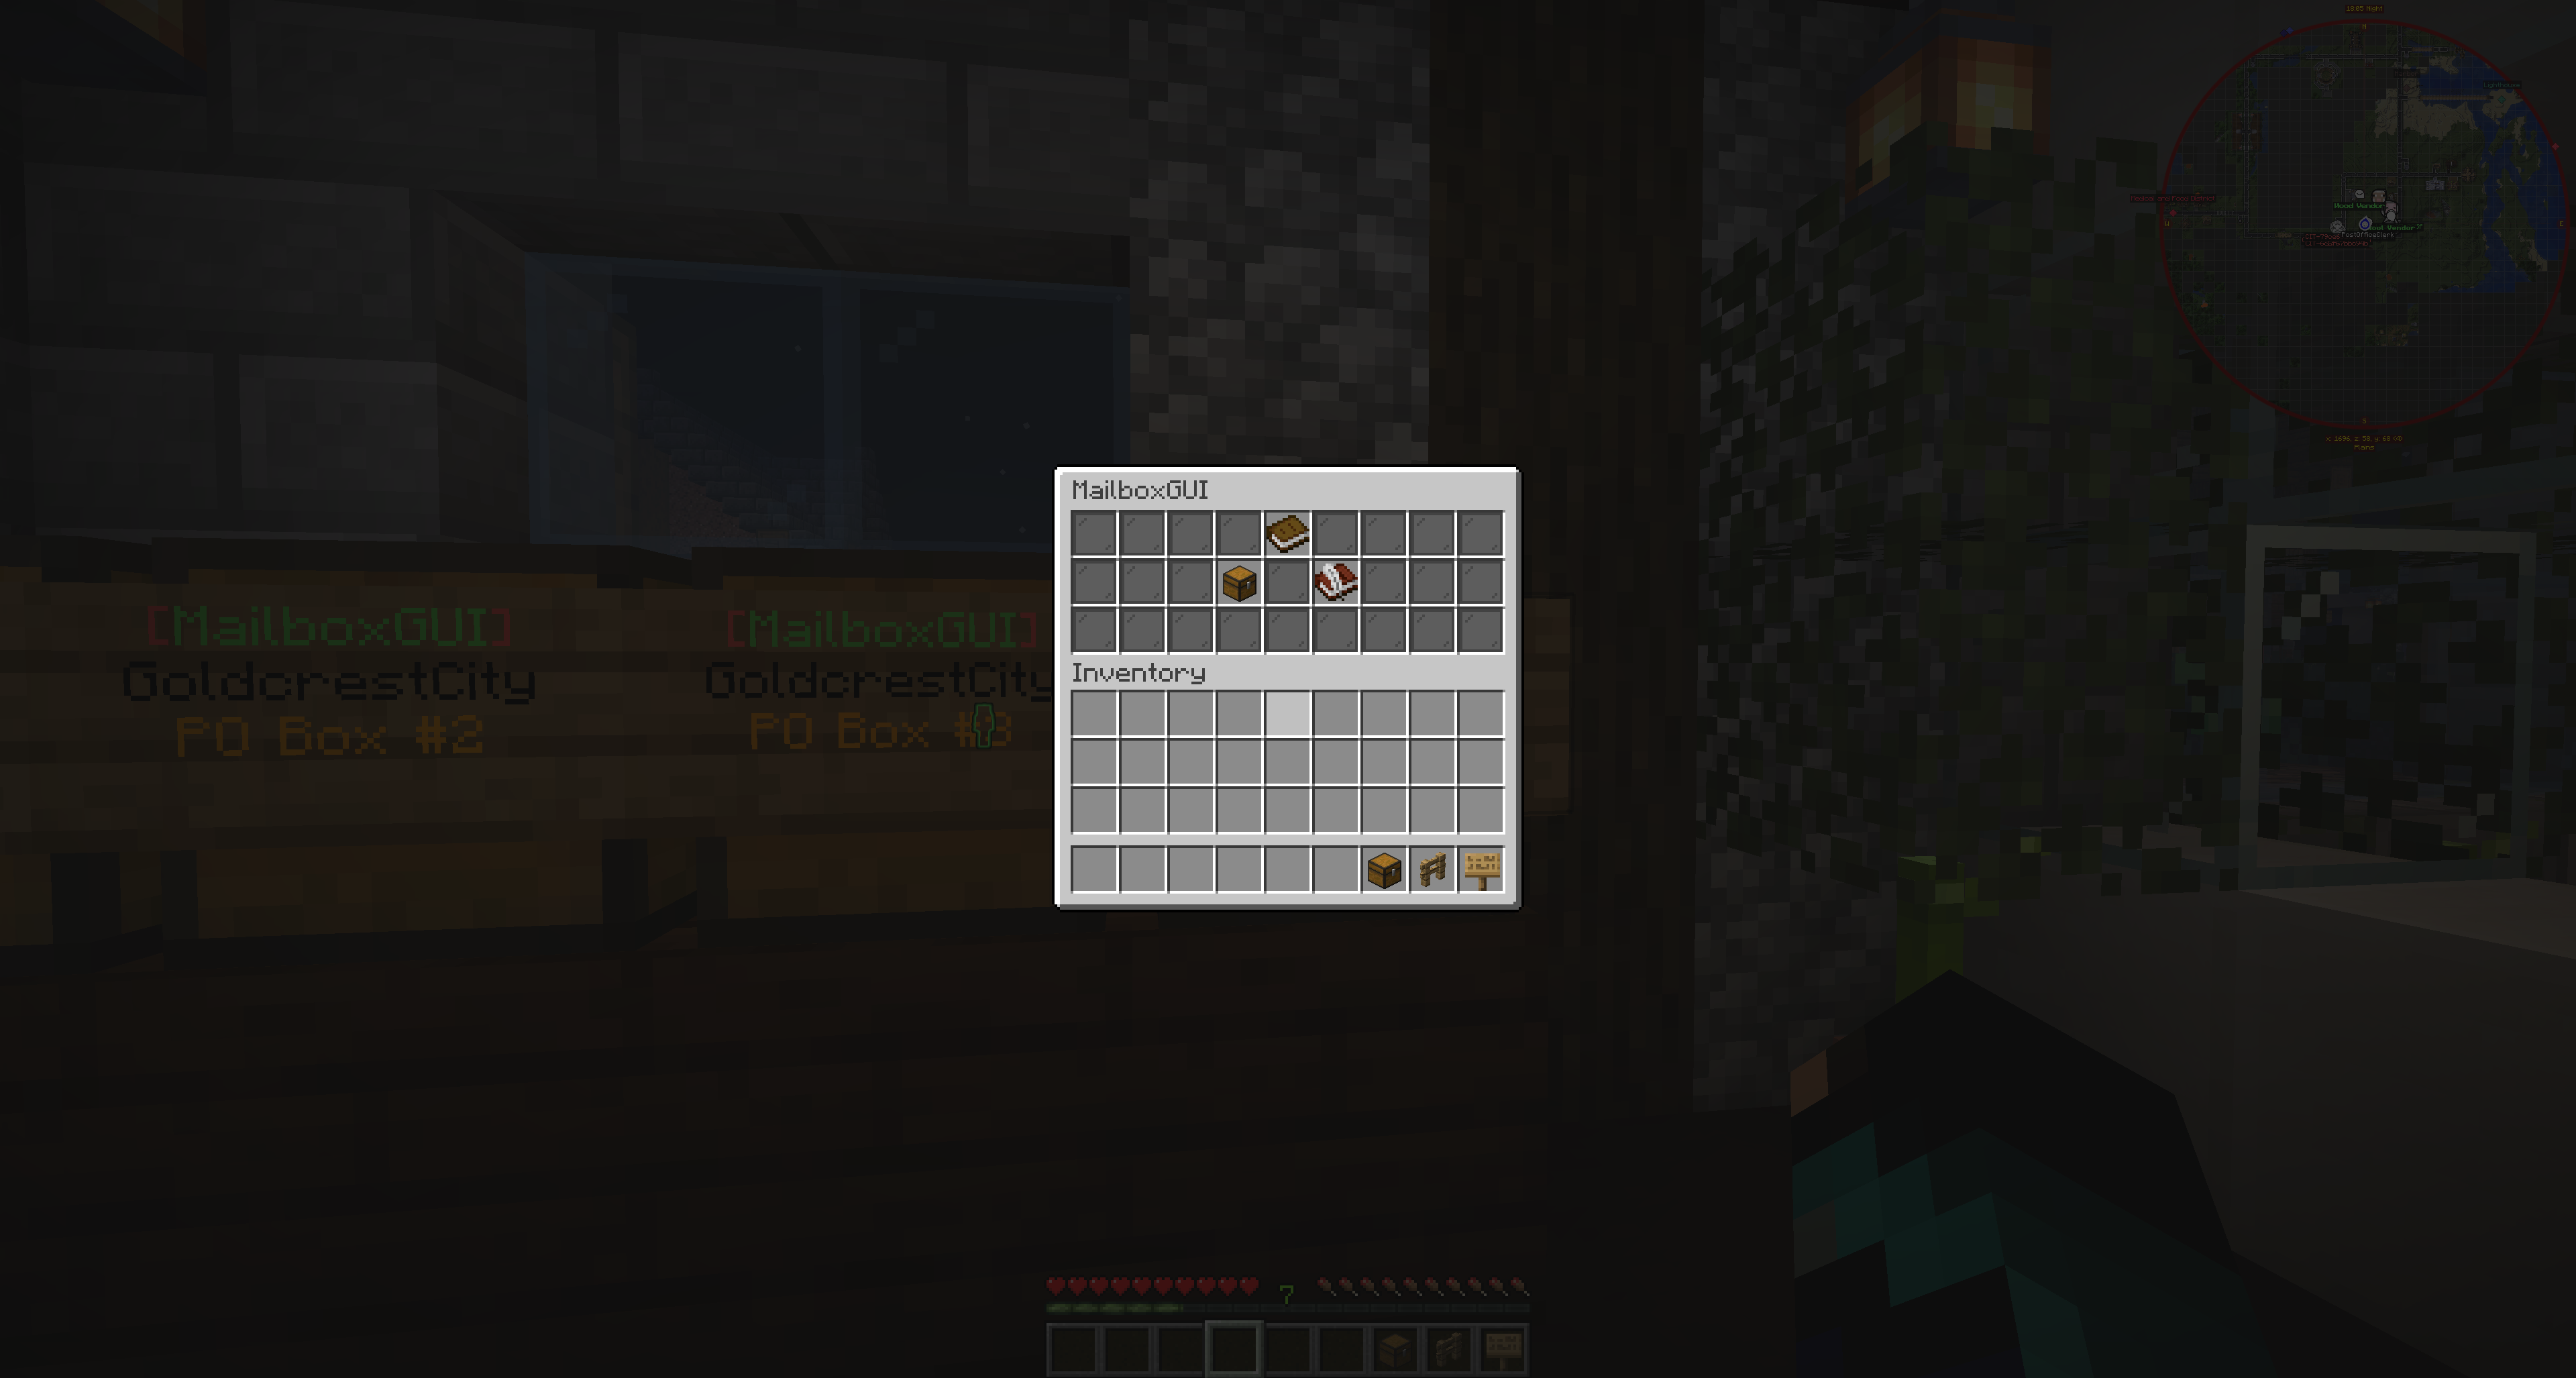
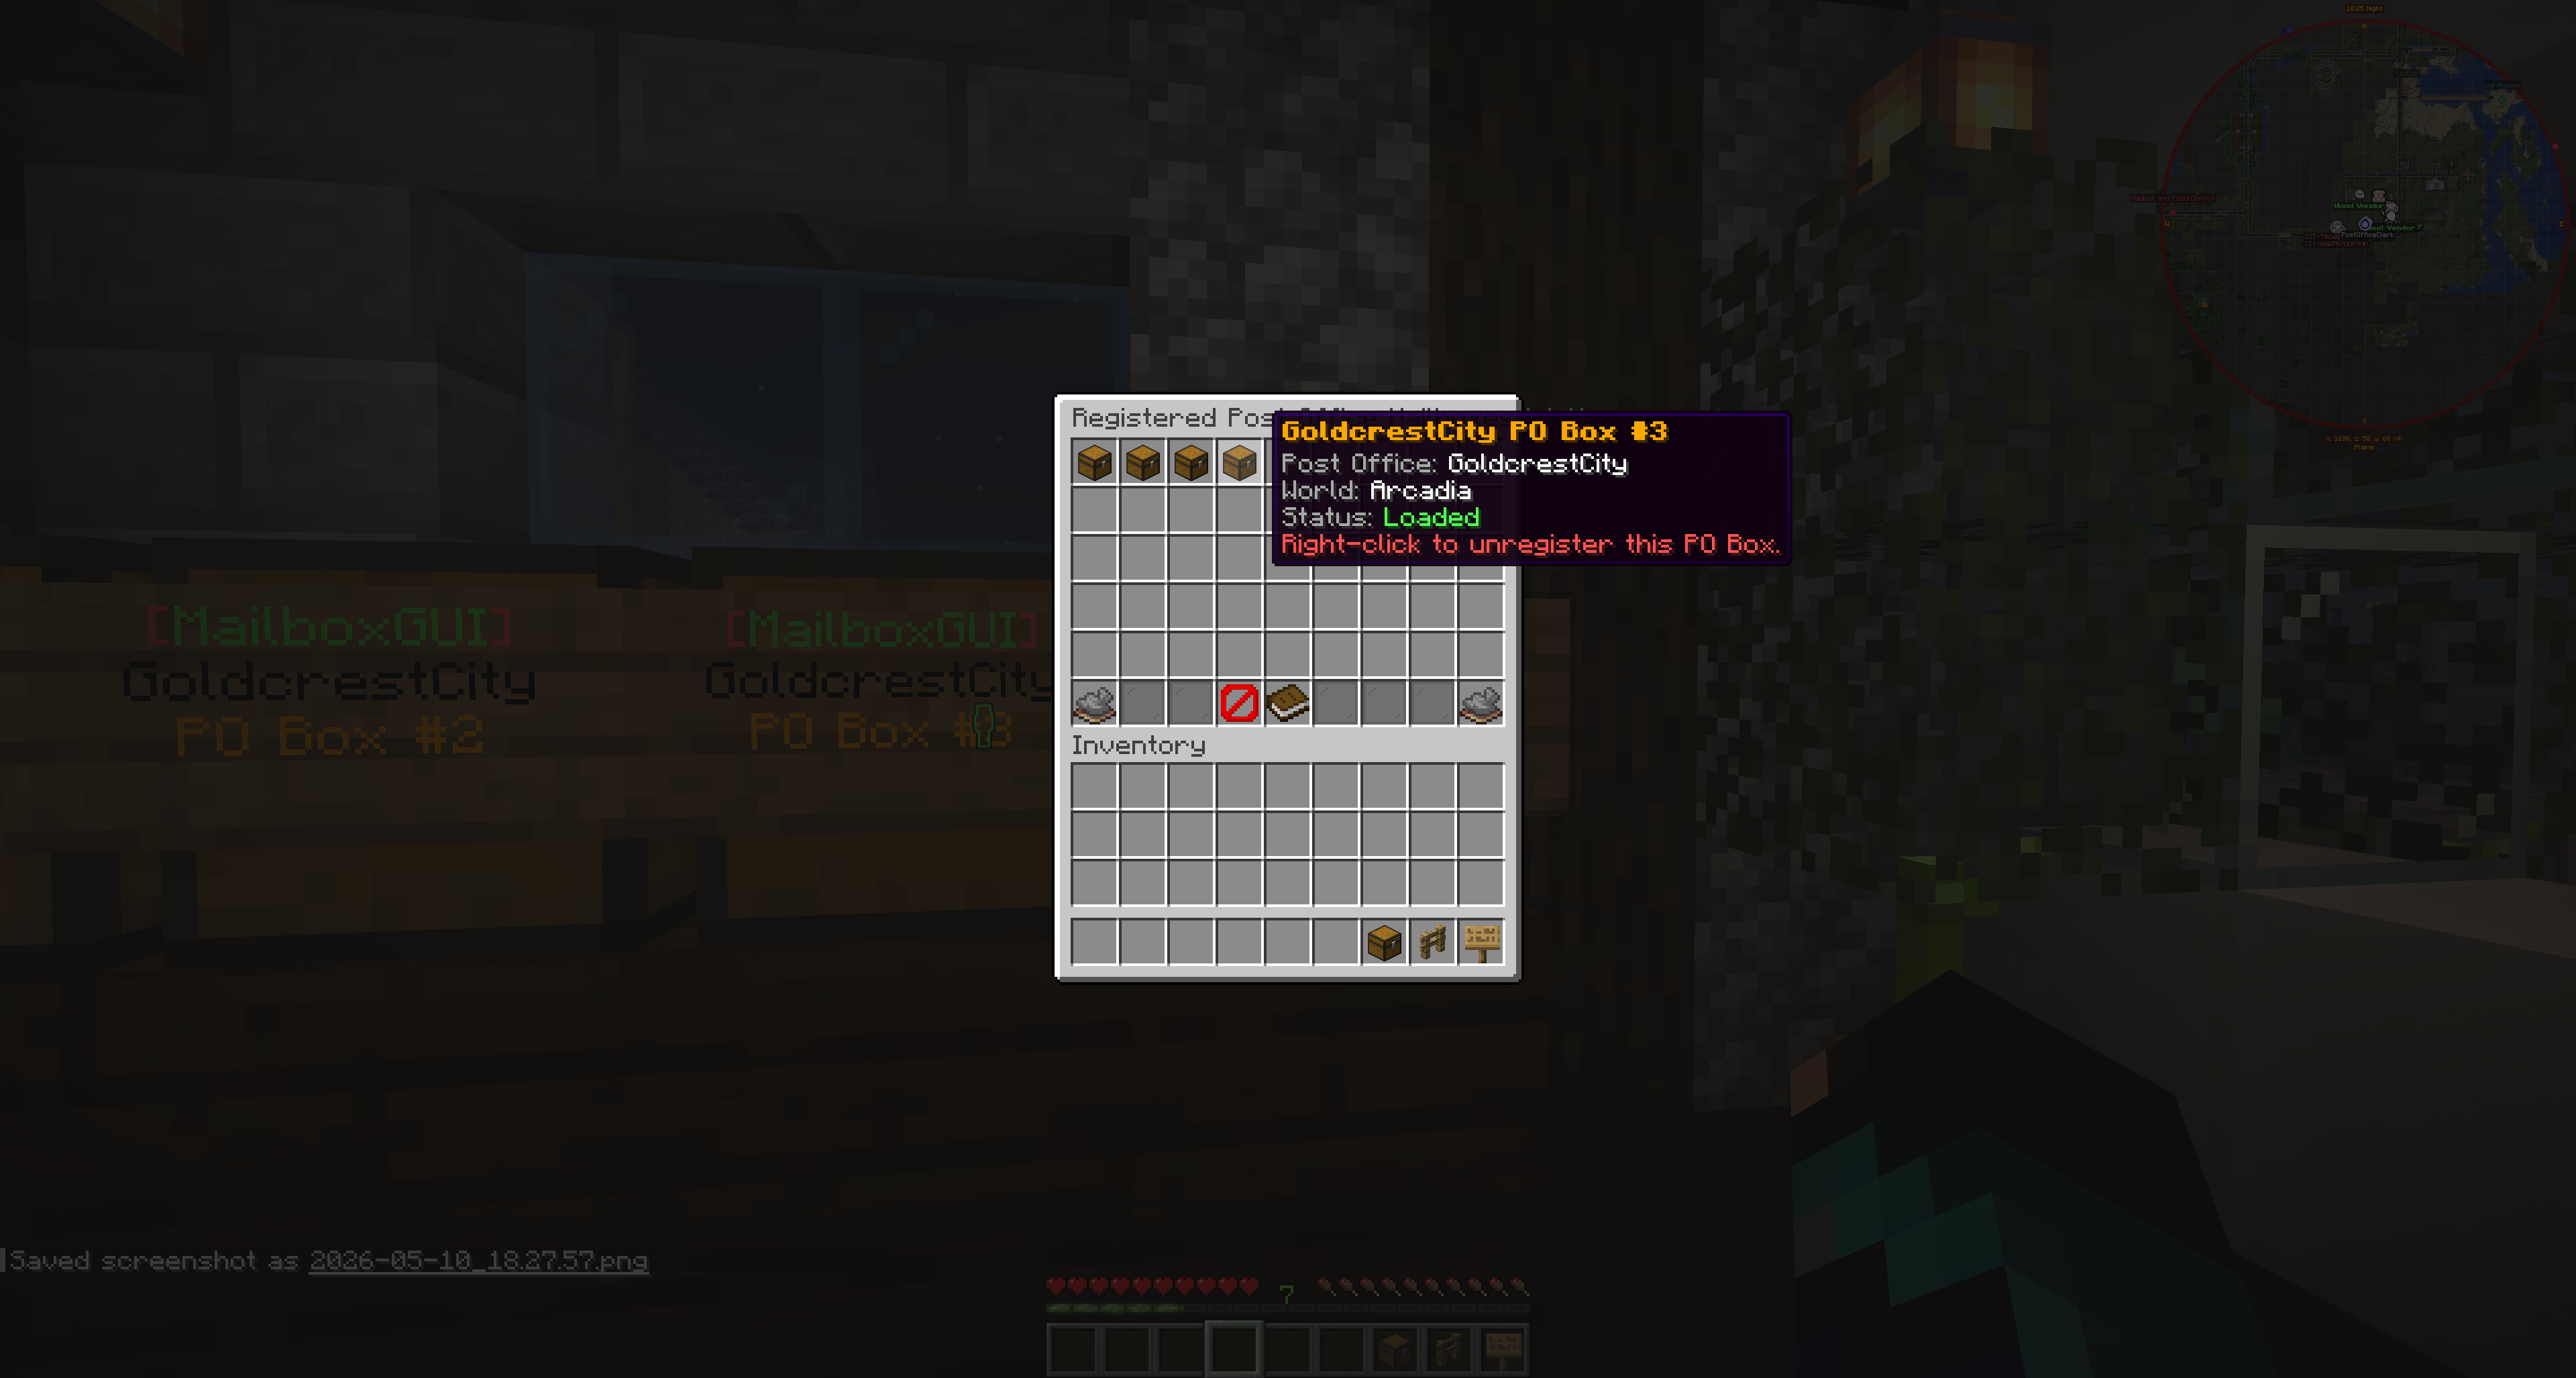
Good First Admin Setup
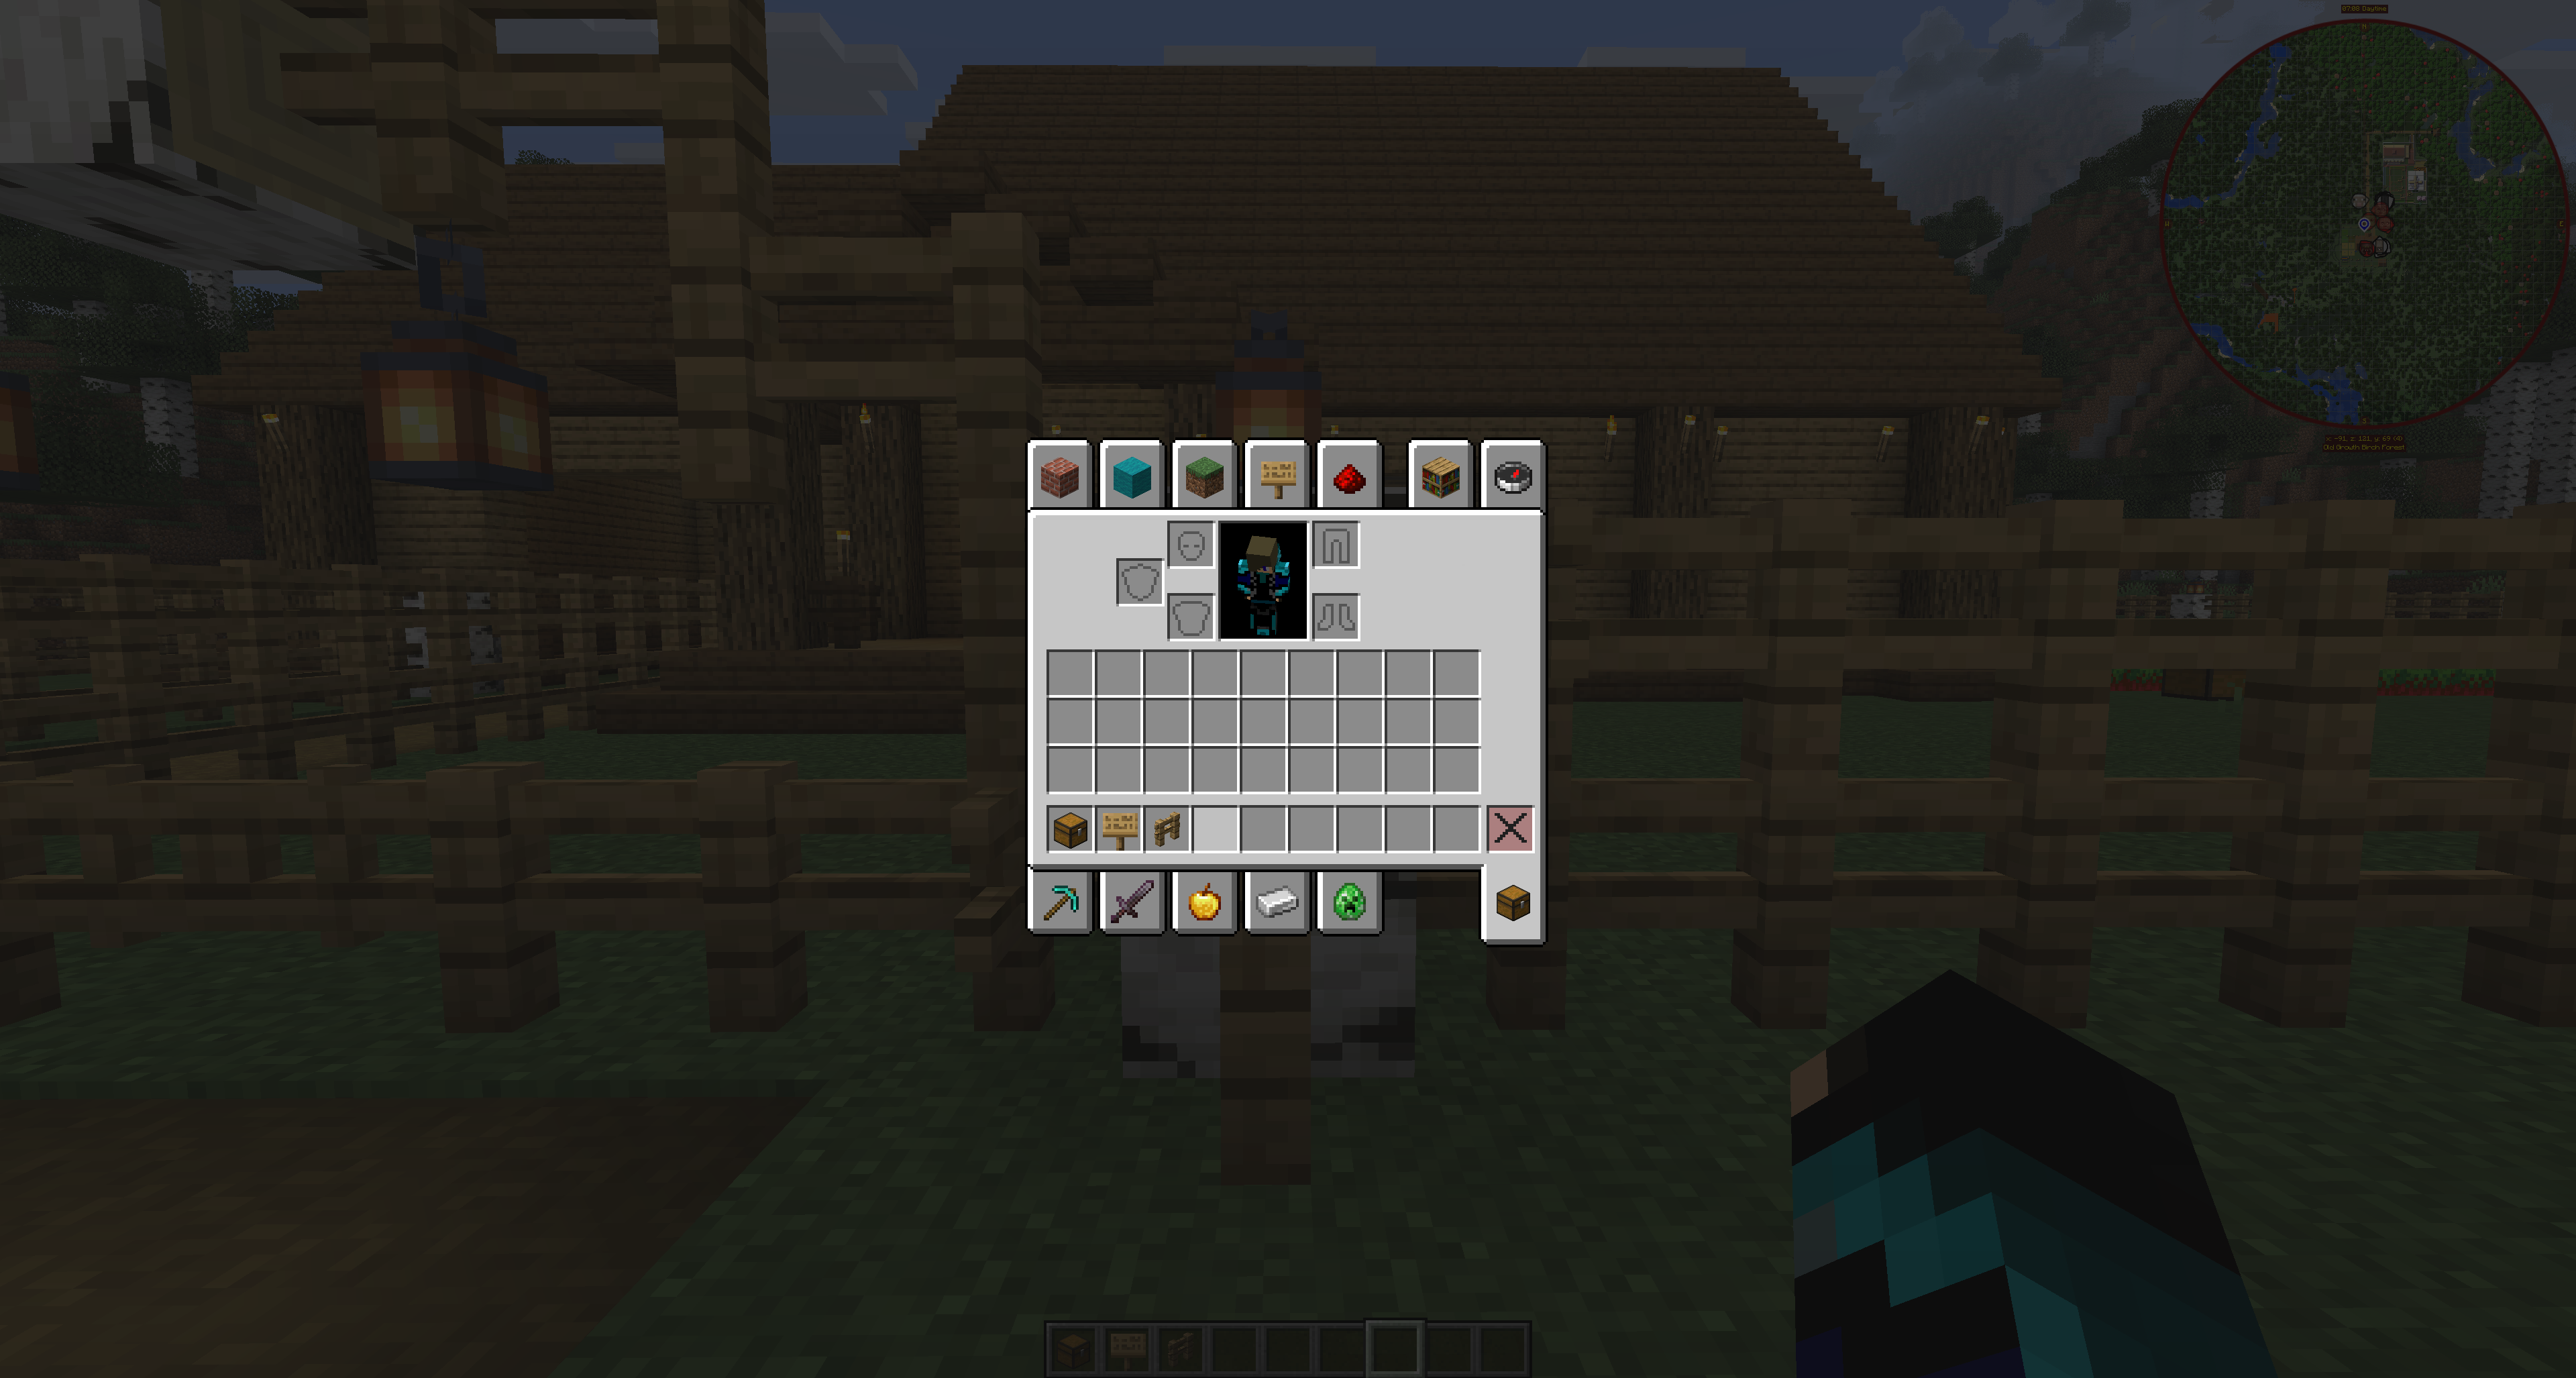
Review config.yml and language files, set up permissions, and create or
test one physical mailbox before opening the system to players.
- Test sending a letter.
- Test sending a package.
- Test Vault-money COD and money mail only after economy support is confirmed.
- Test item-currency COD separately if the server uses material, XP, or template prices.
- Review admin tools and post office settings.